
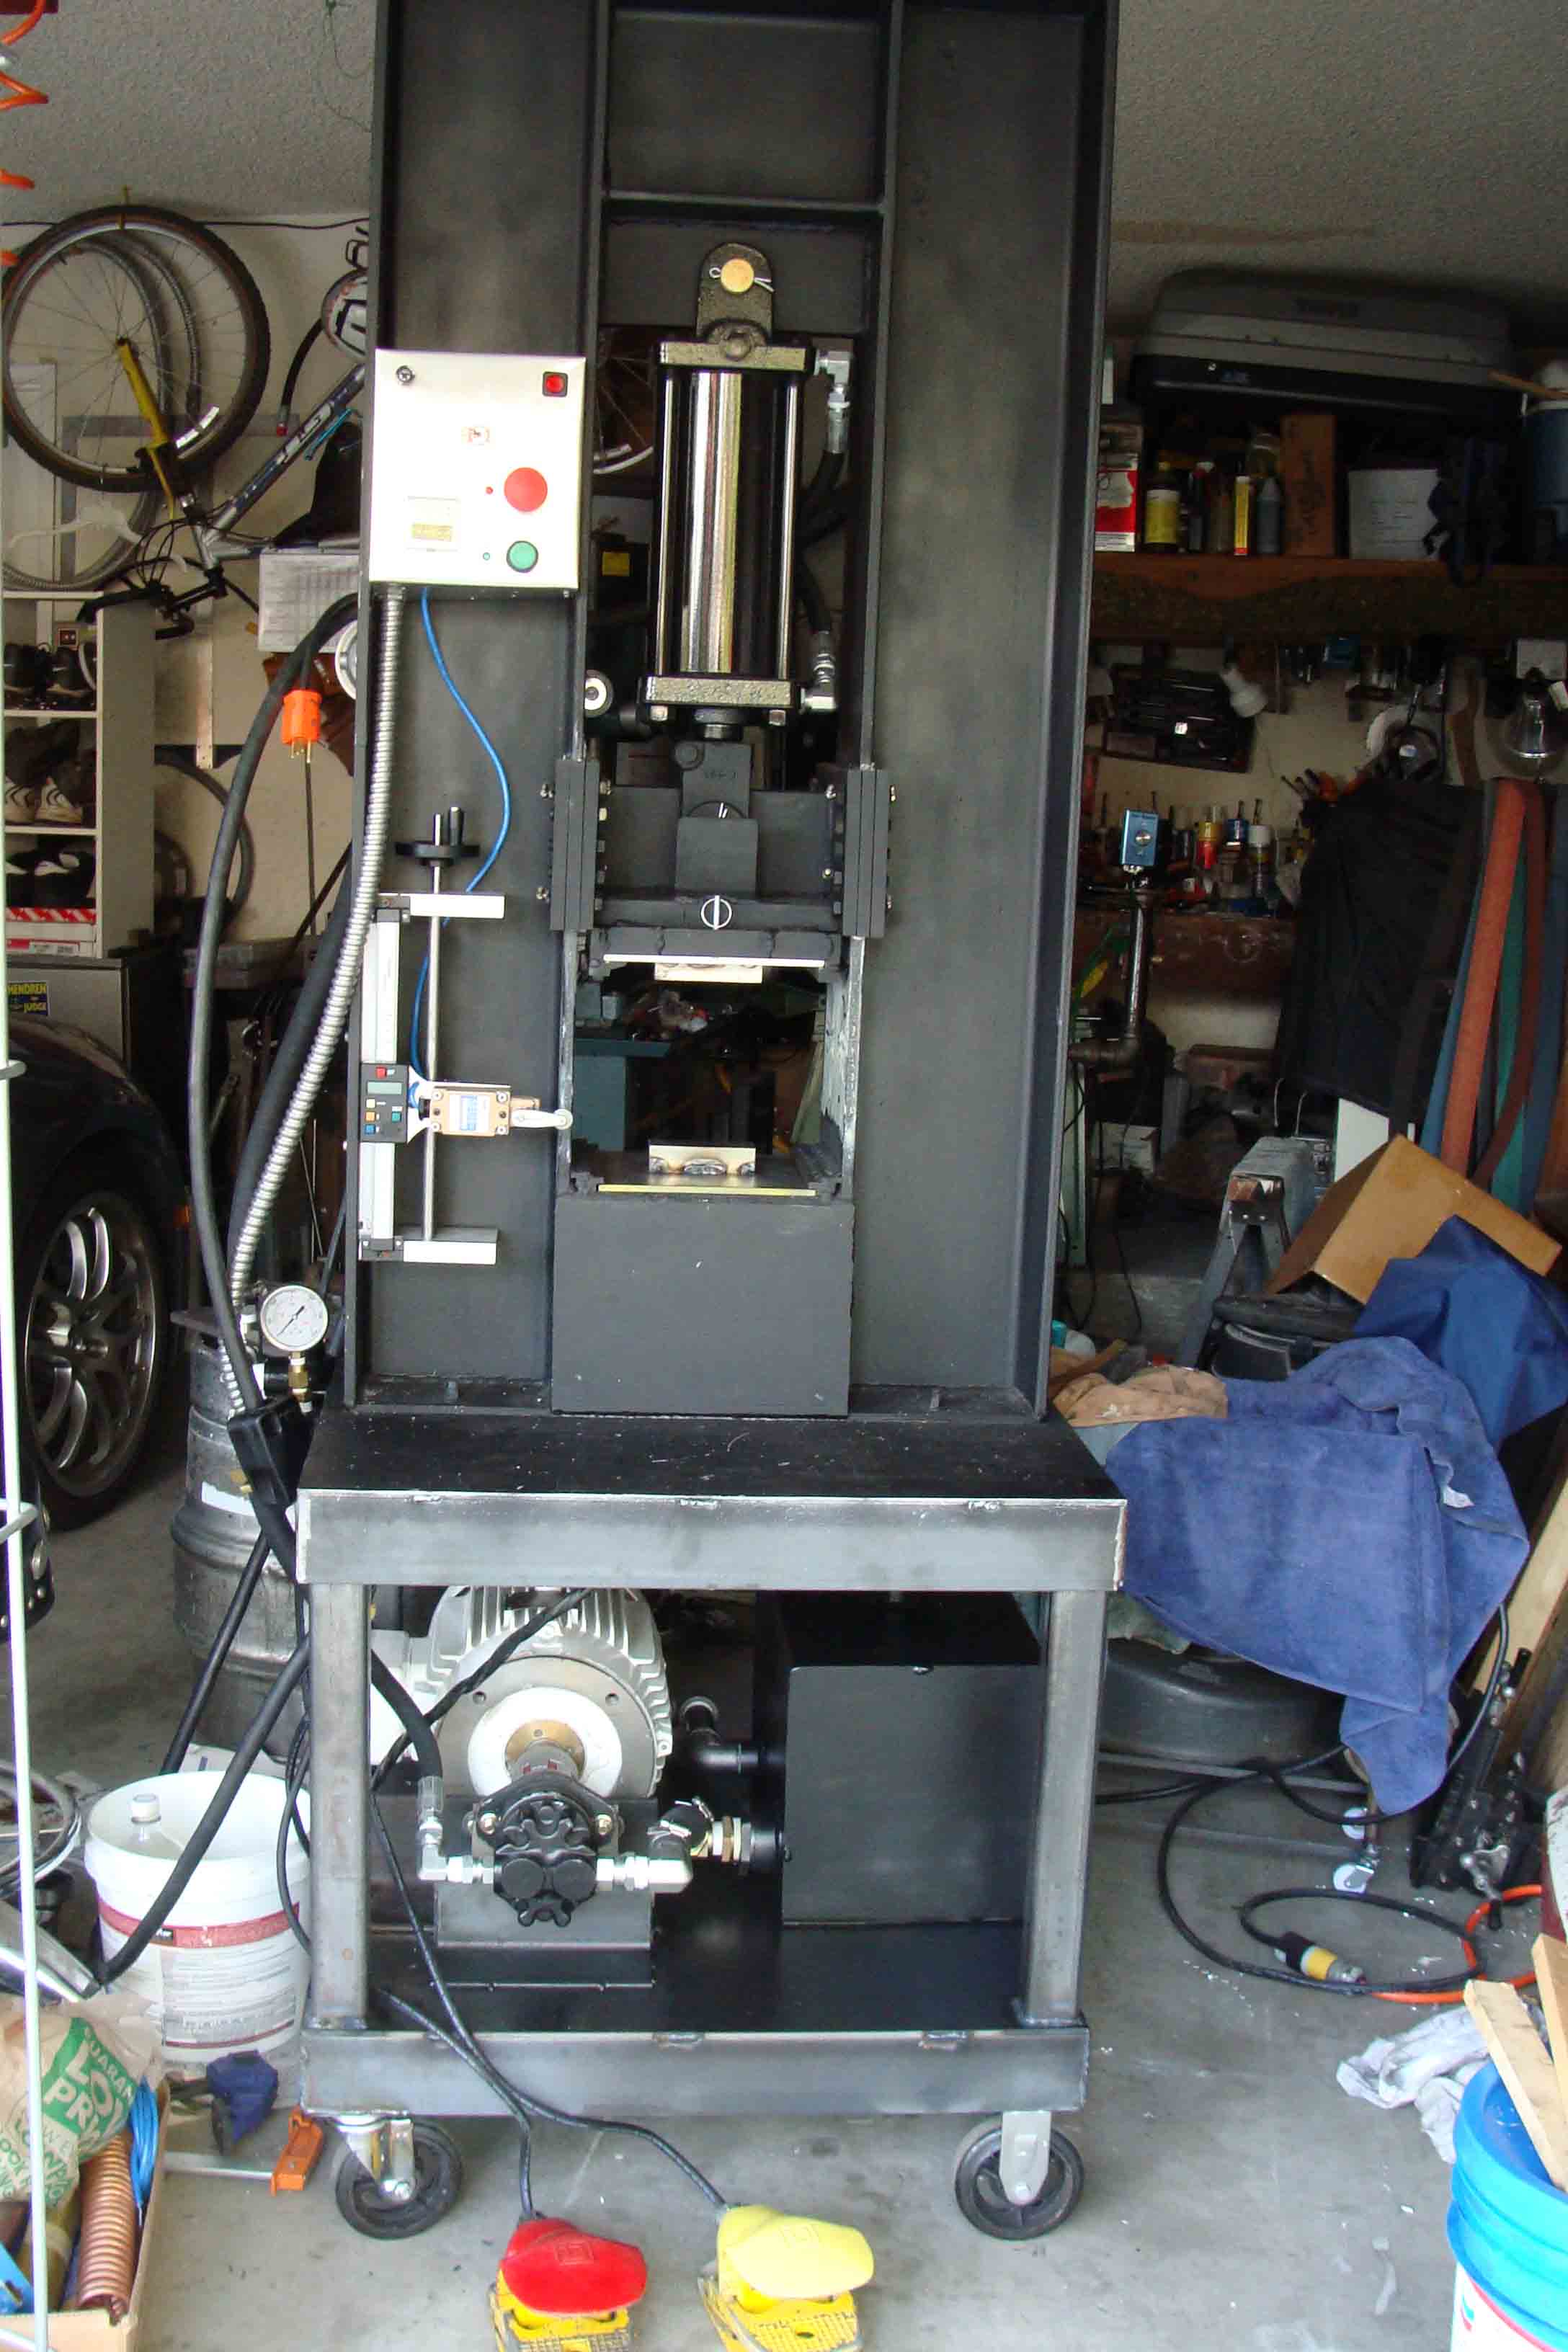
Automated 30 Ton Press with Digital Read Out (DRO)+ limit switch added to control metal thickness when in auto mode.
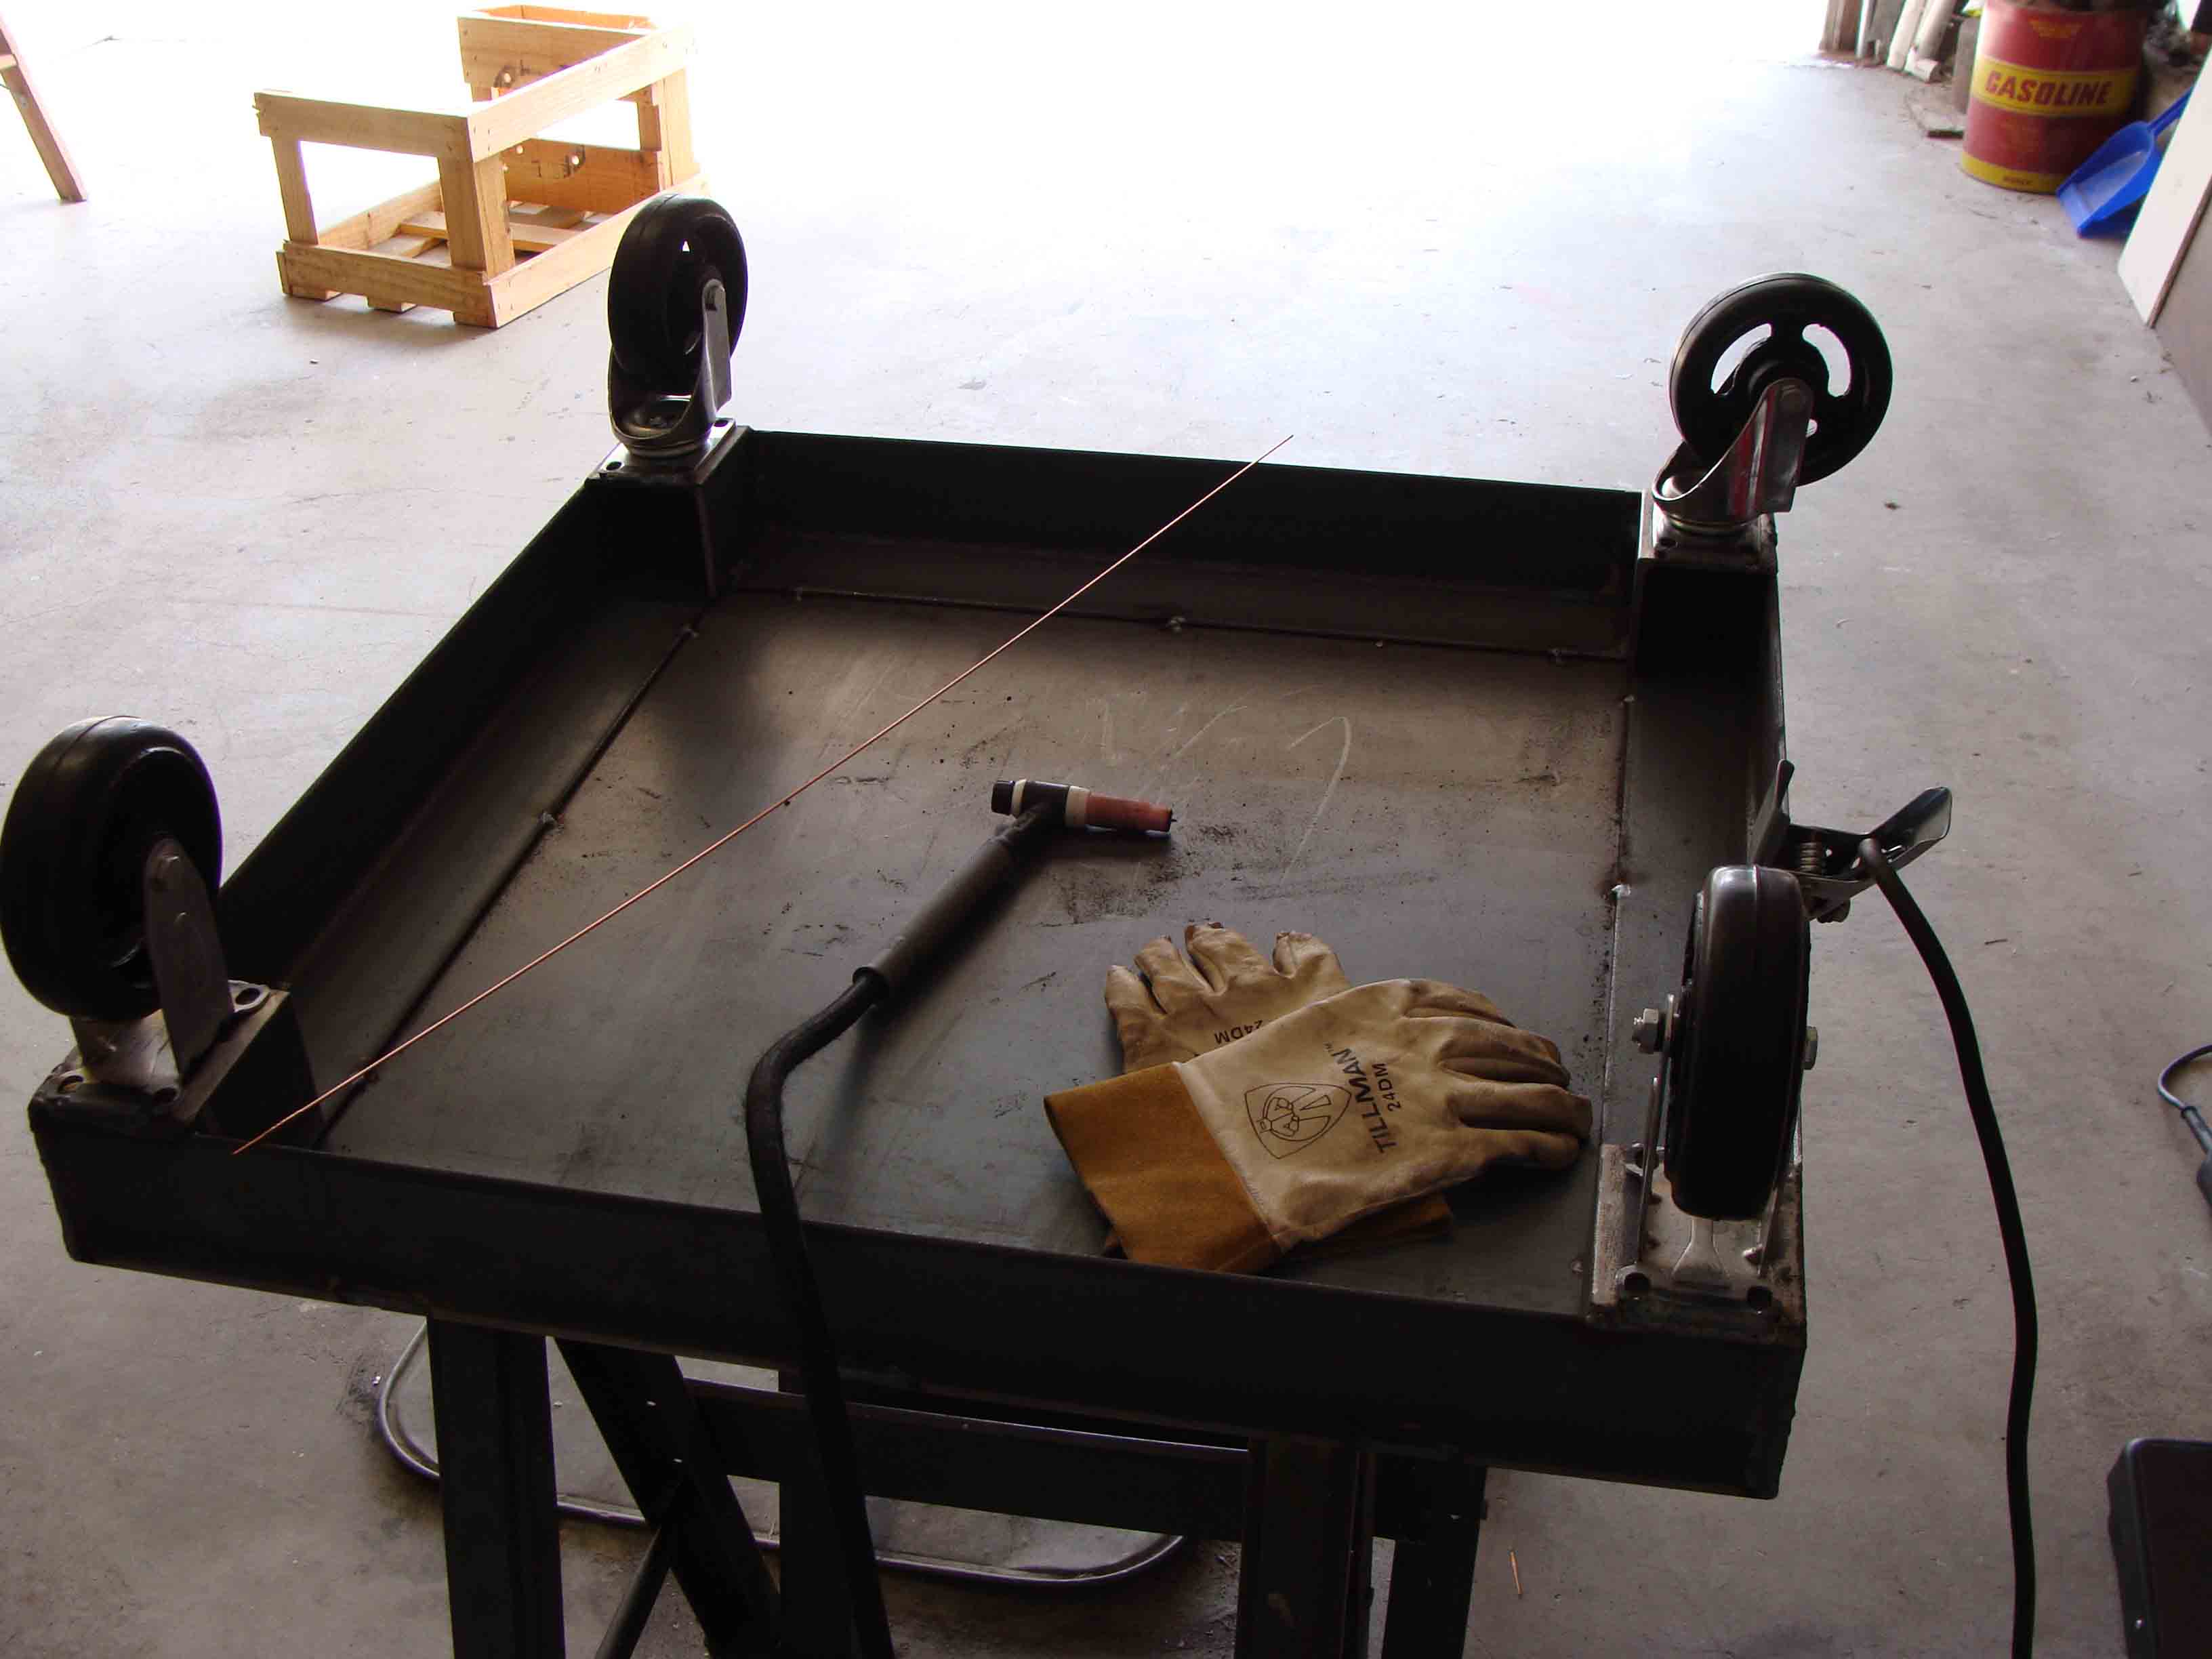
Press base starting to take shape.
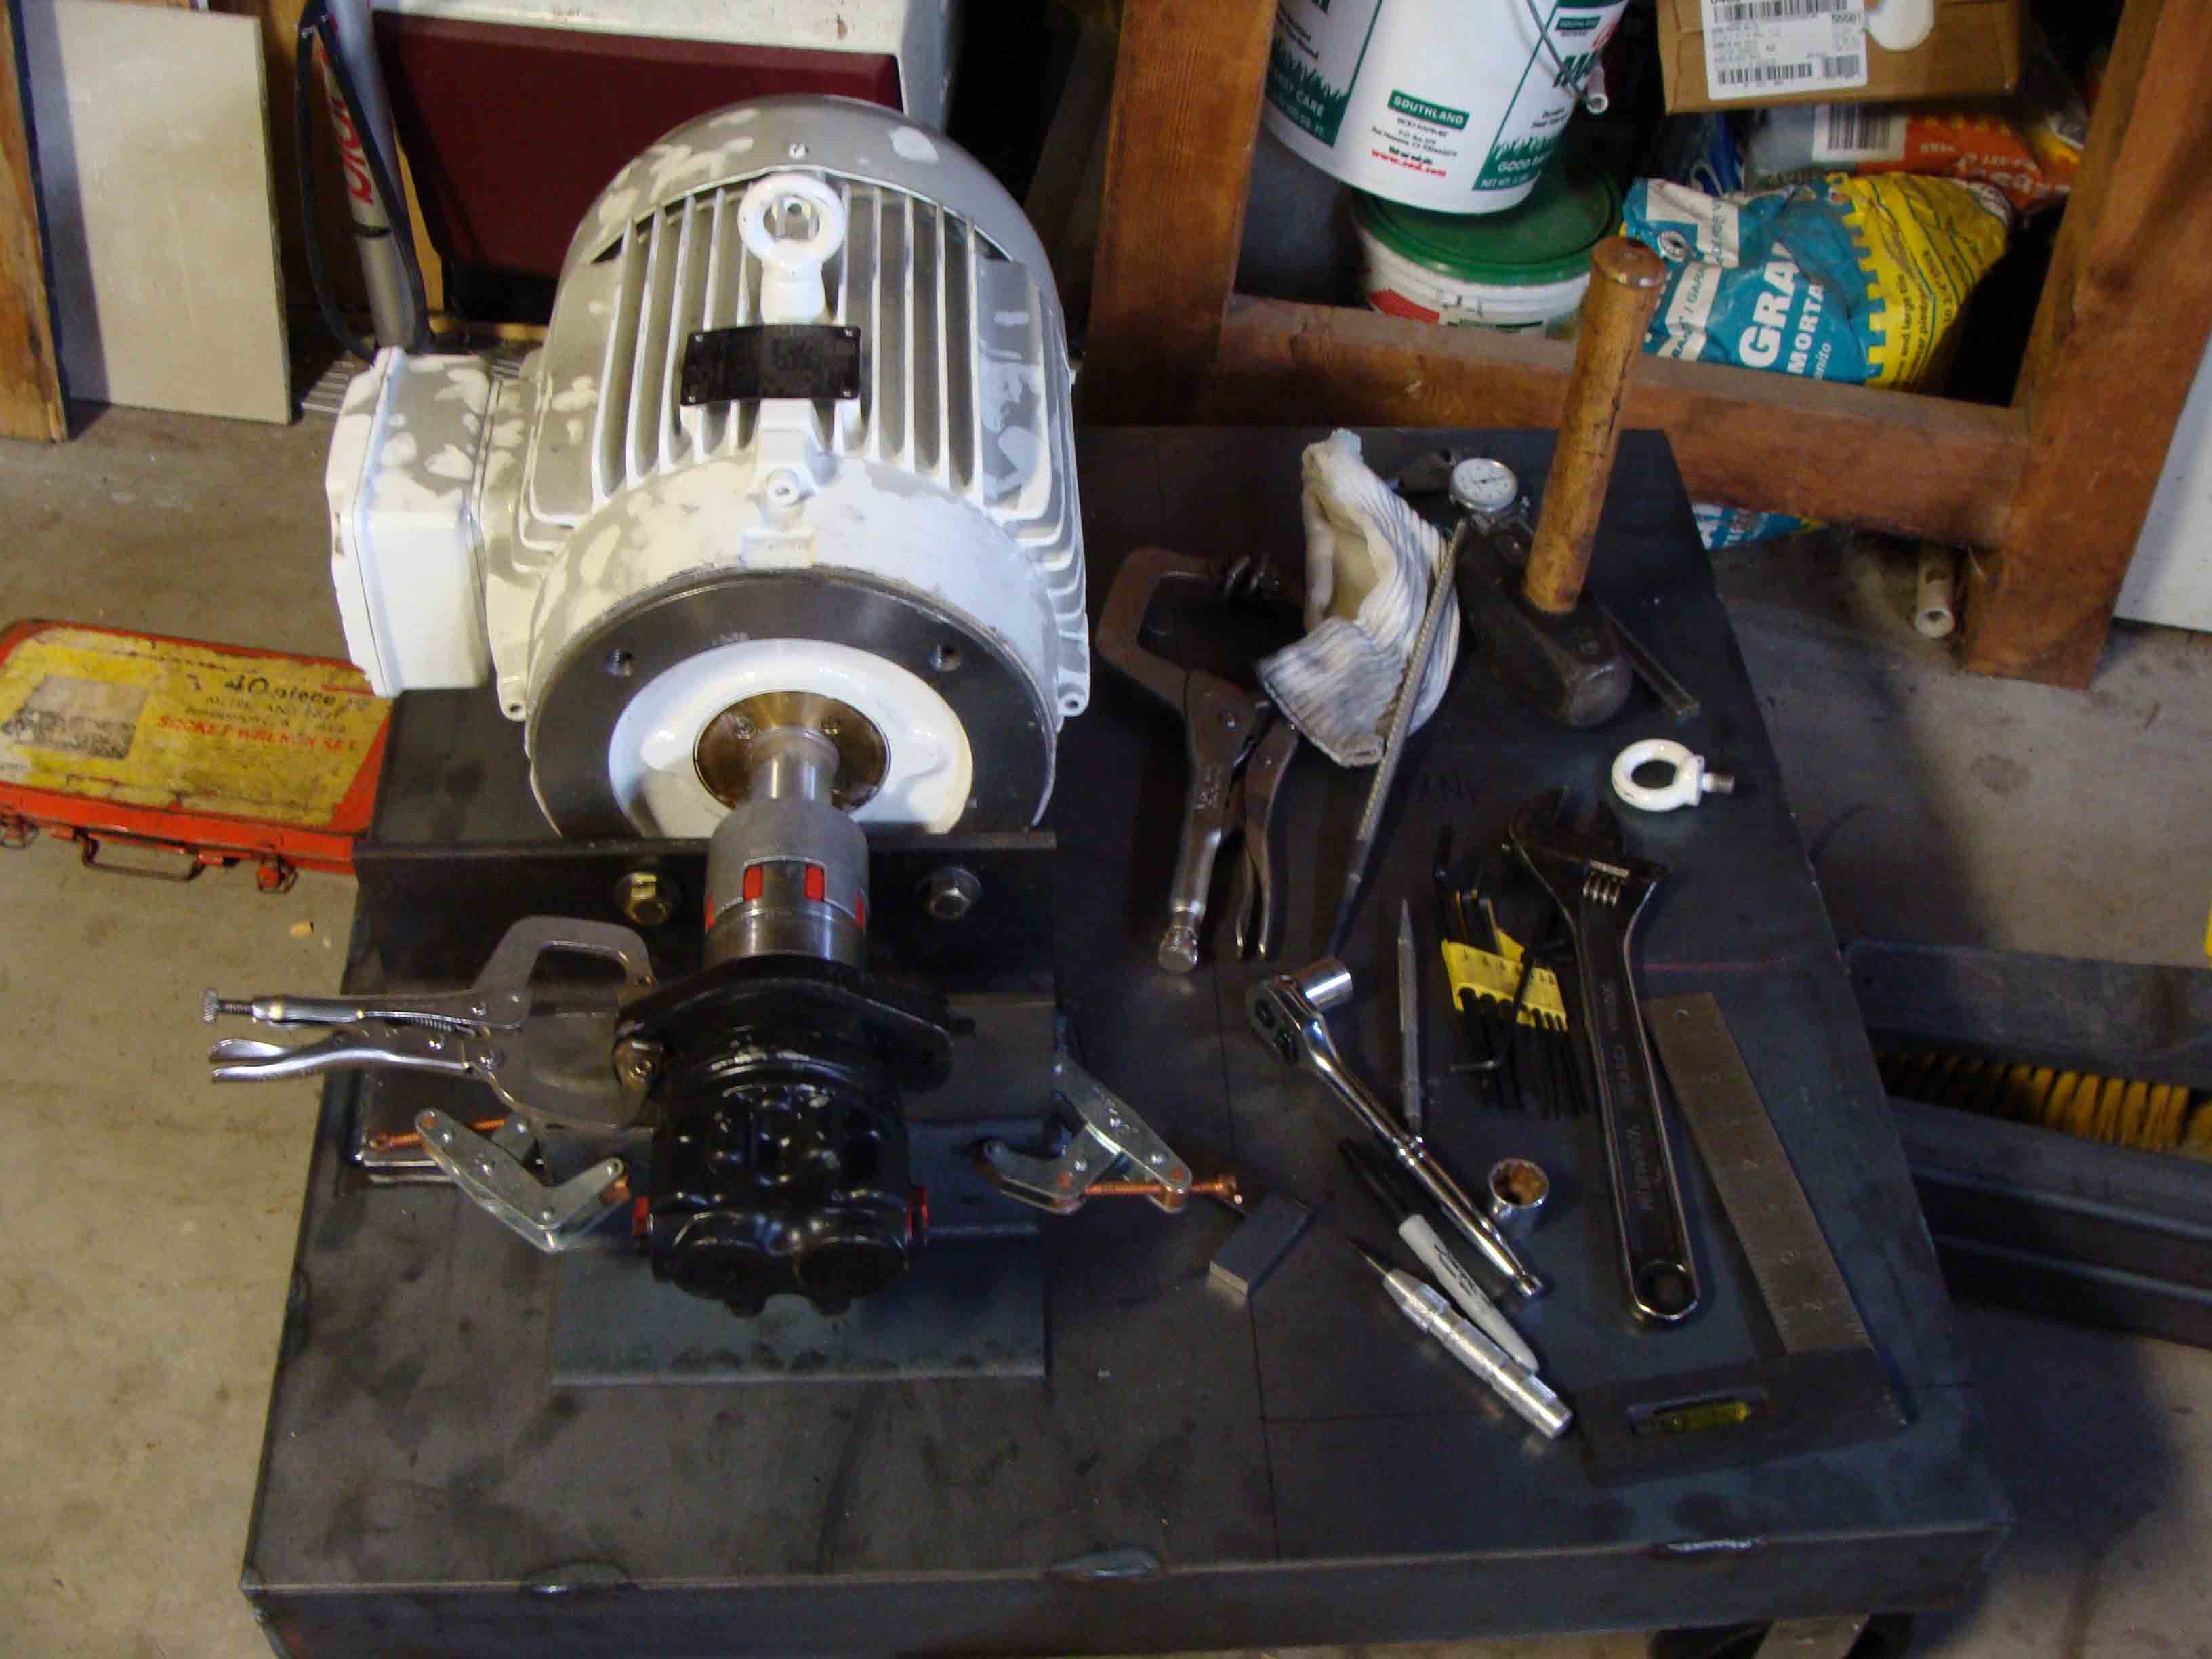
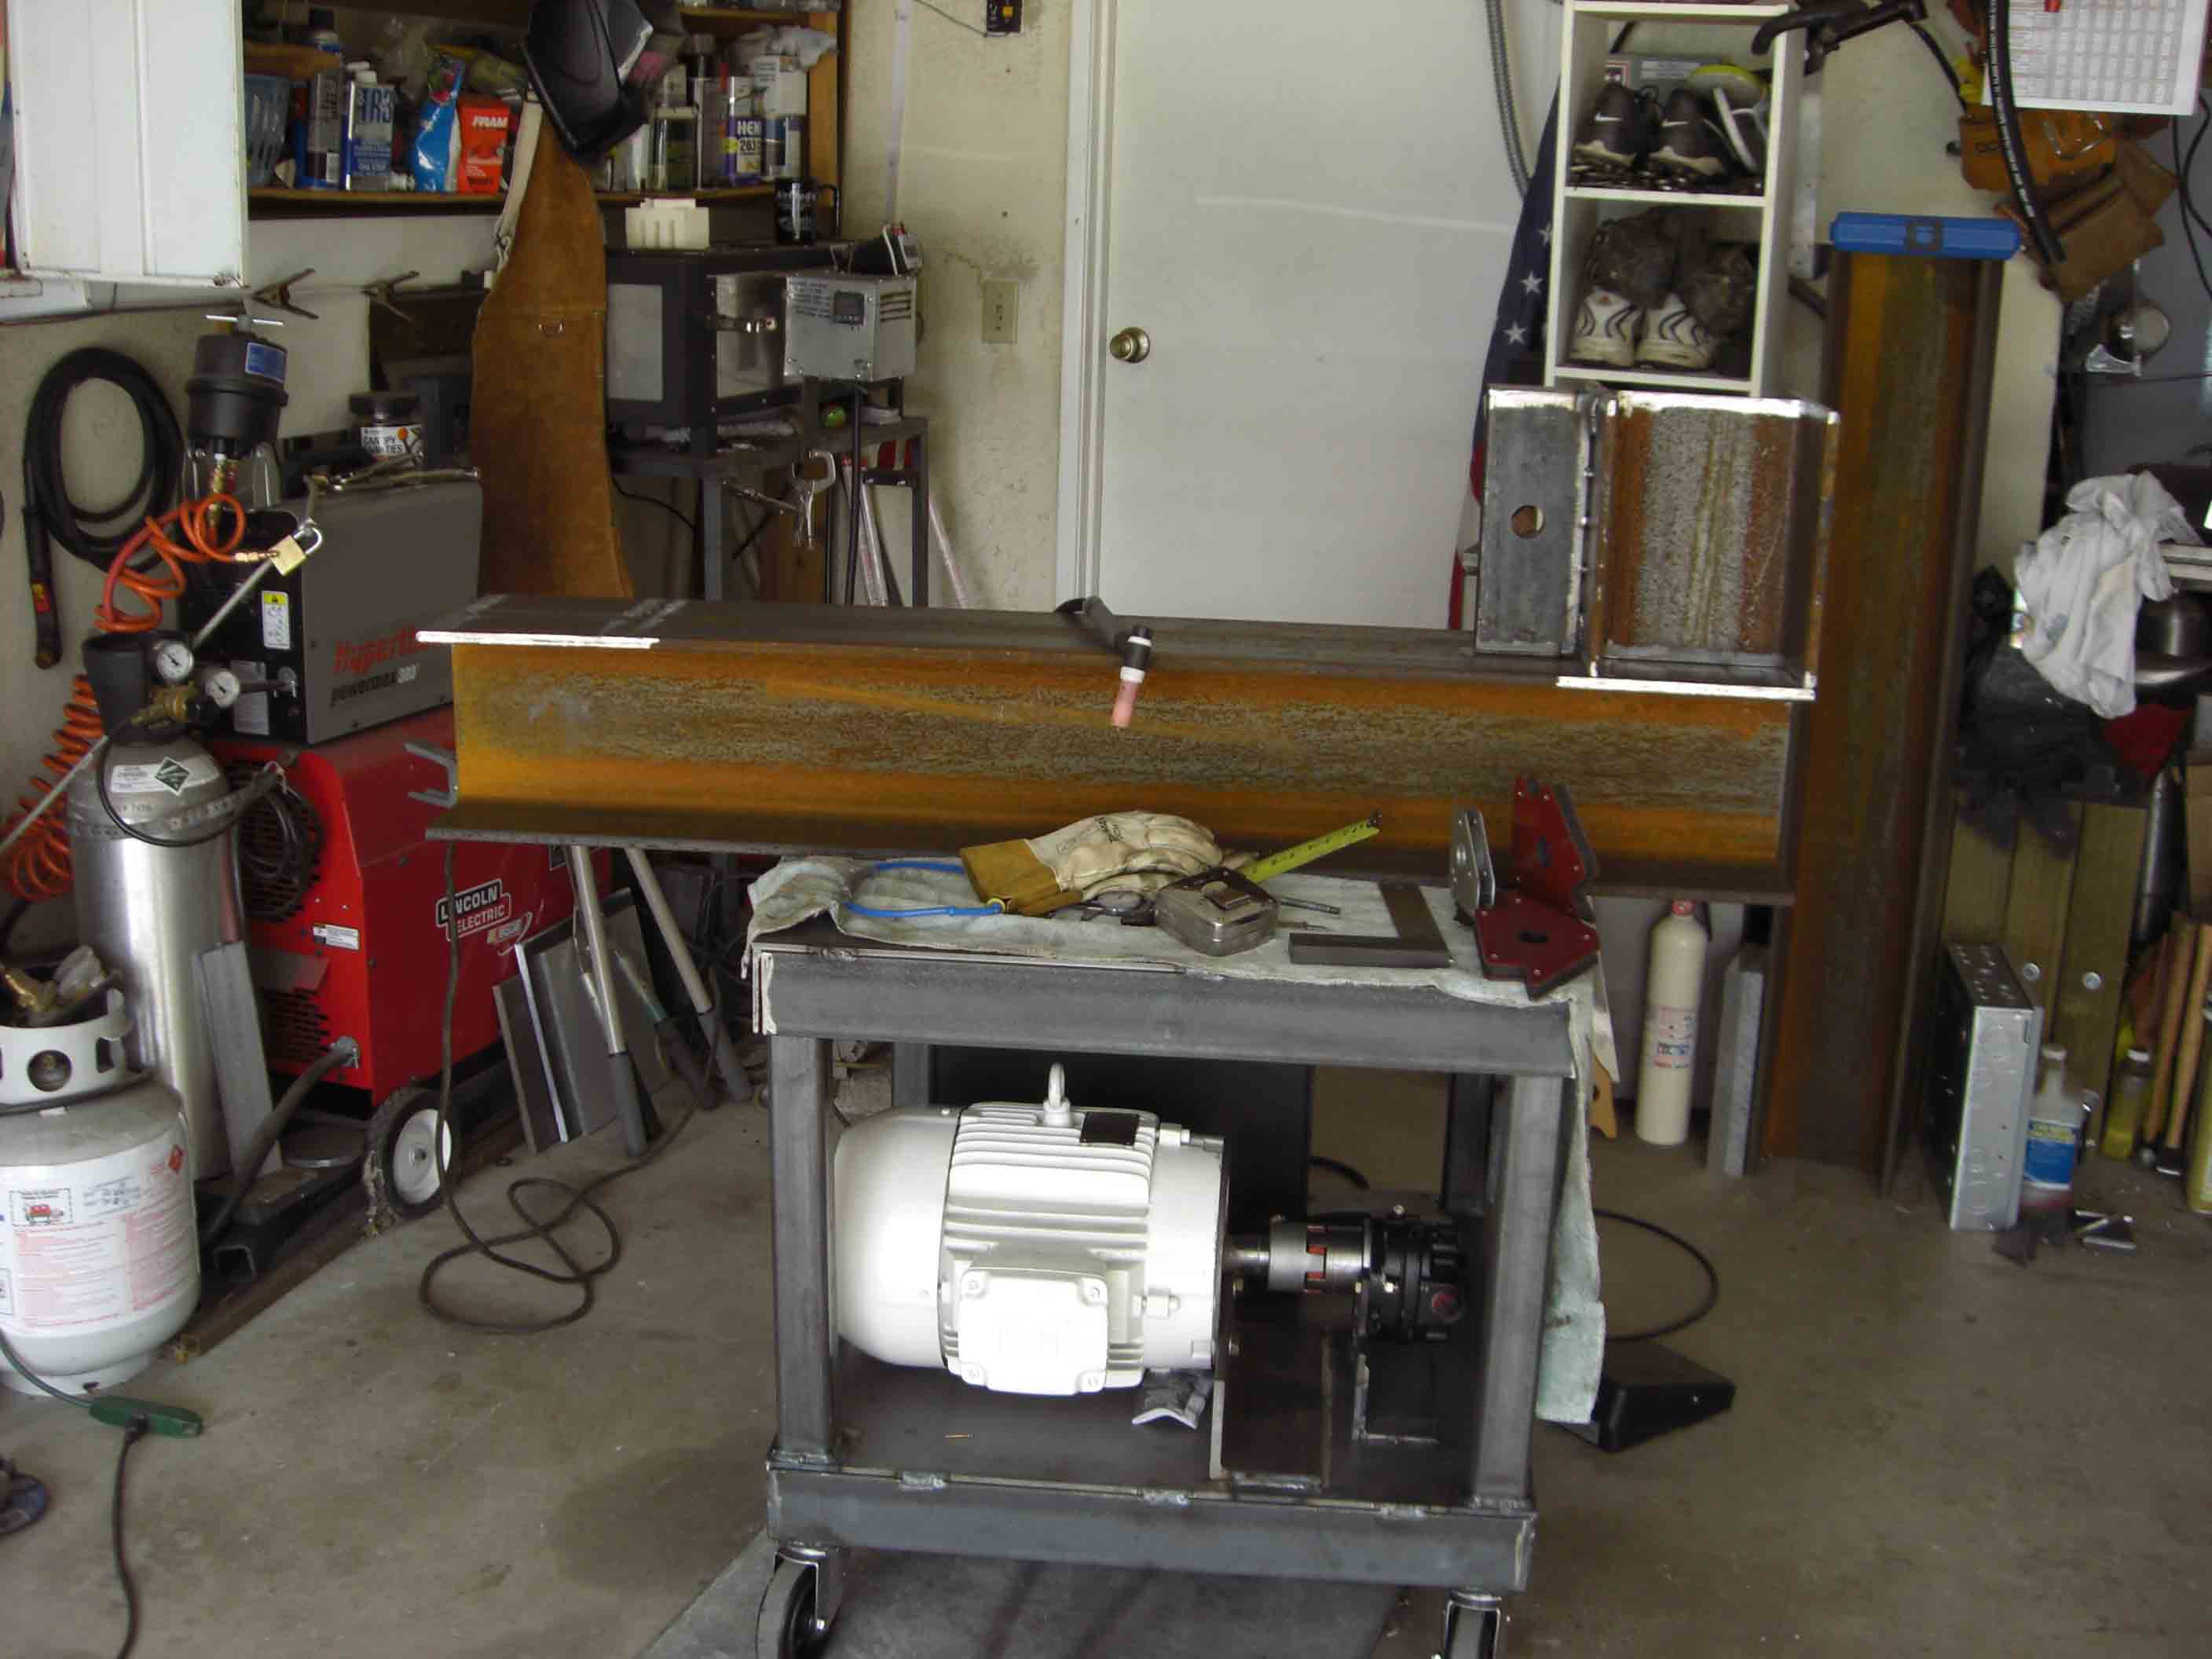
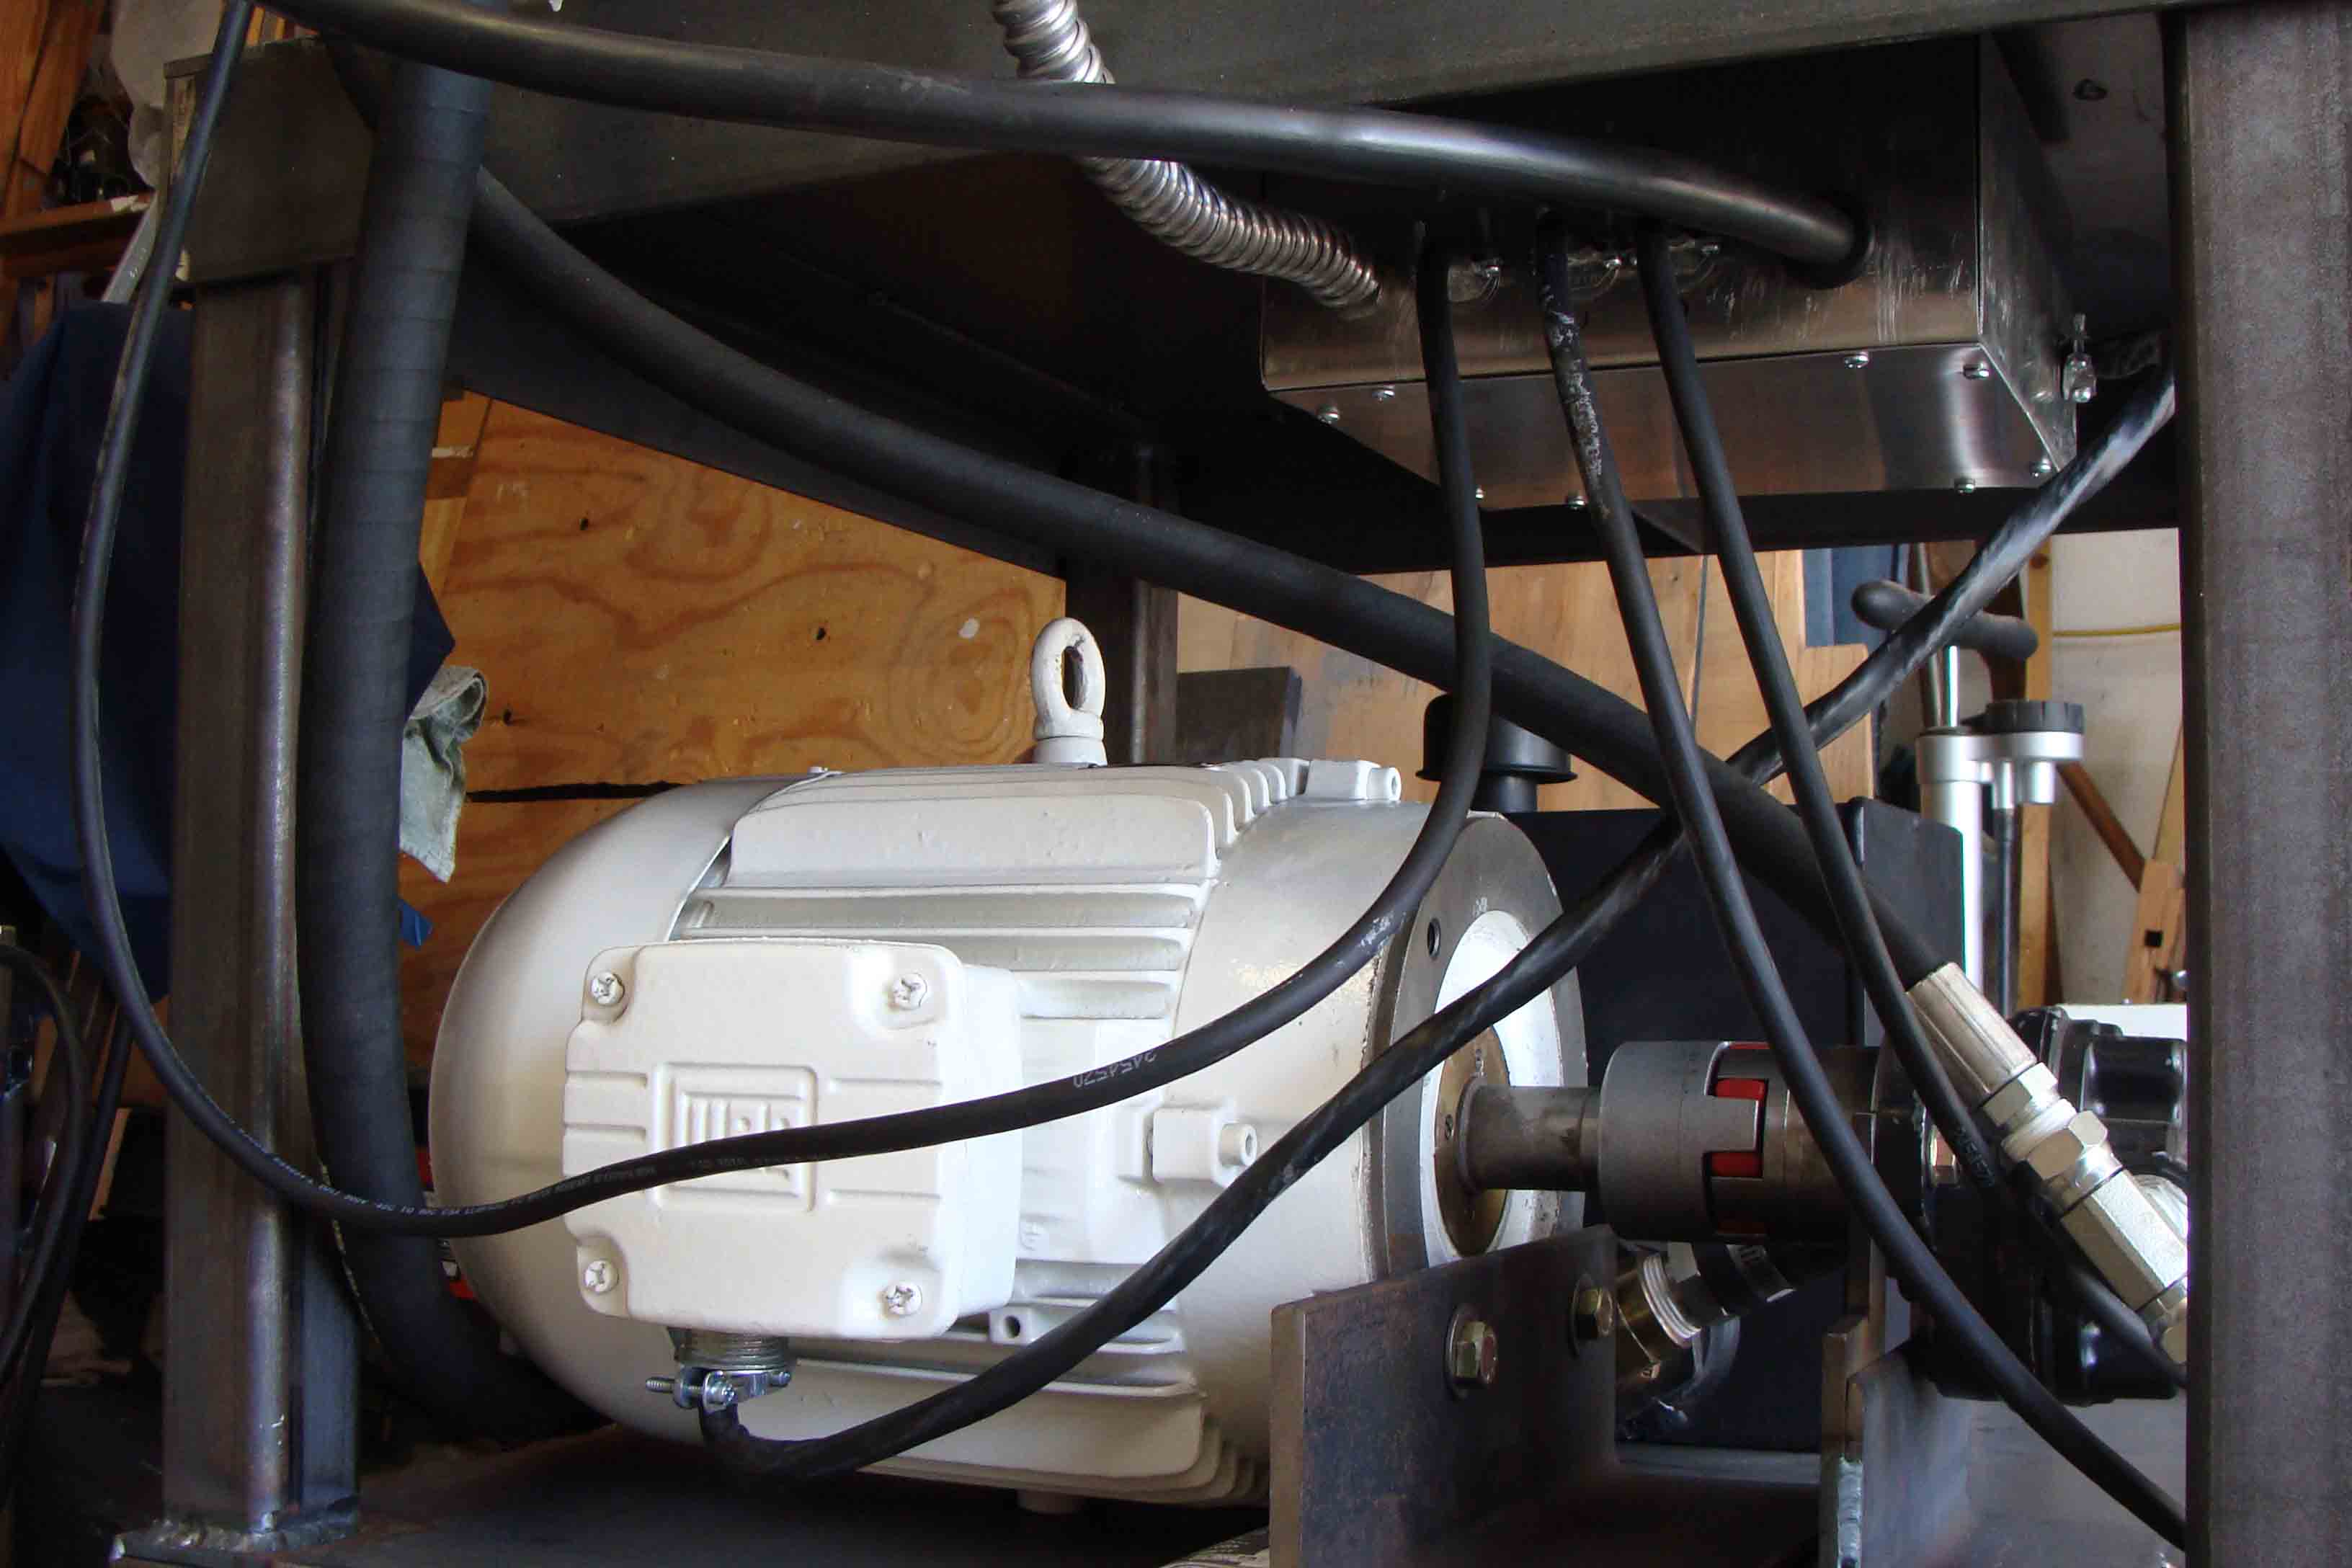
Mount for 7.5HP motor complete. Fabricating mount for pump.
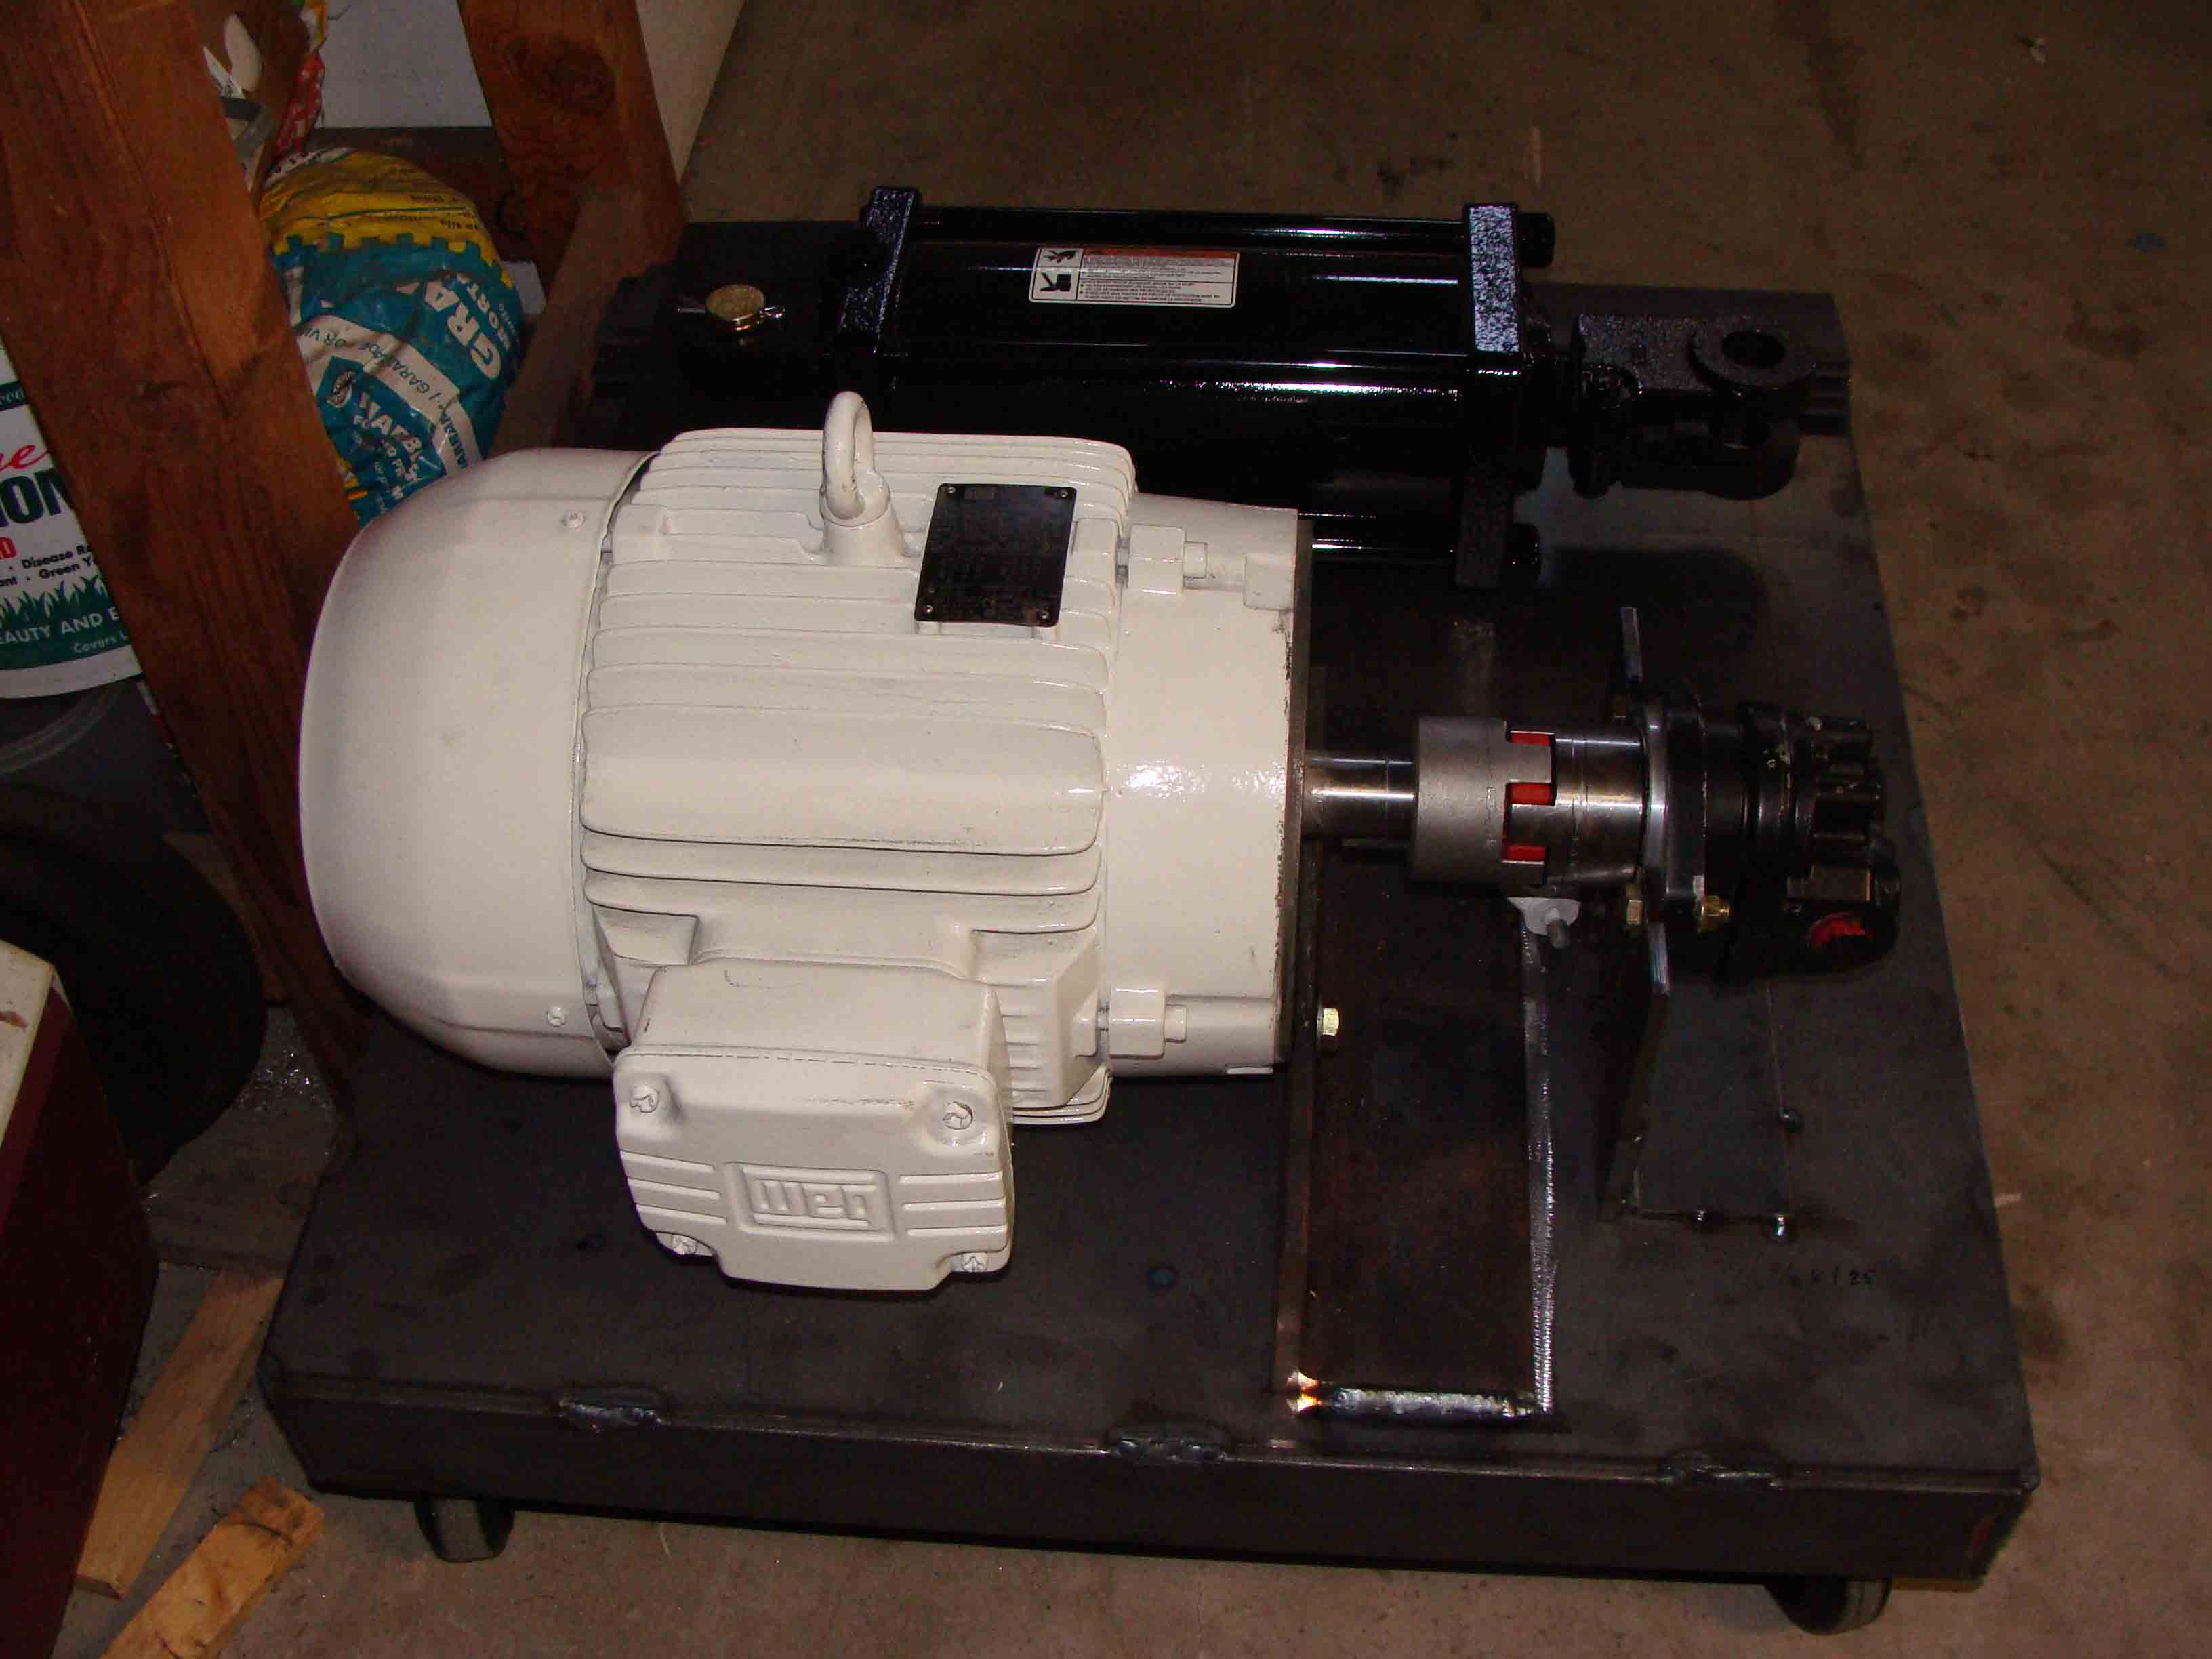
Motor mount and pump mount complete.
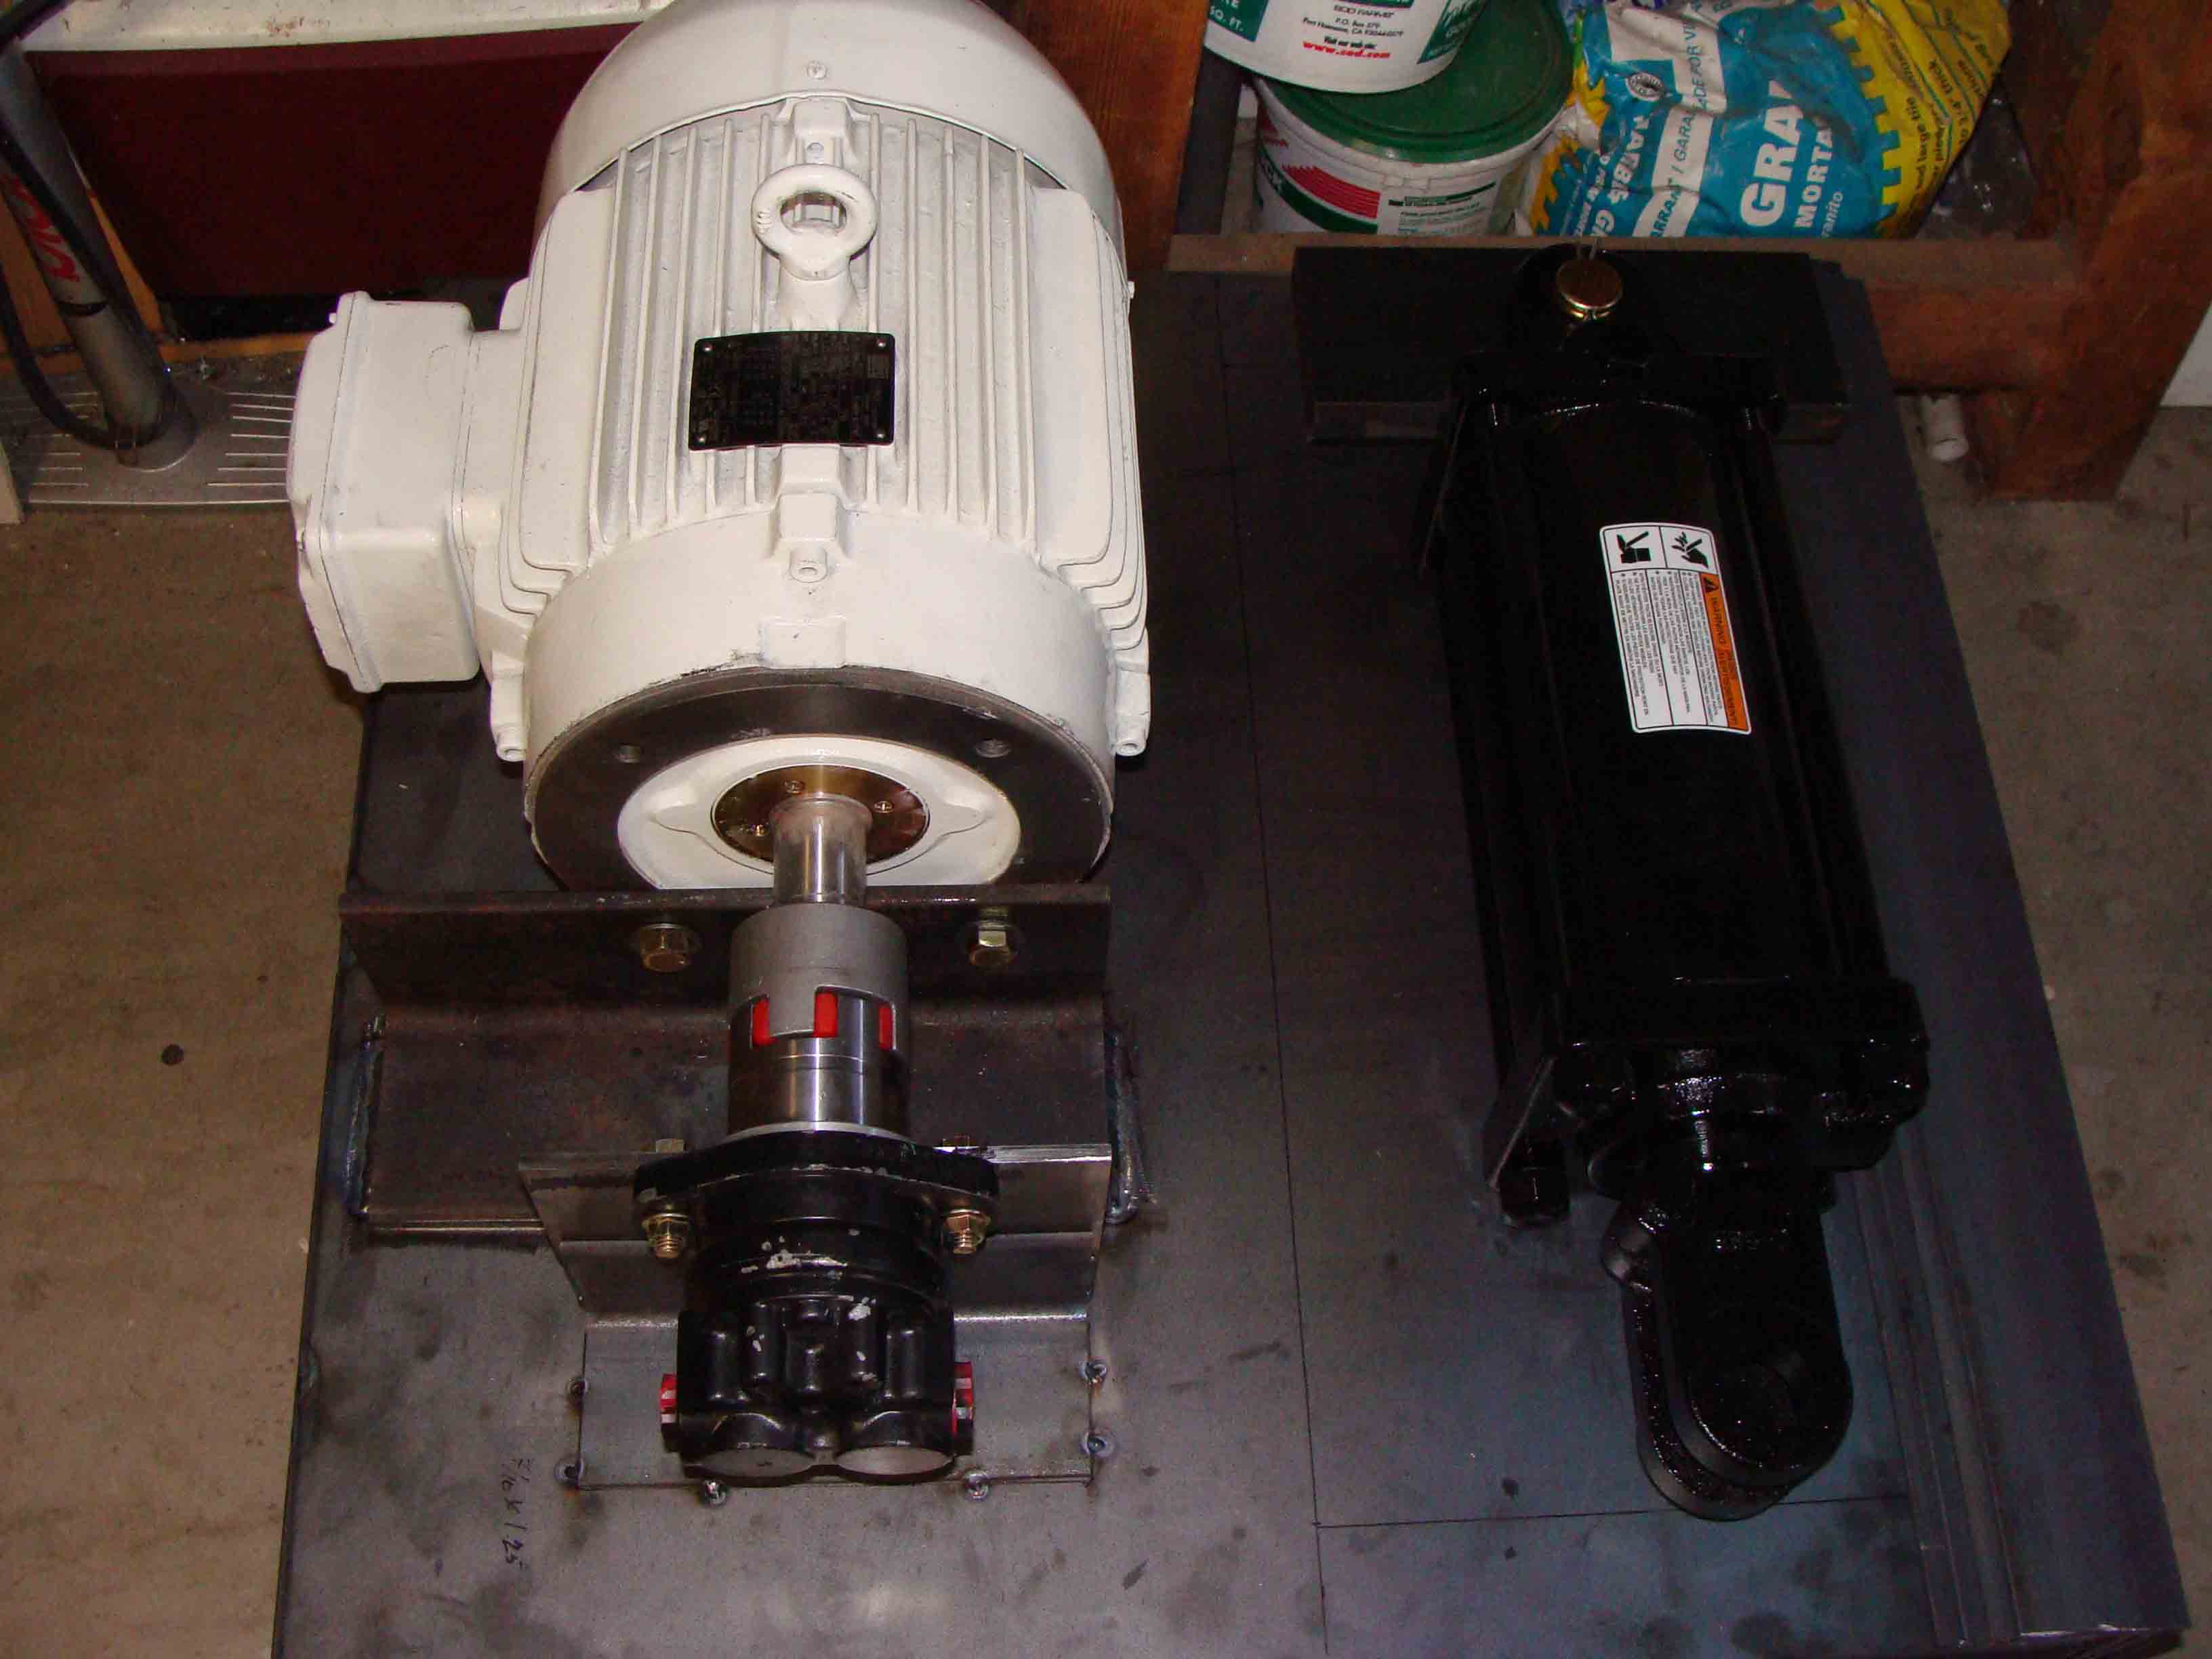
Motor mount and pump mount complete.
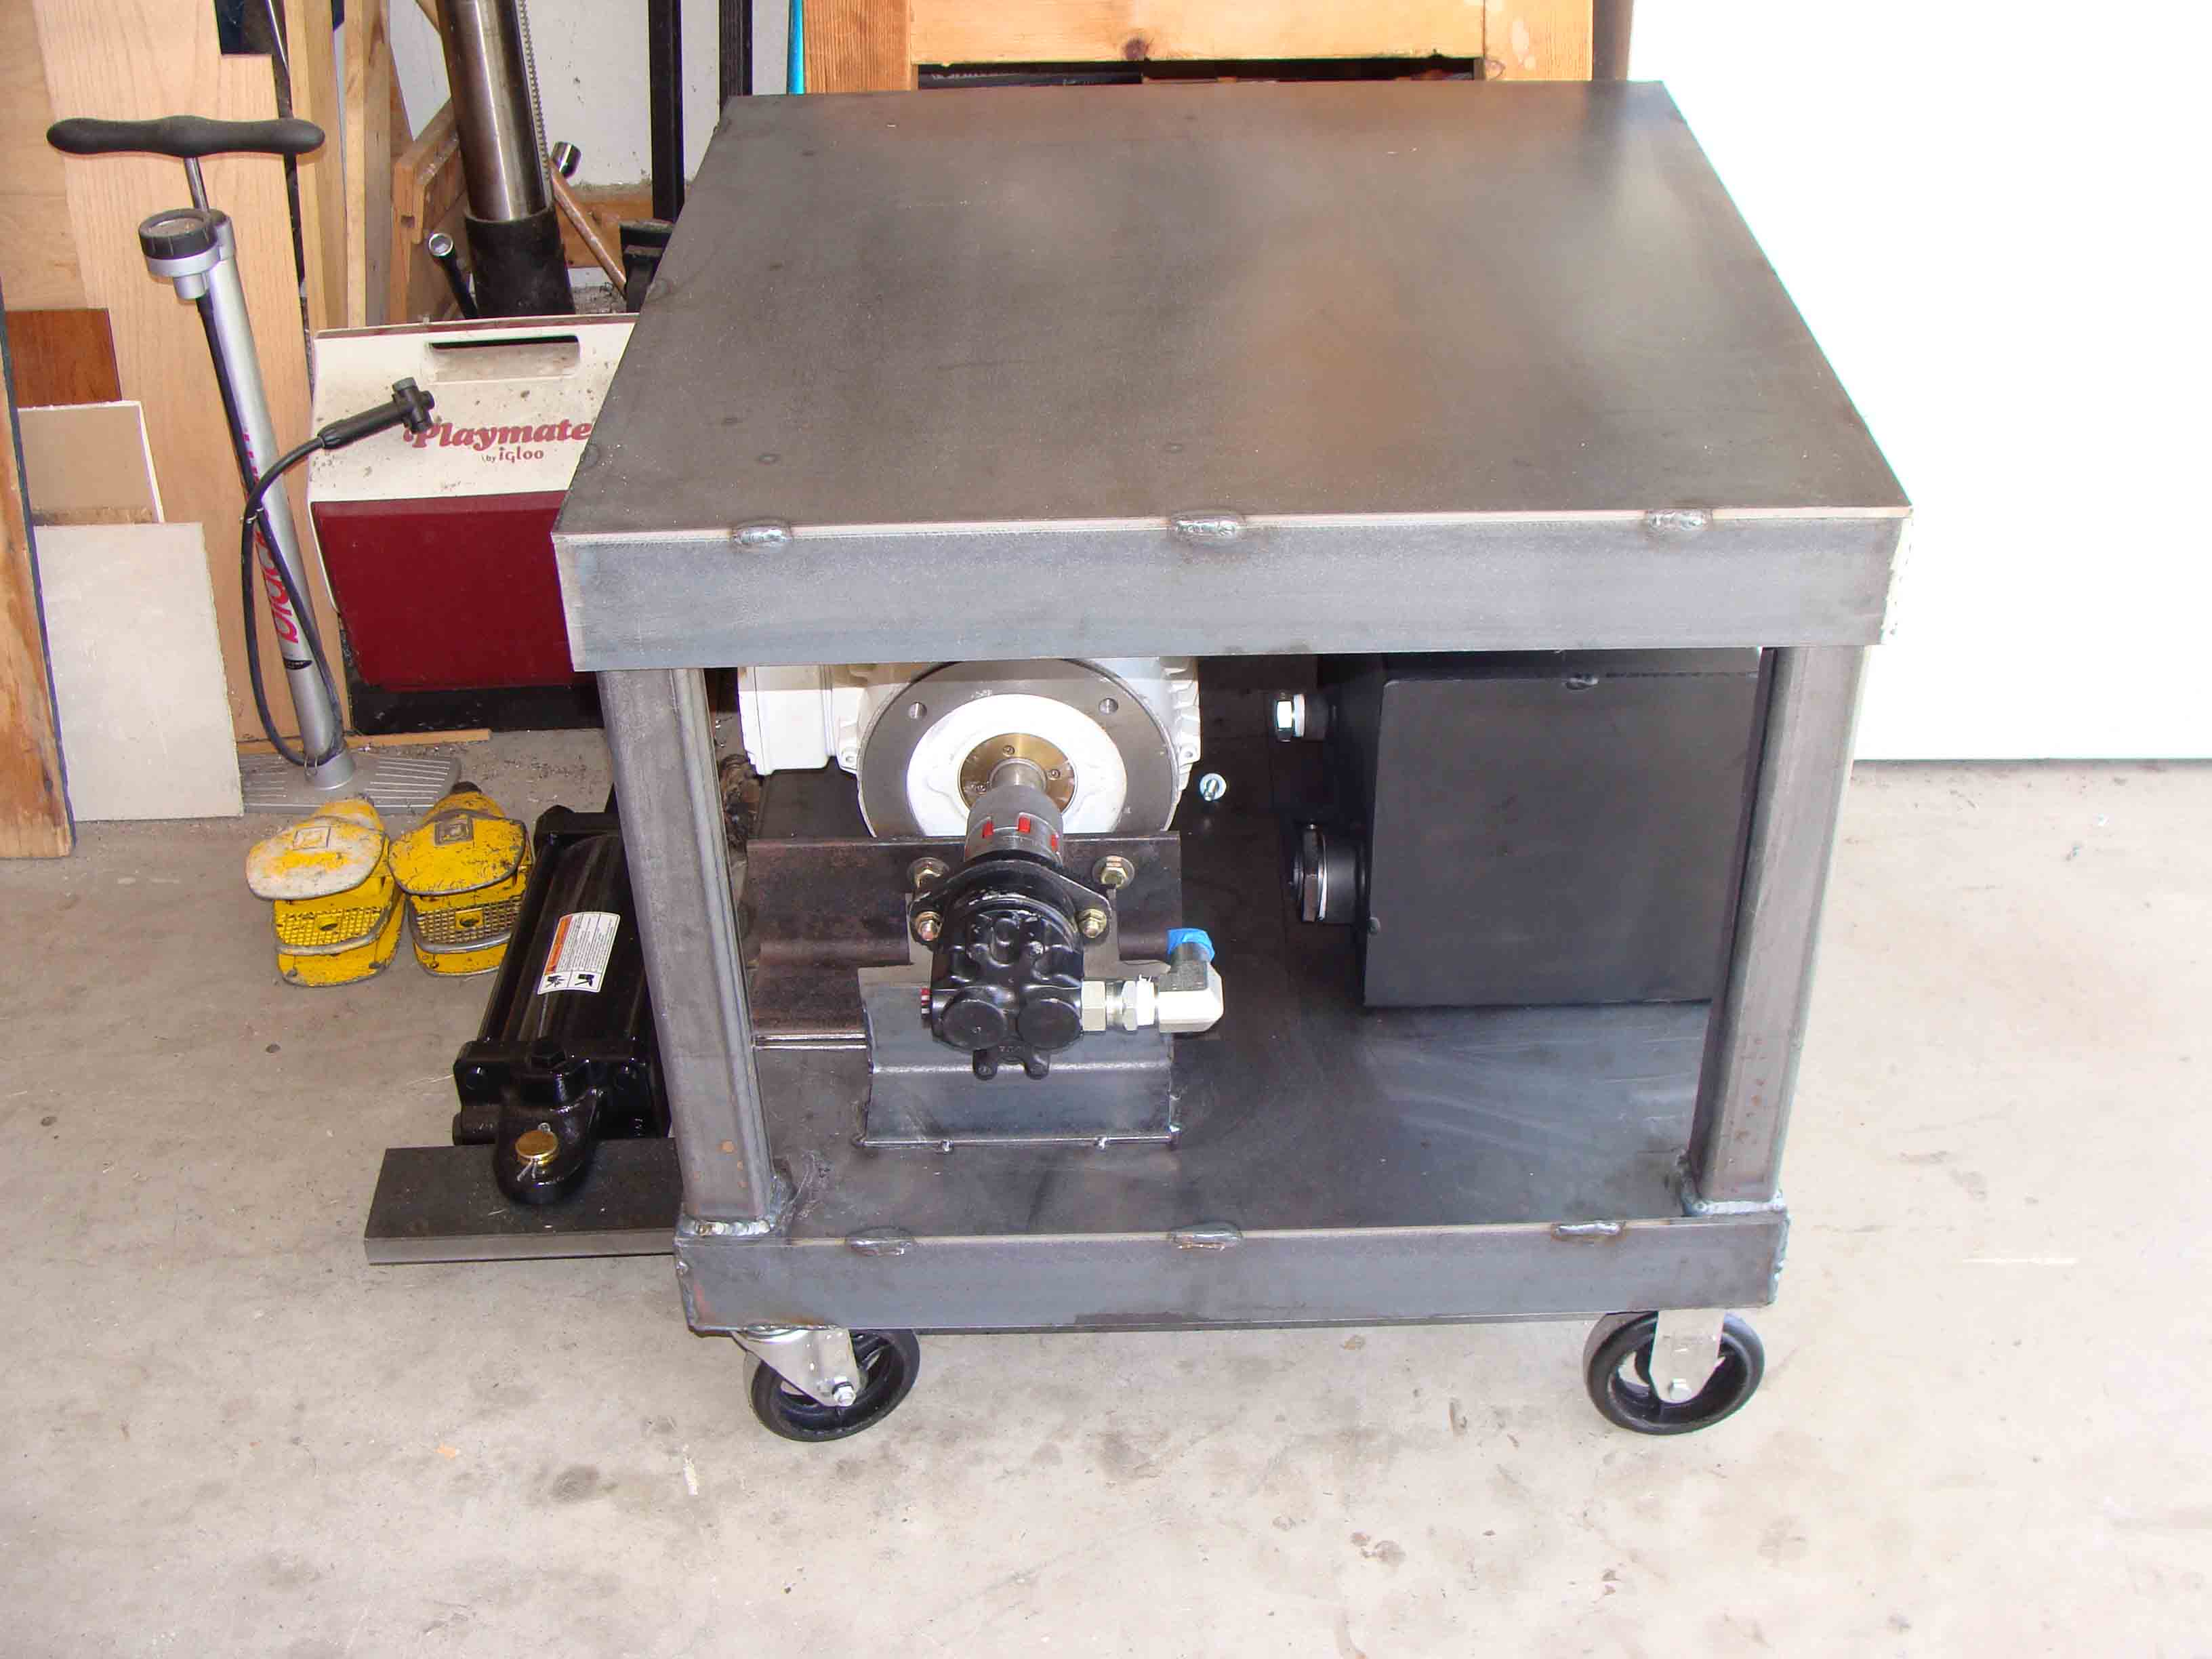
Hydraulic tank mounted and top of base complete. Now to build the H frame.
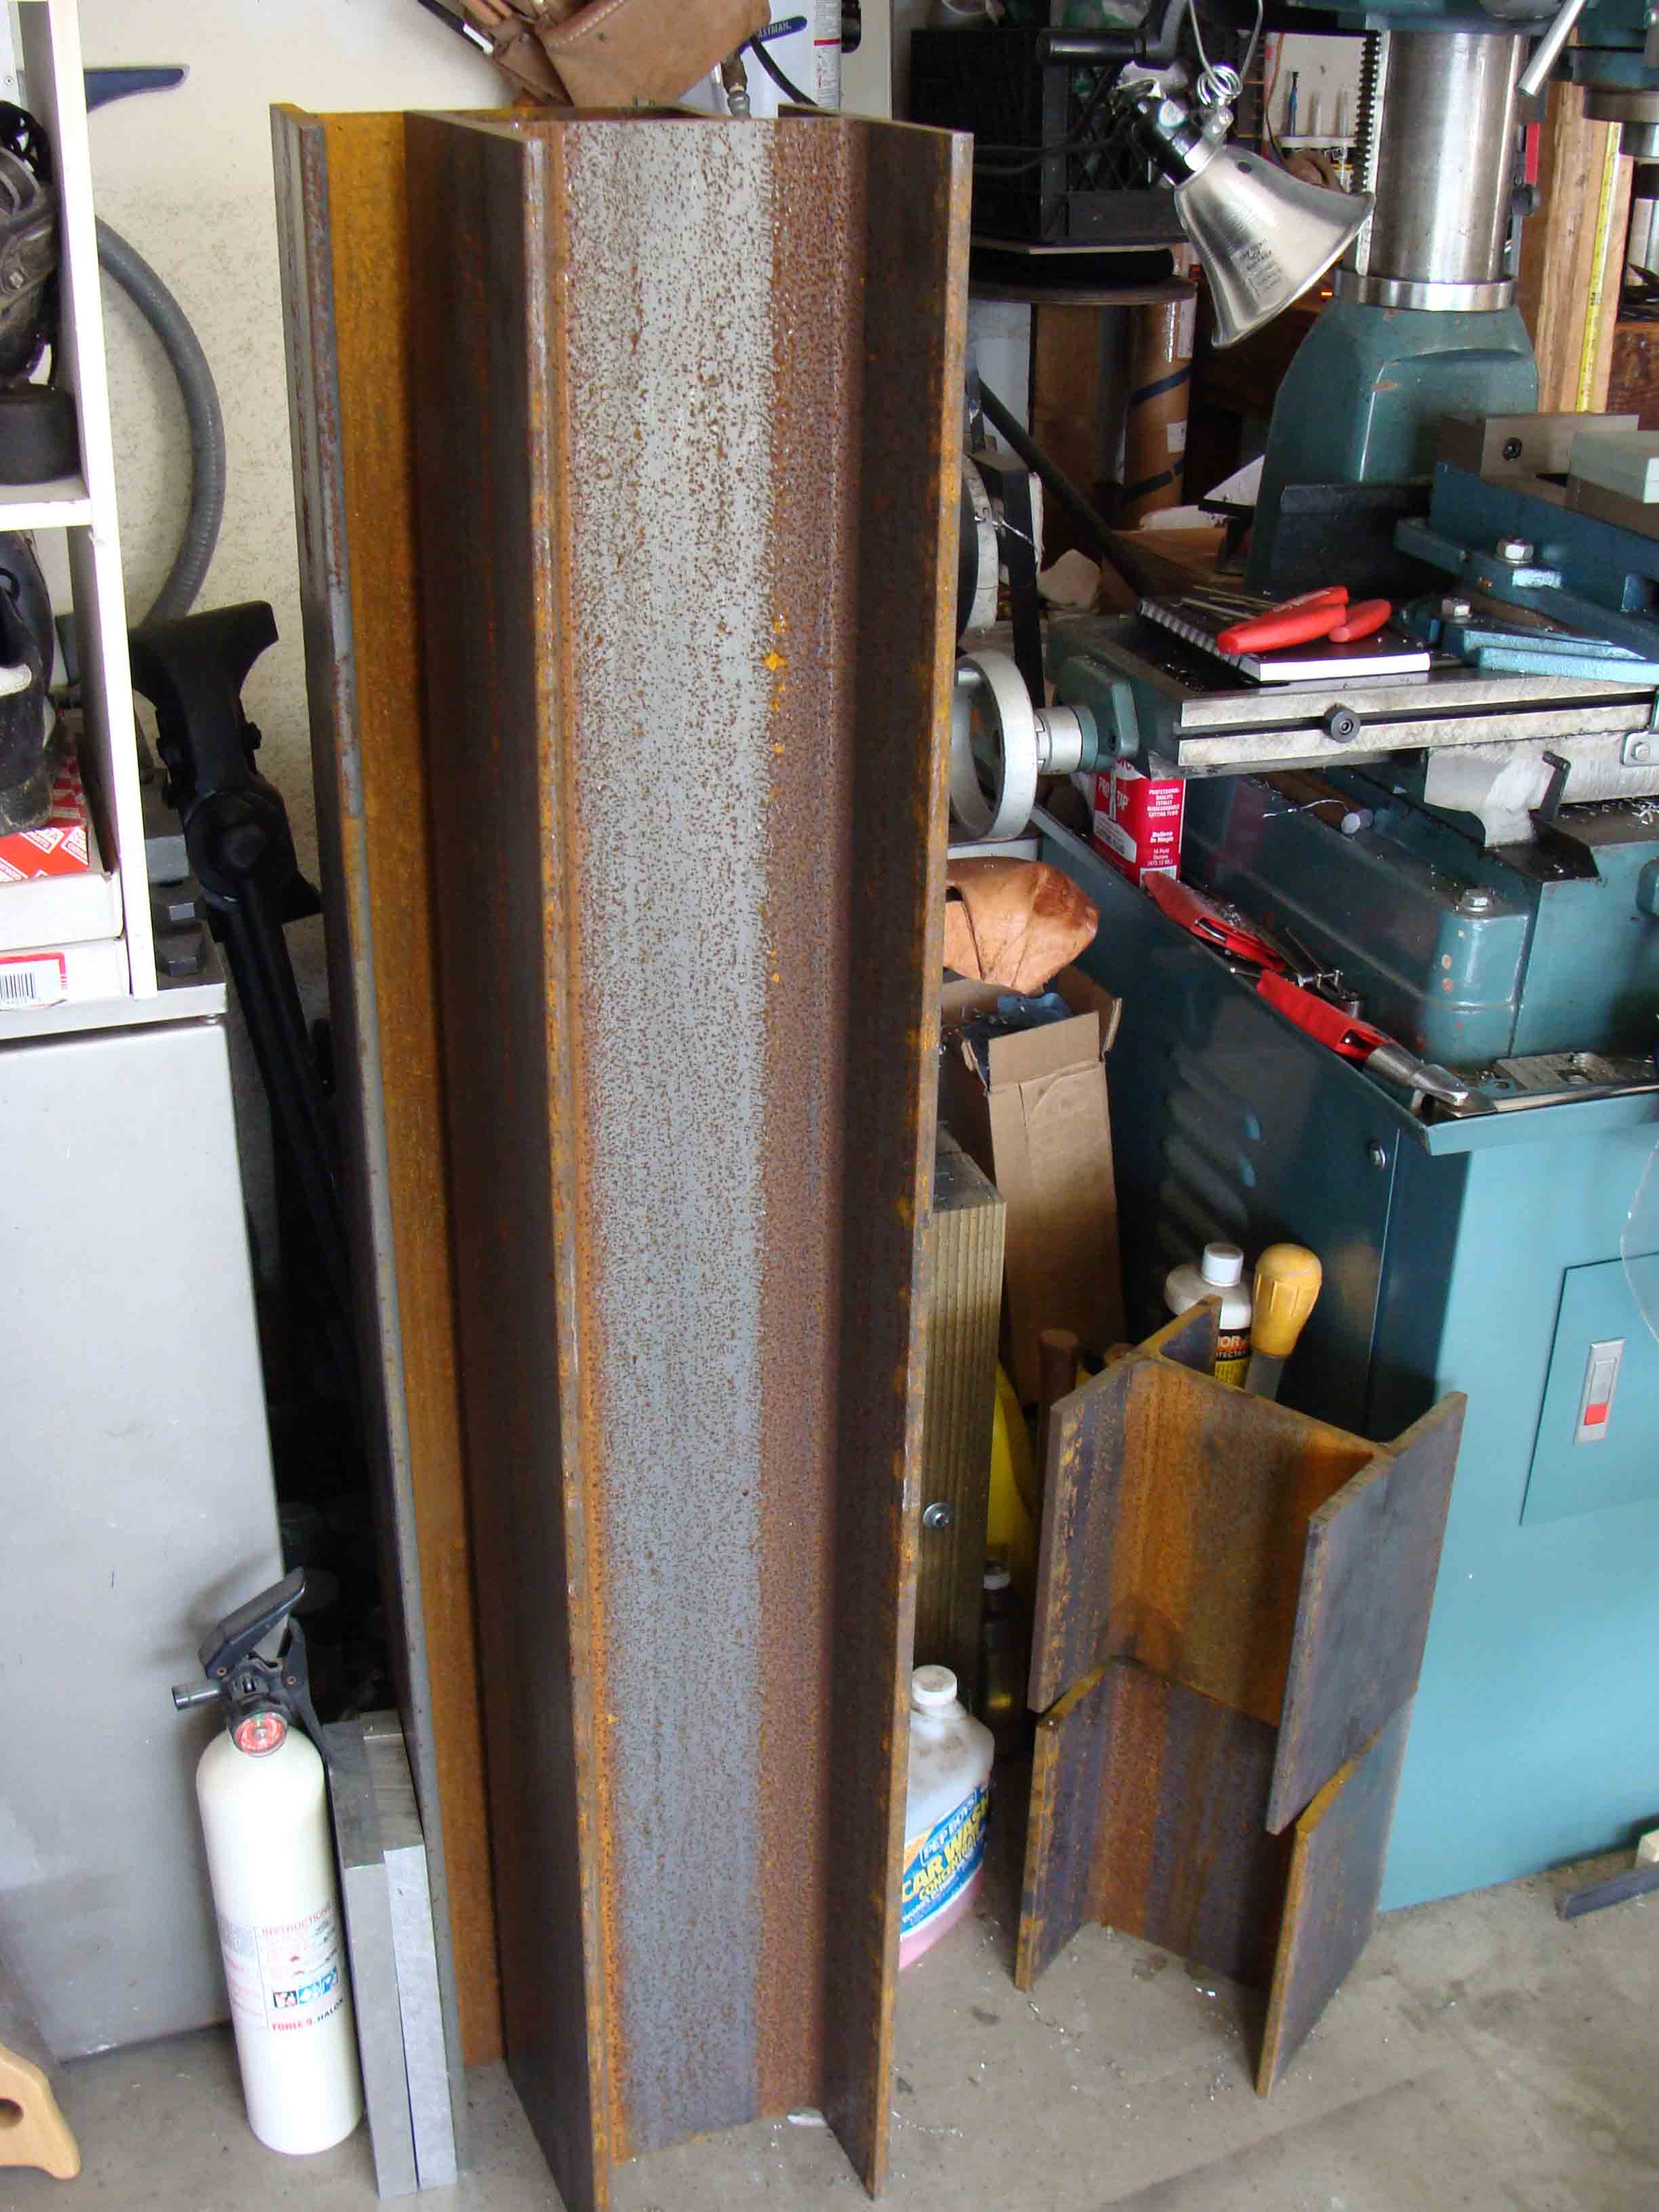
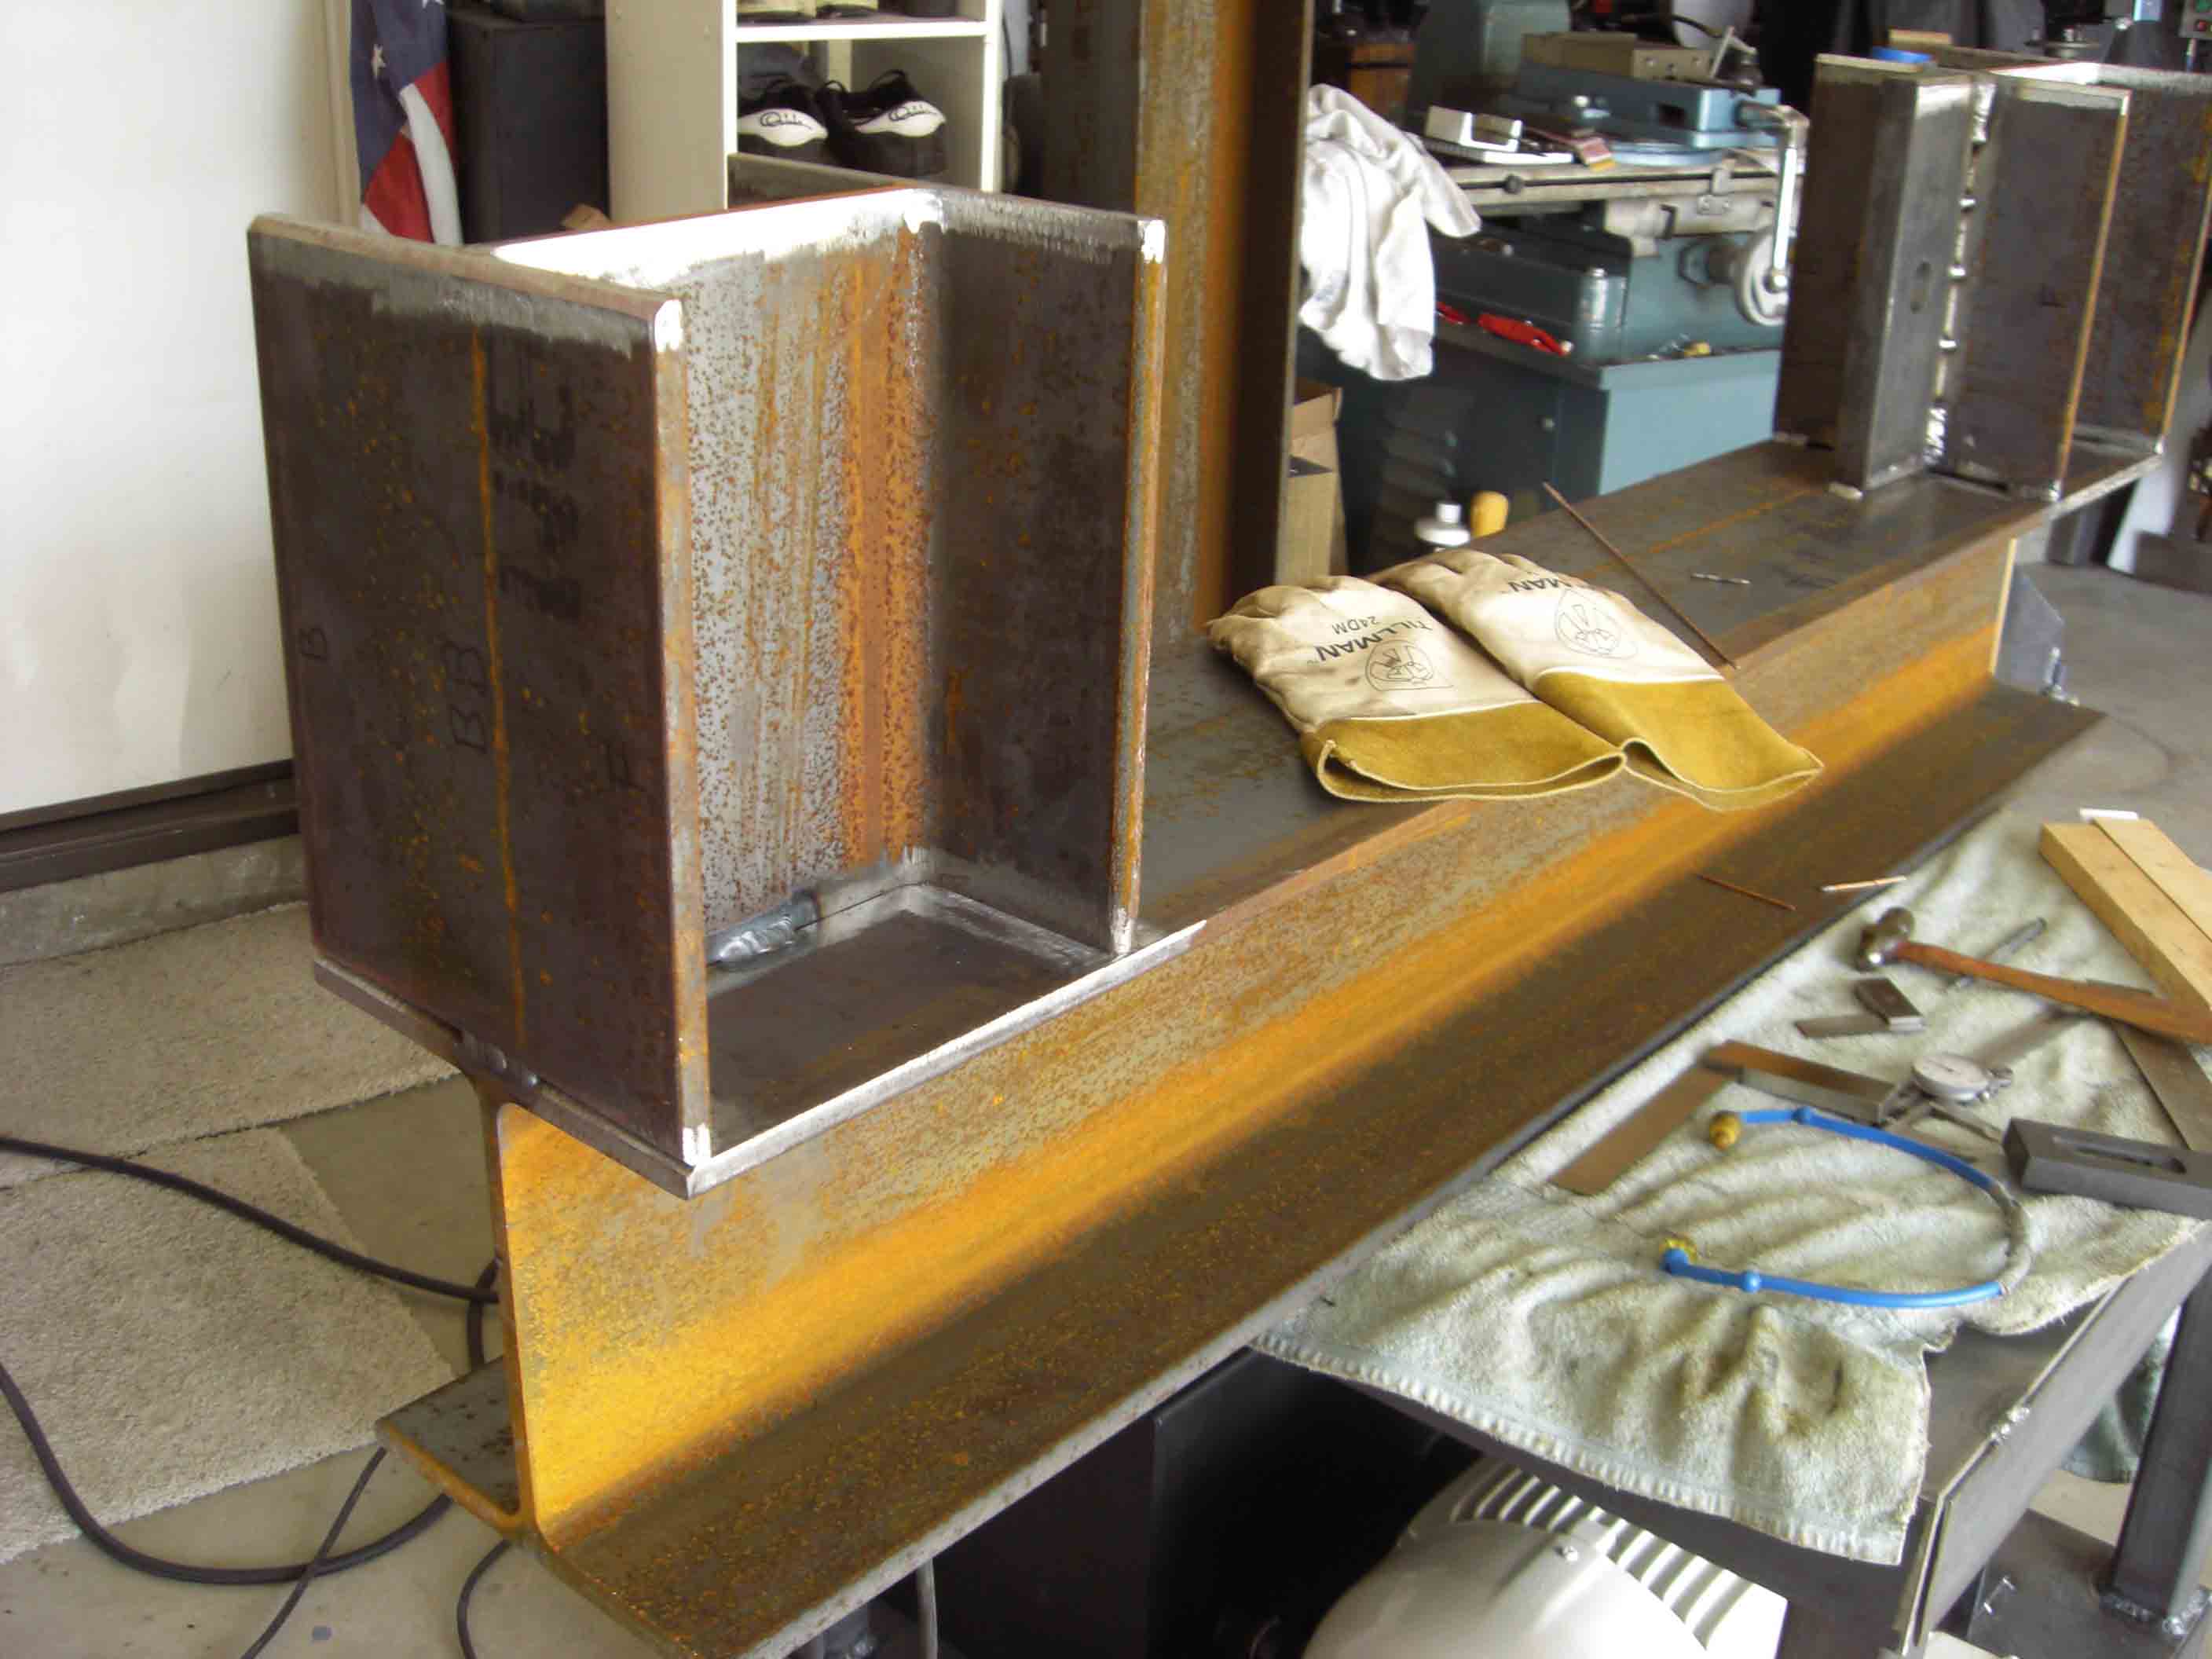
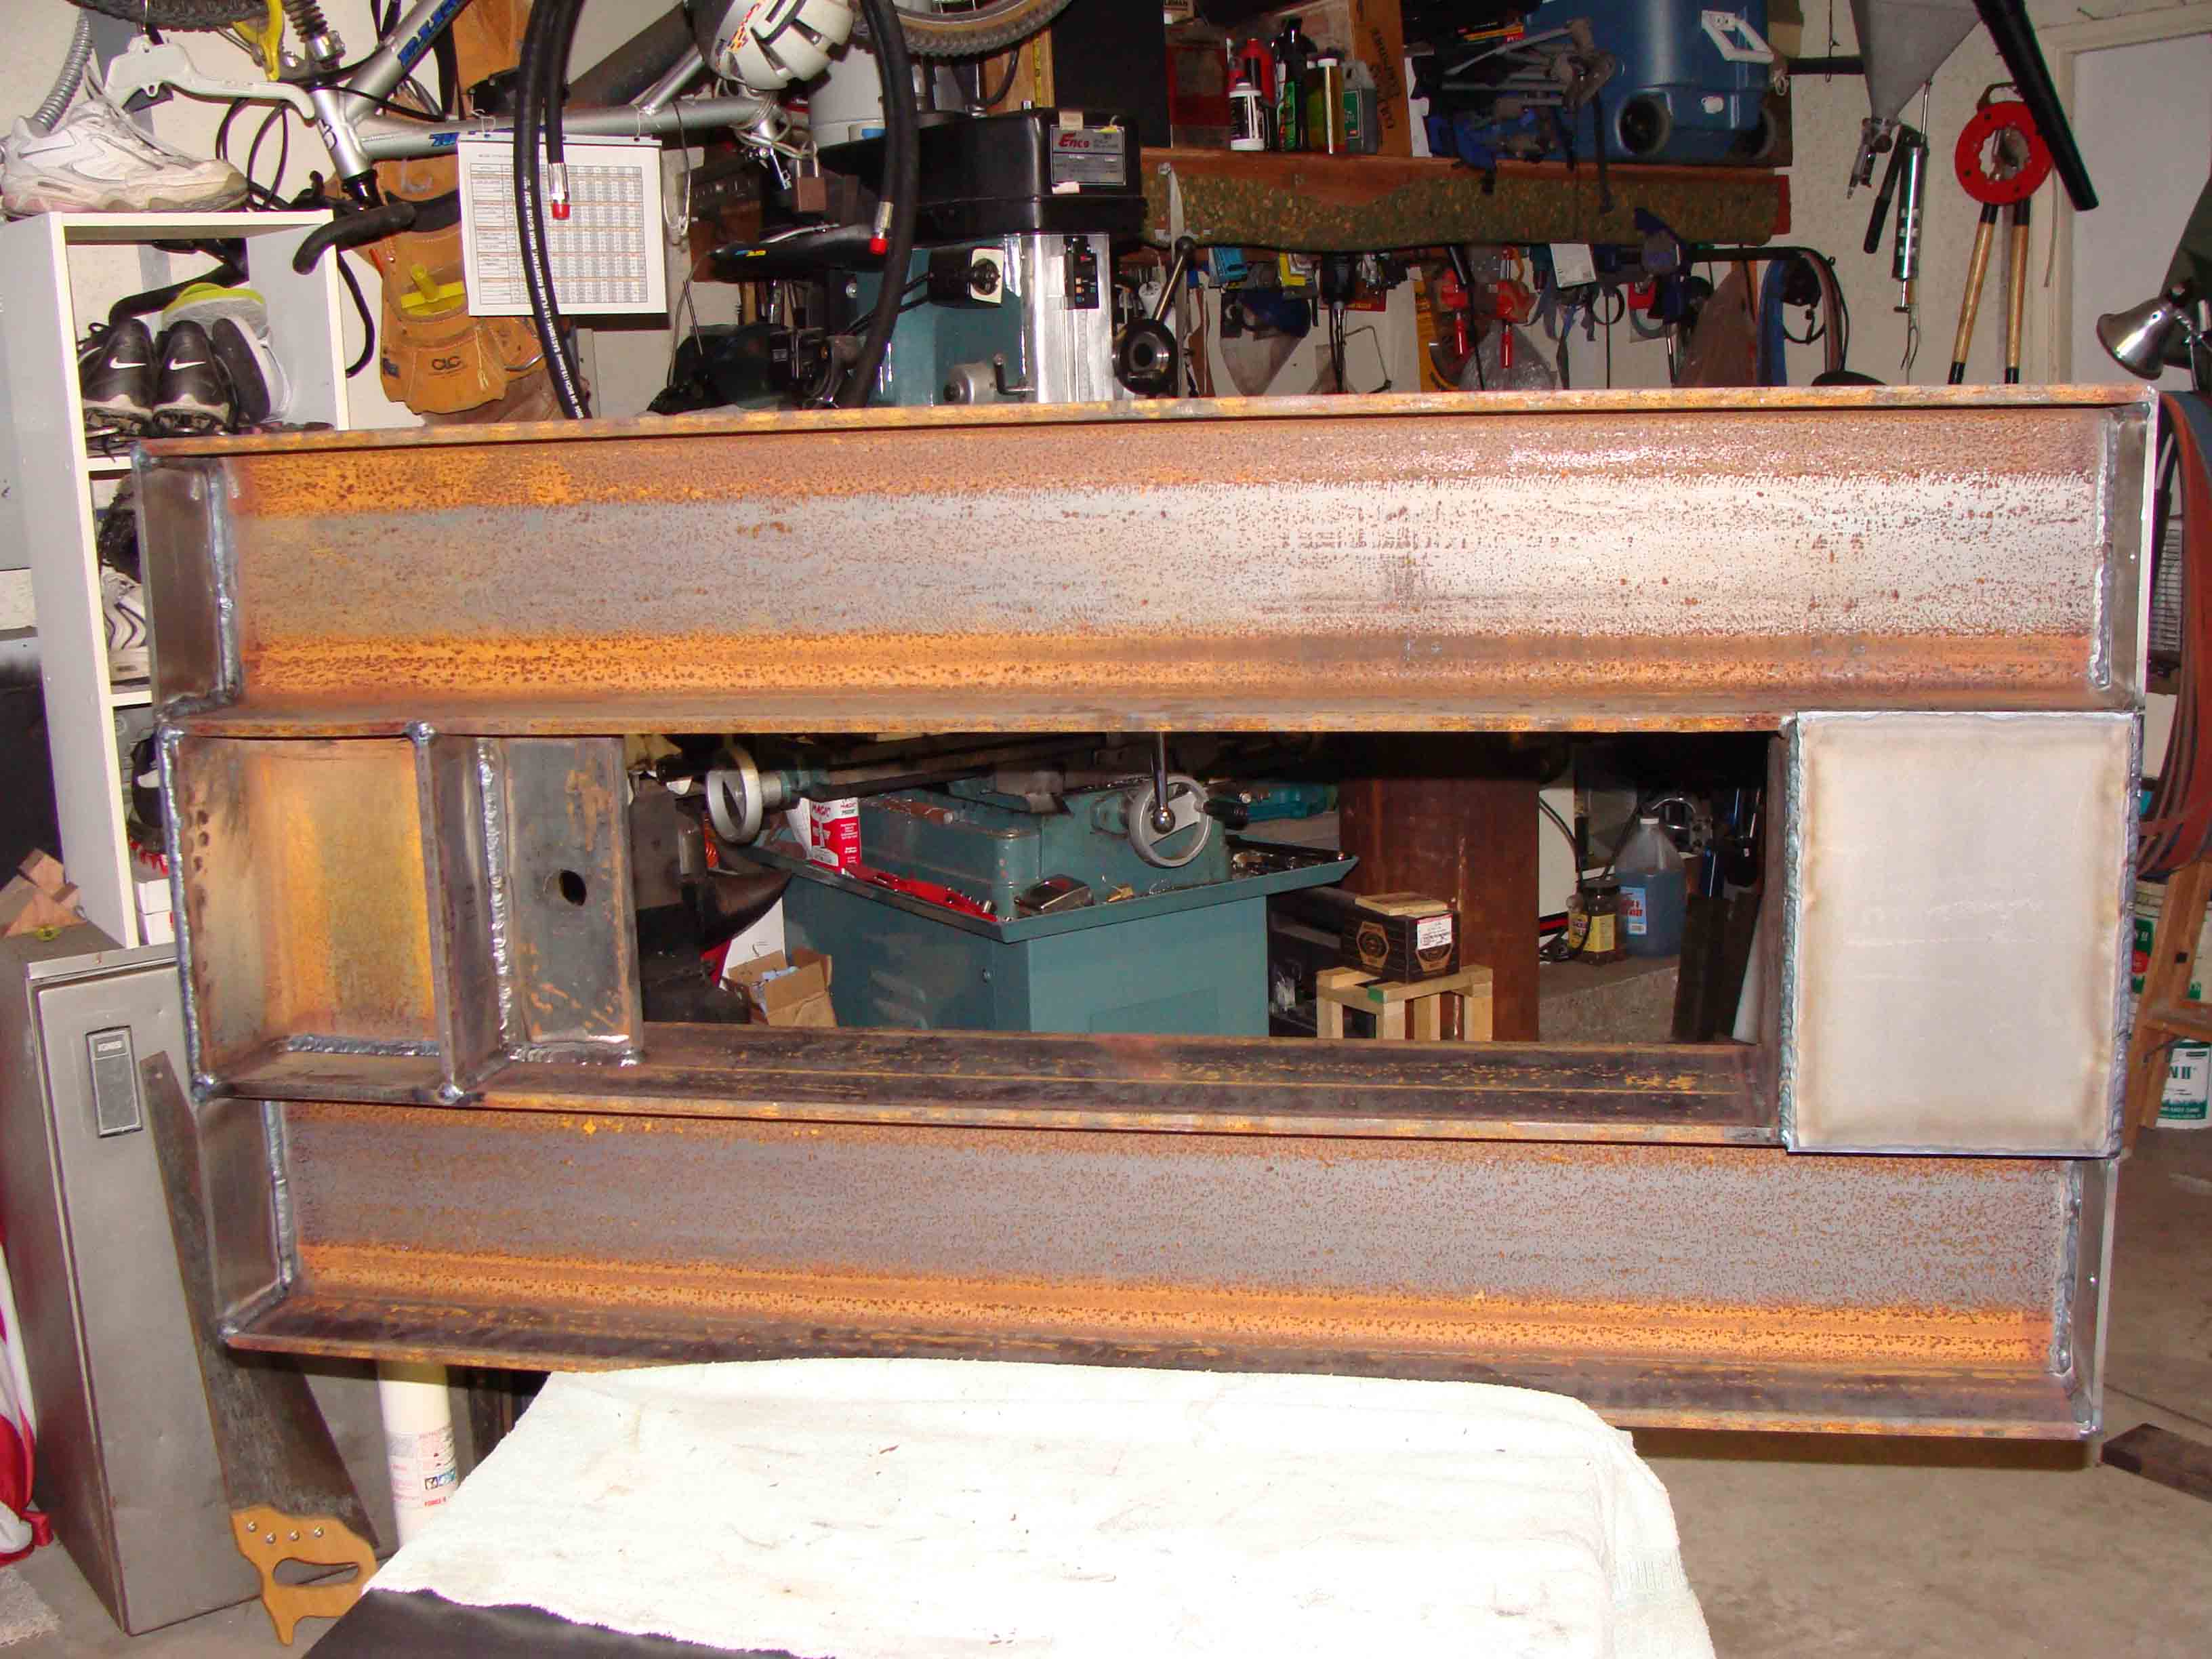
Pictures of beams prior to welding.
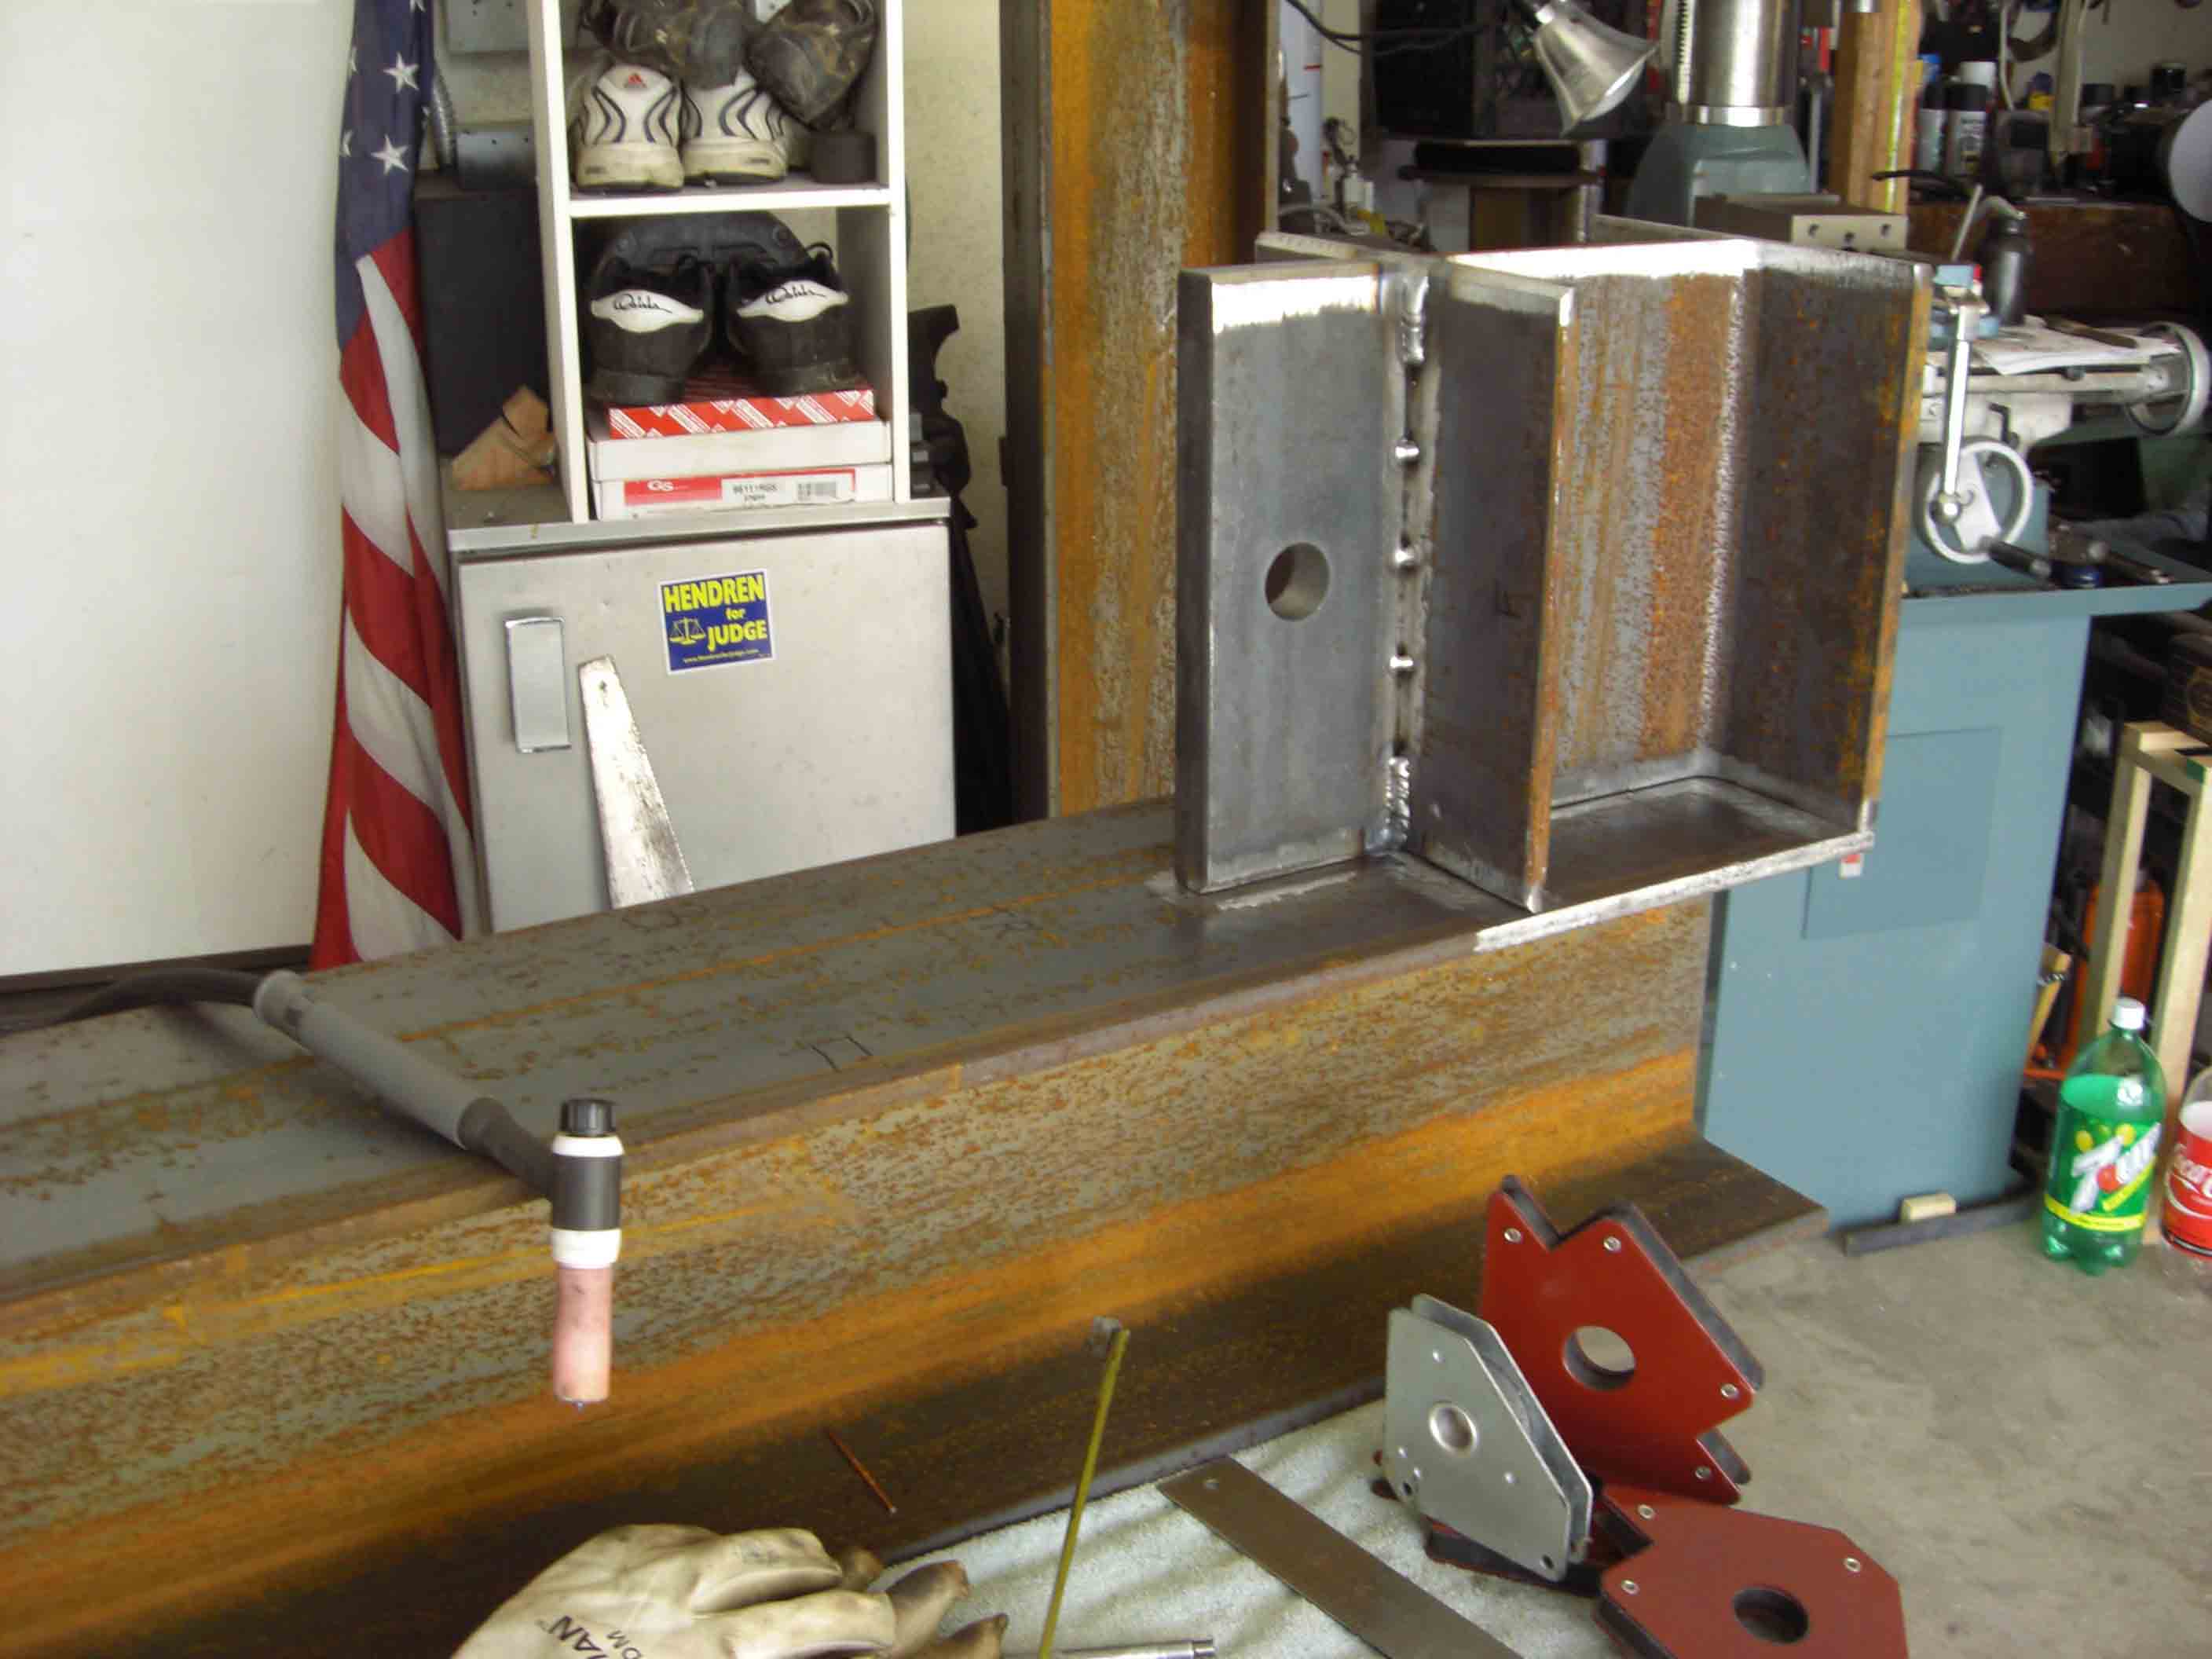
Starting to tack weld top frame components.
Misc build pics.
Misc build pics.
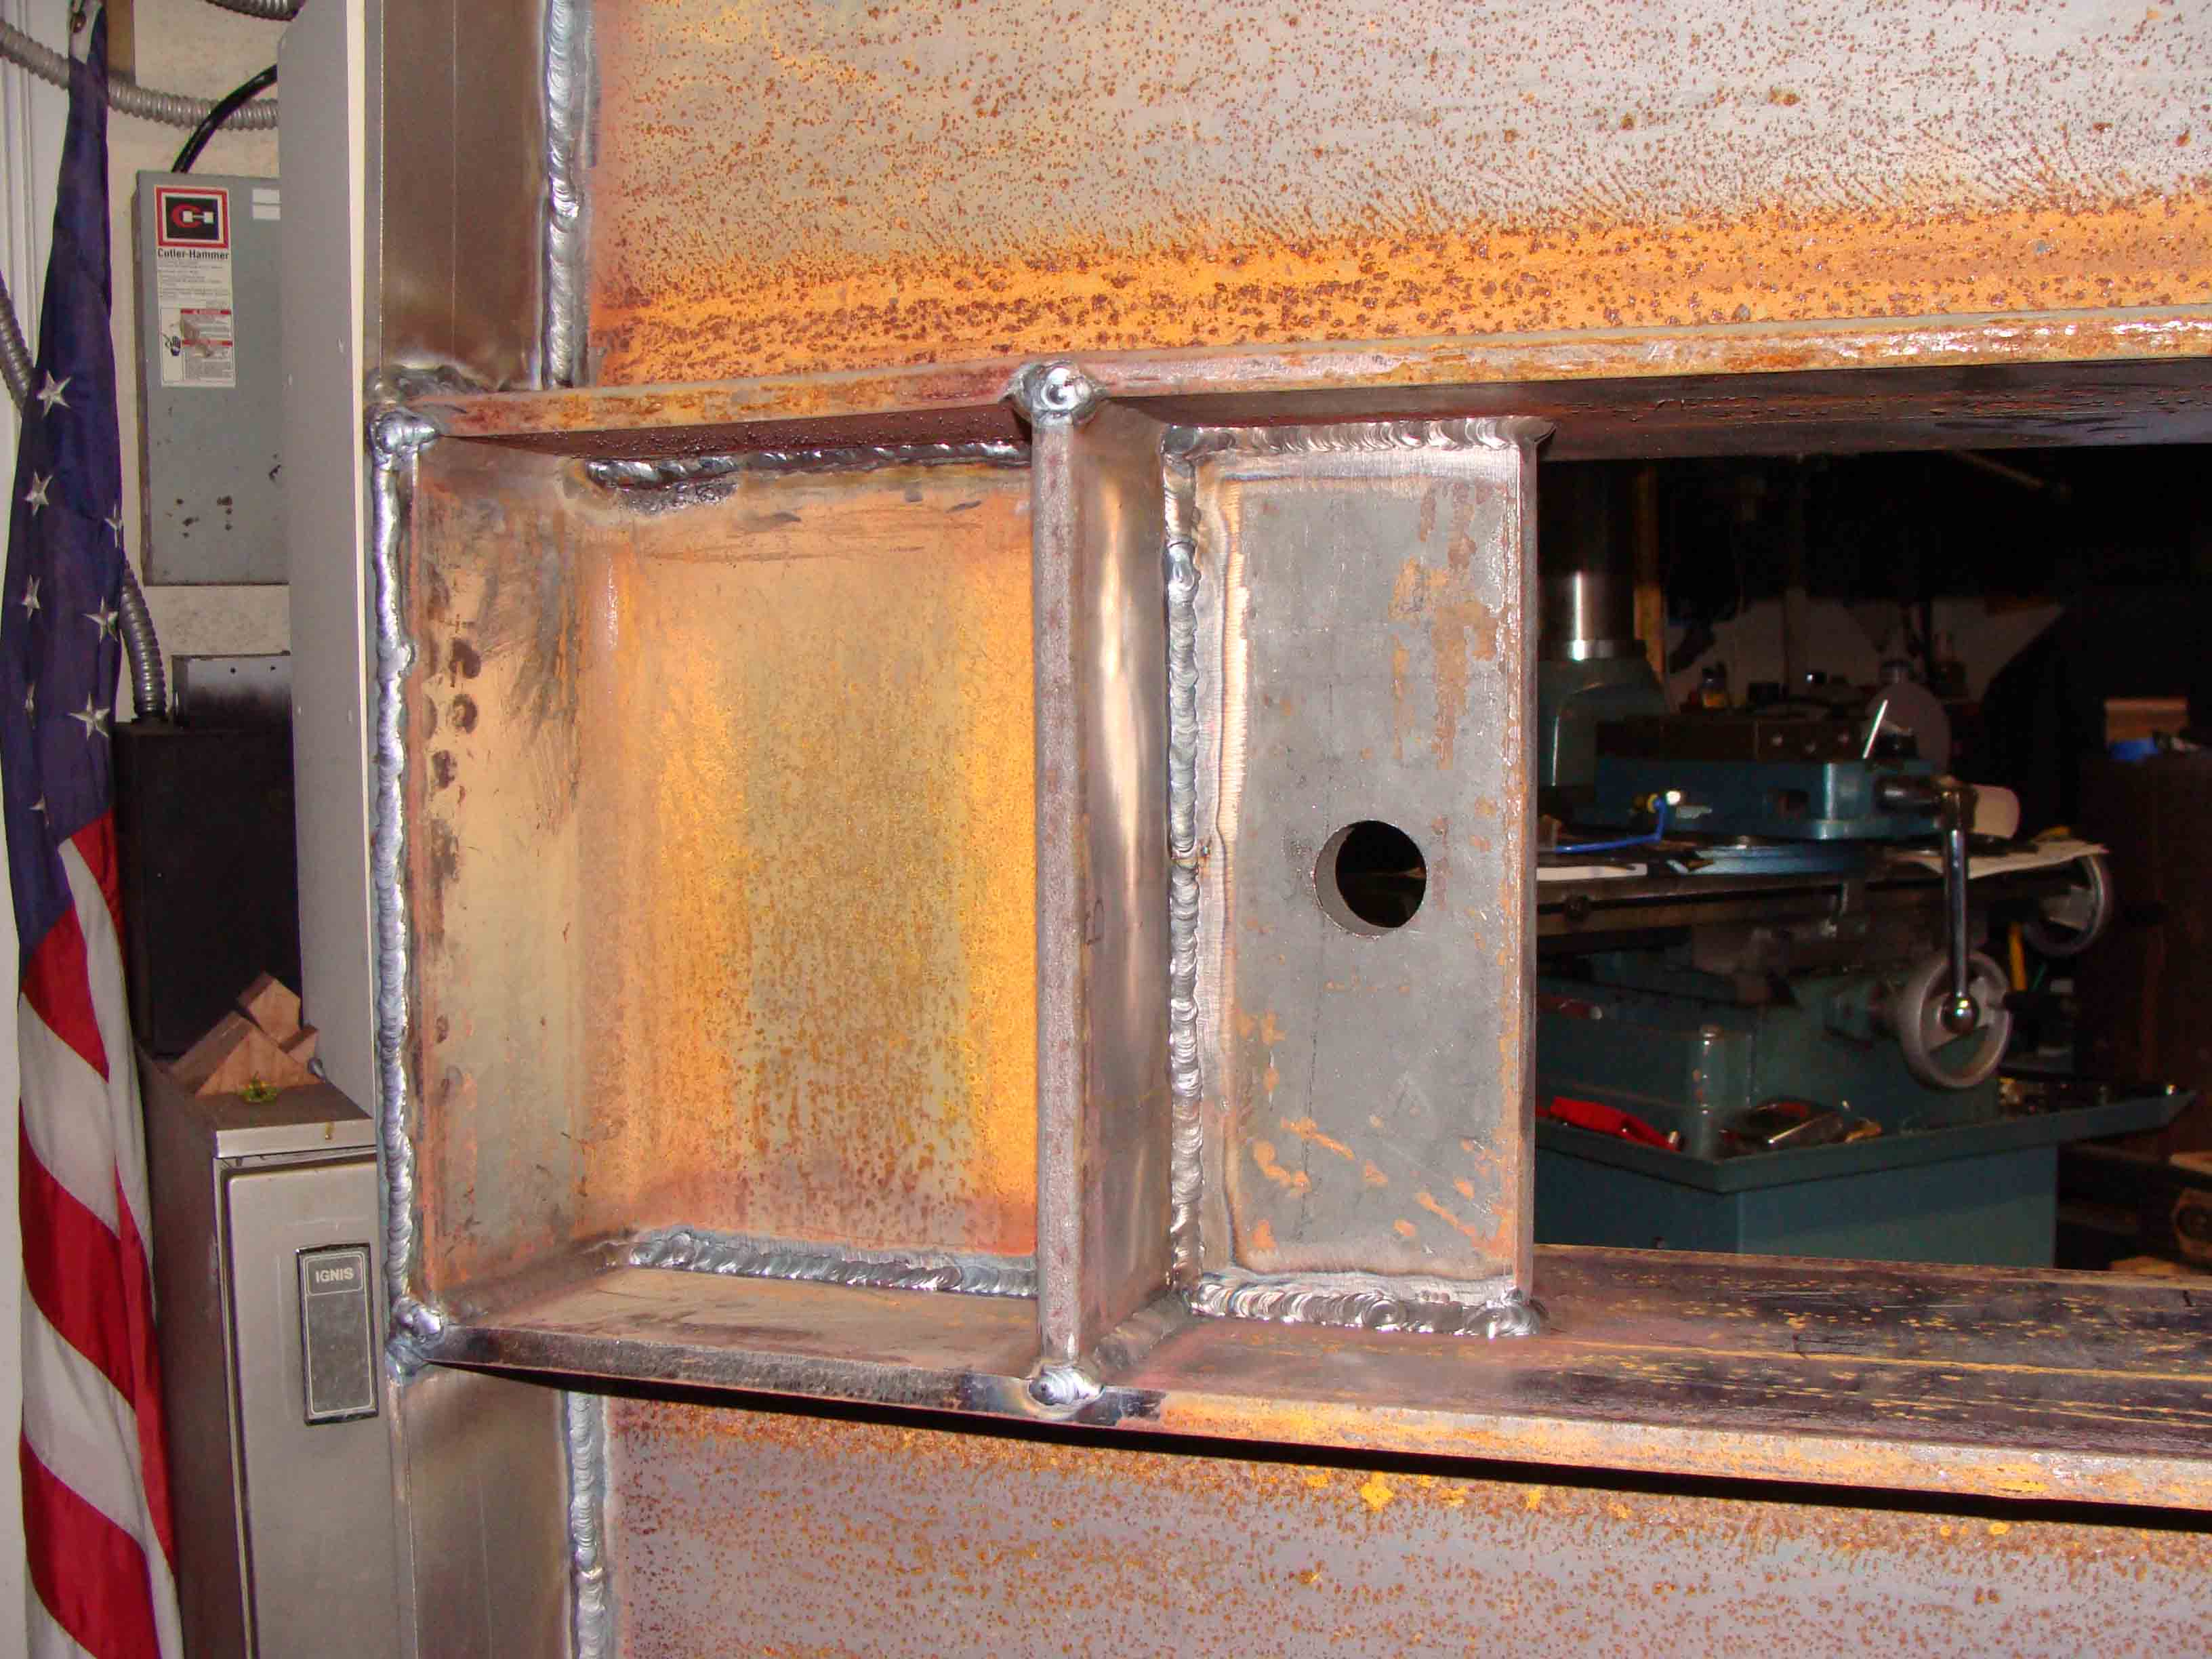
Misc build pics.
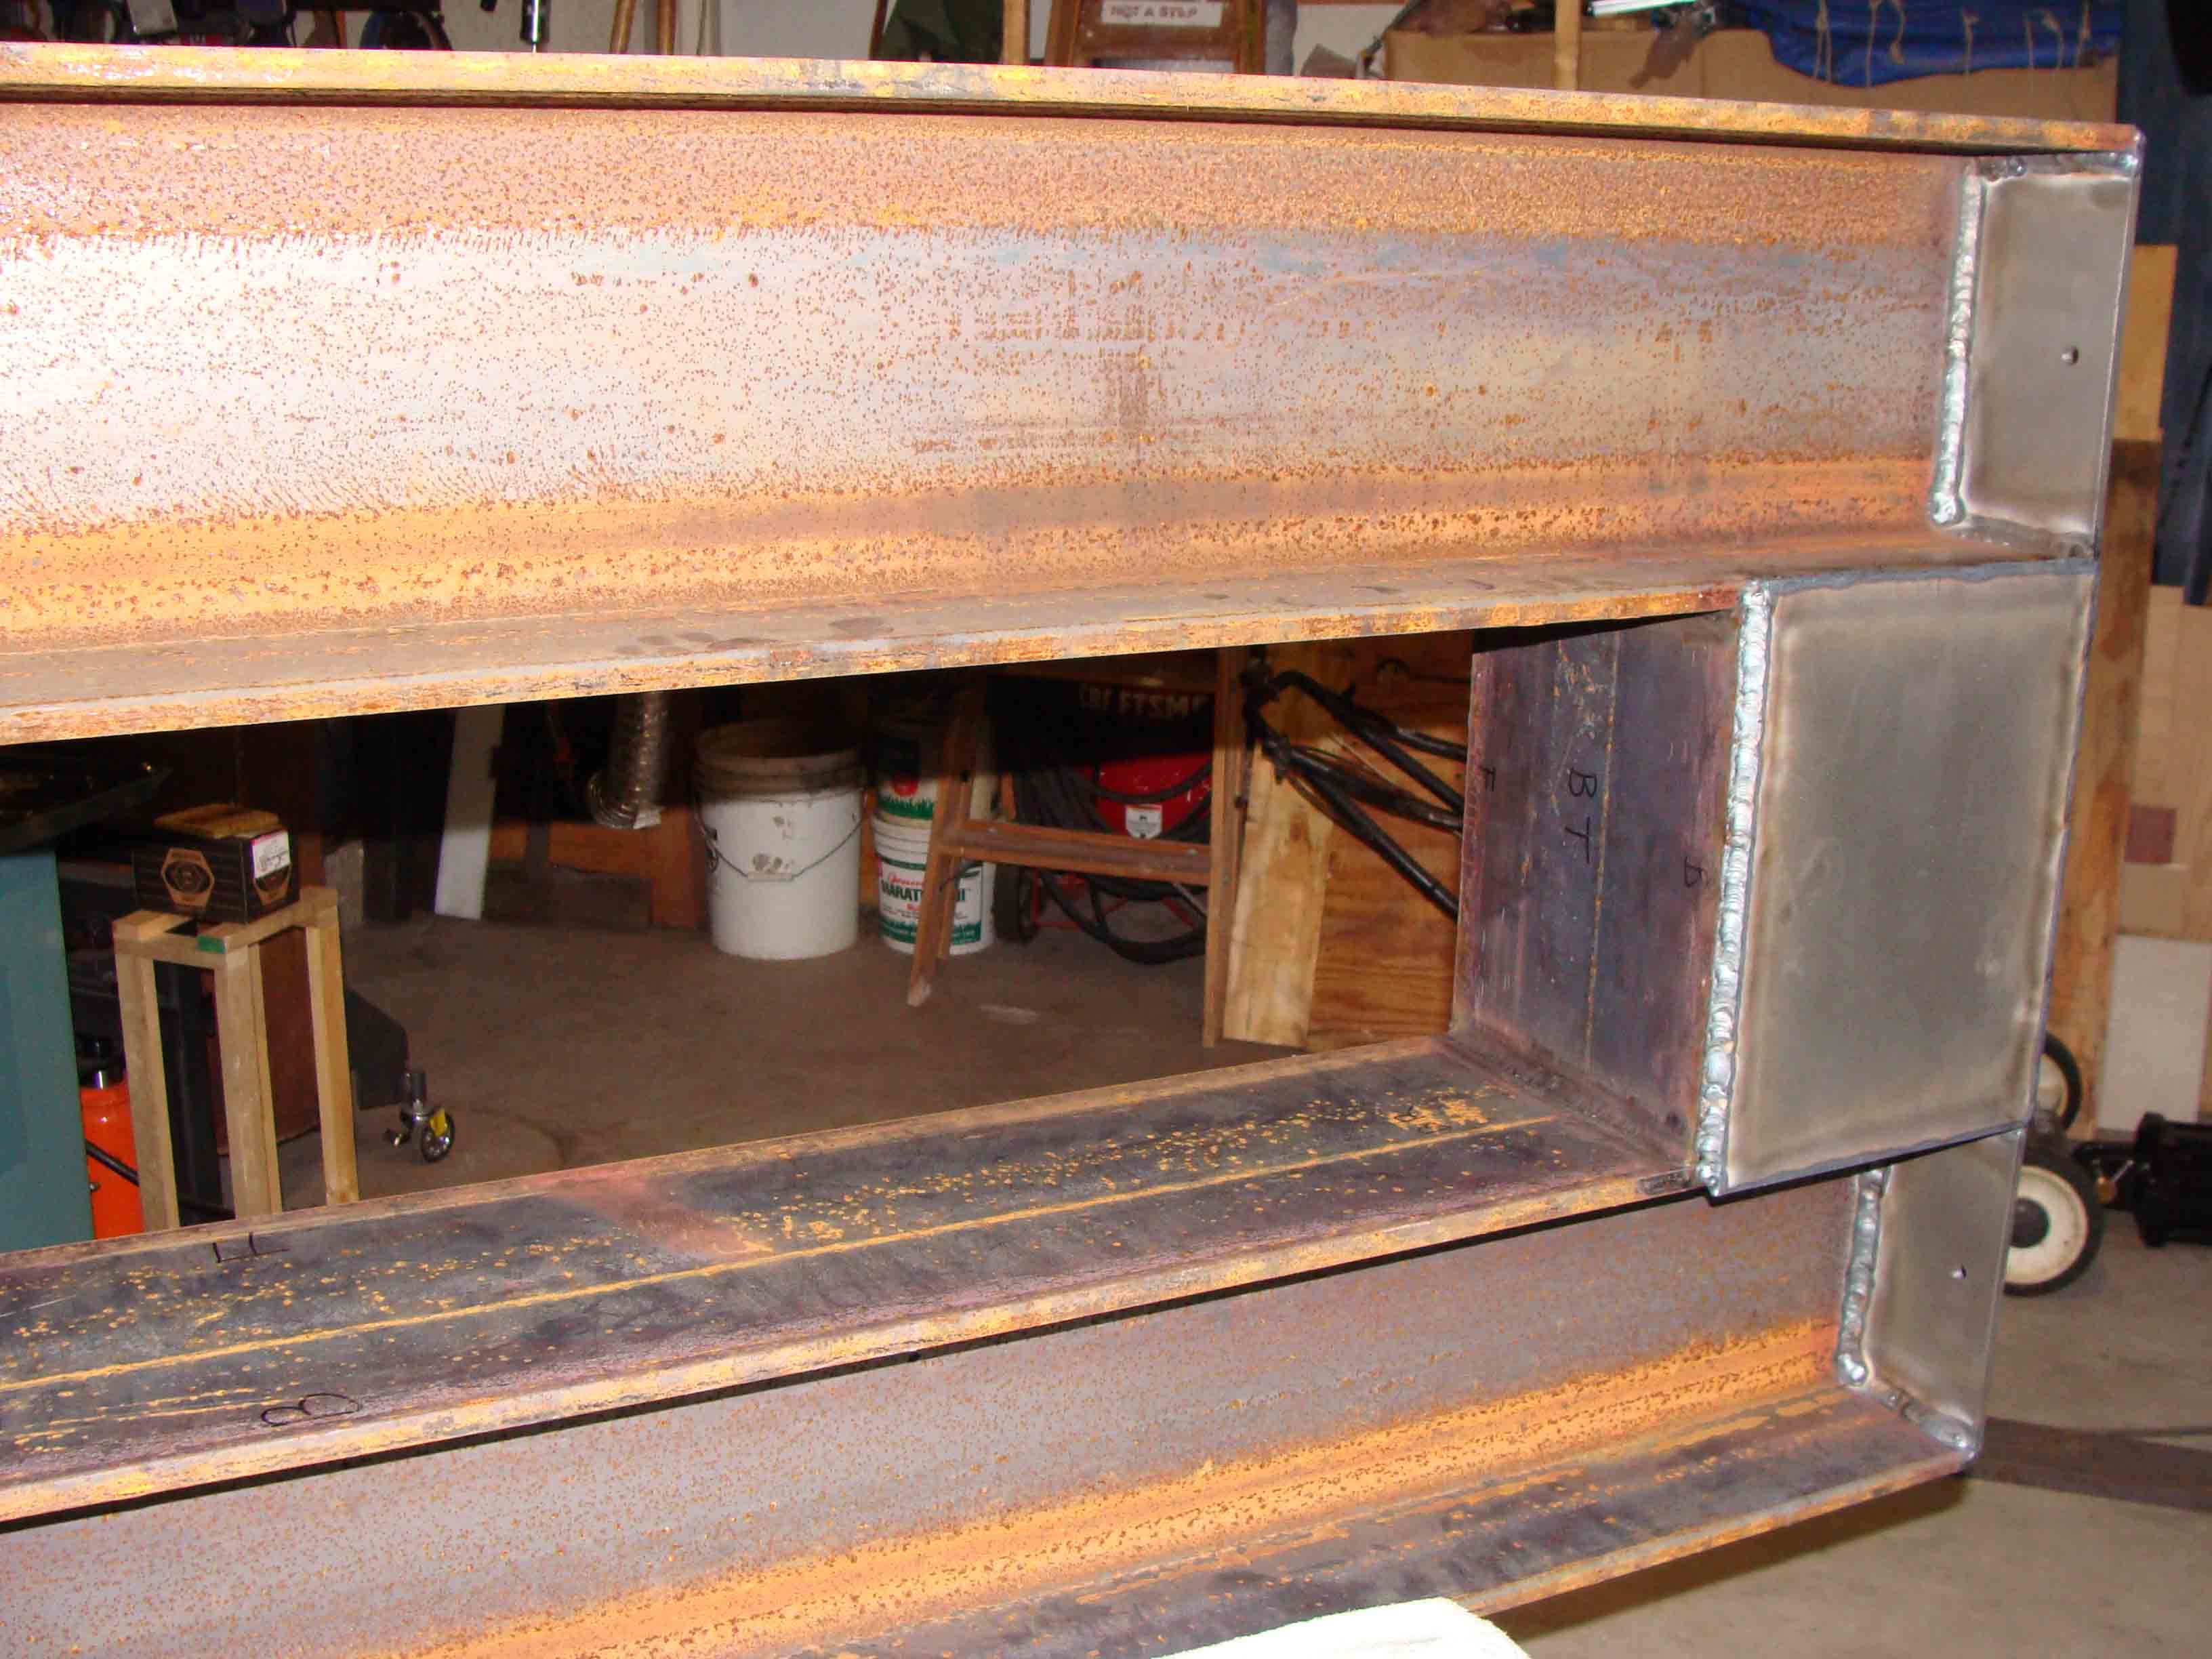
Misc build pics.
Welding done on H frame.
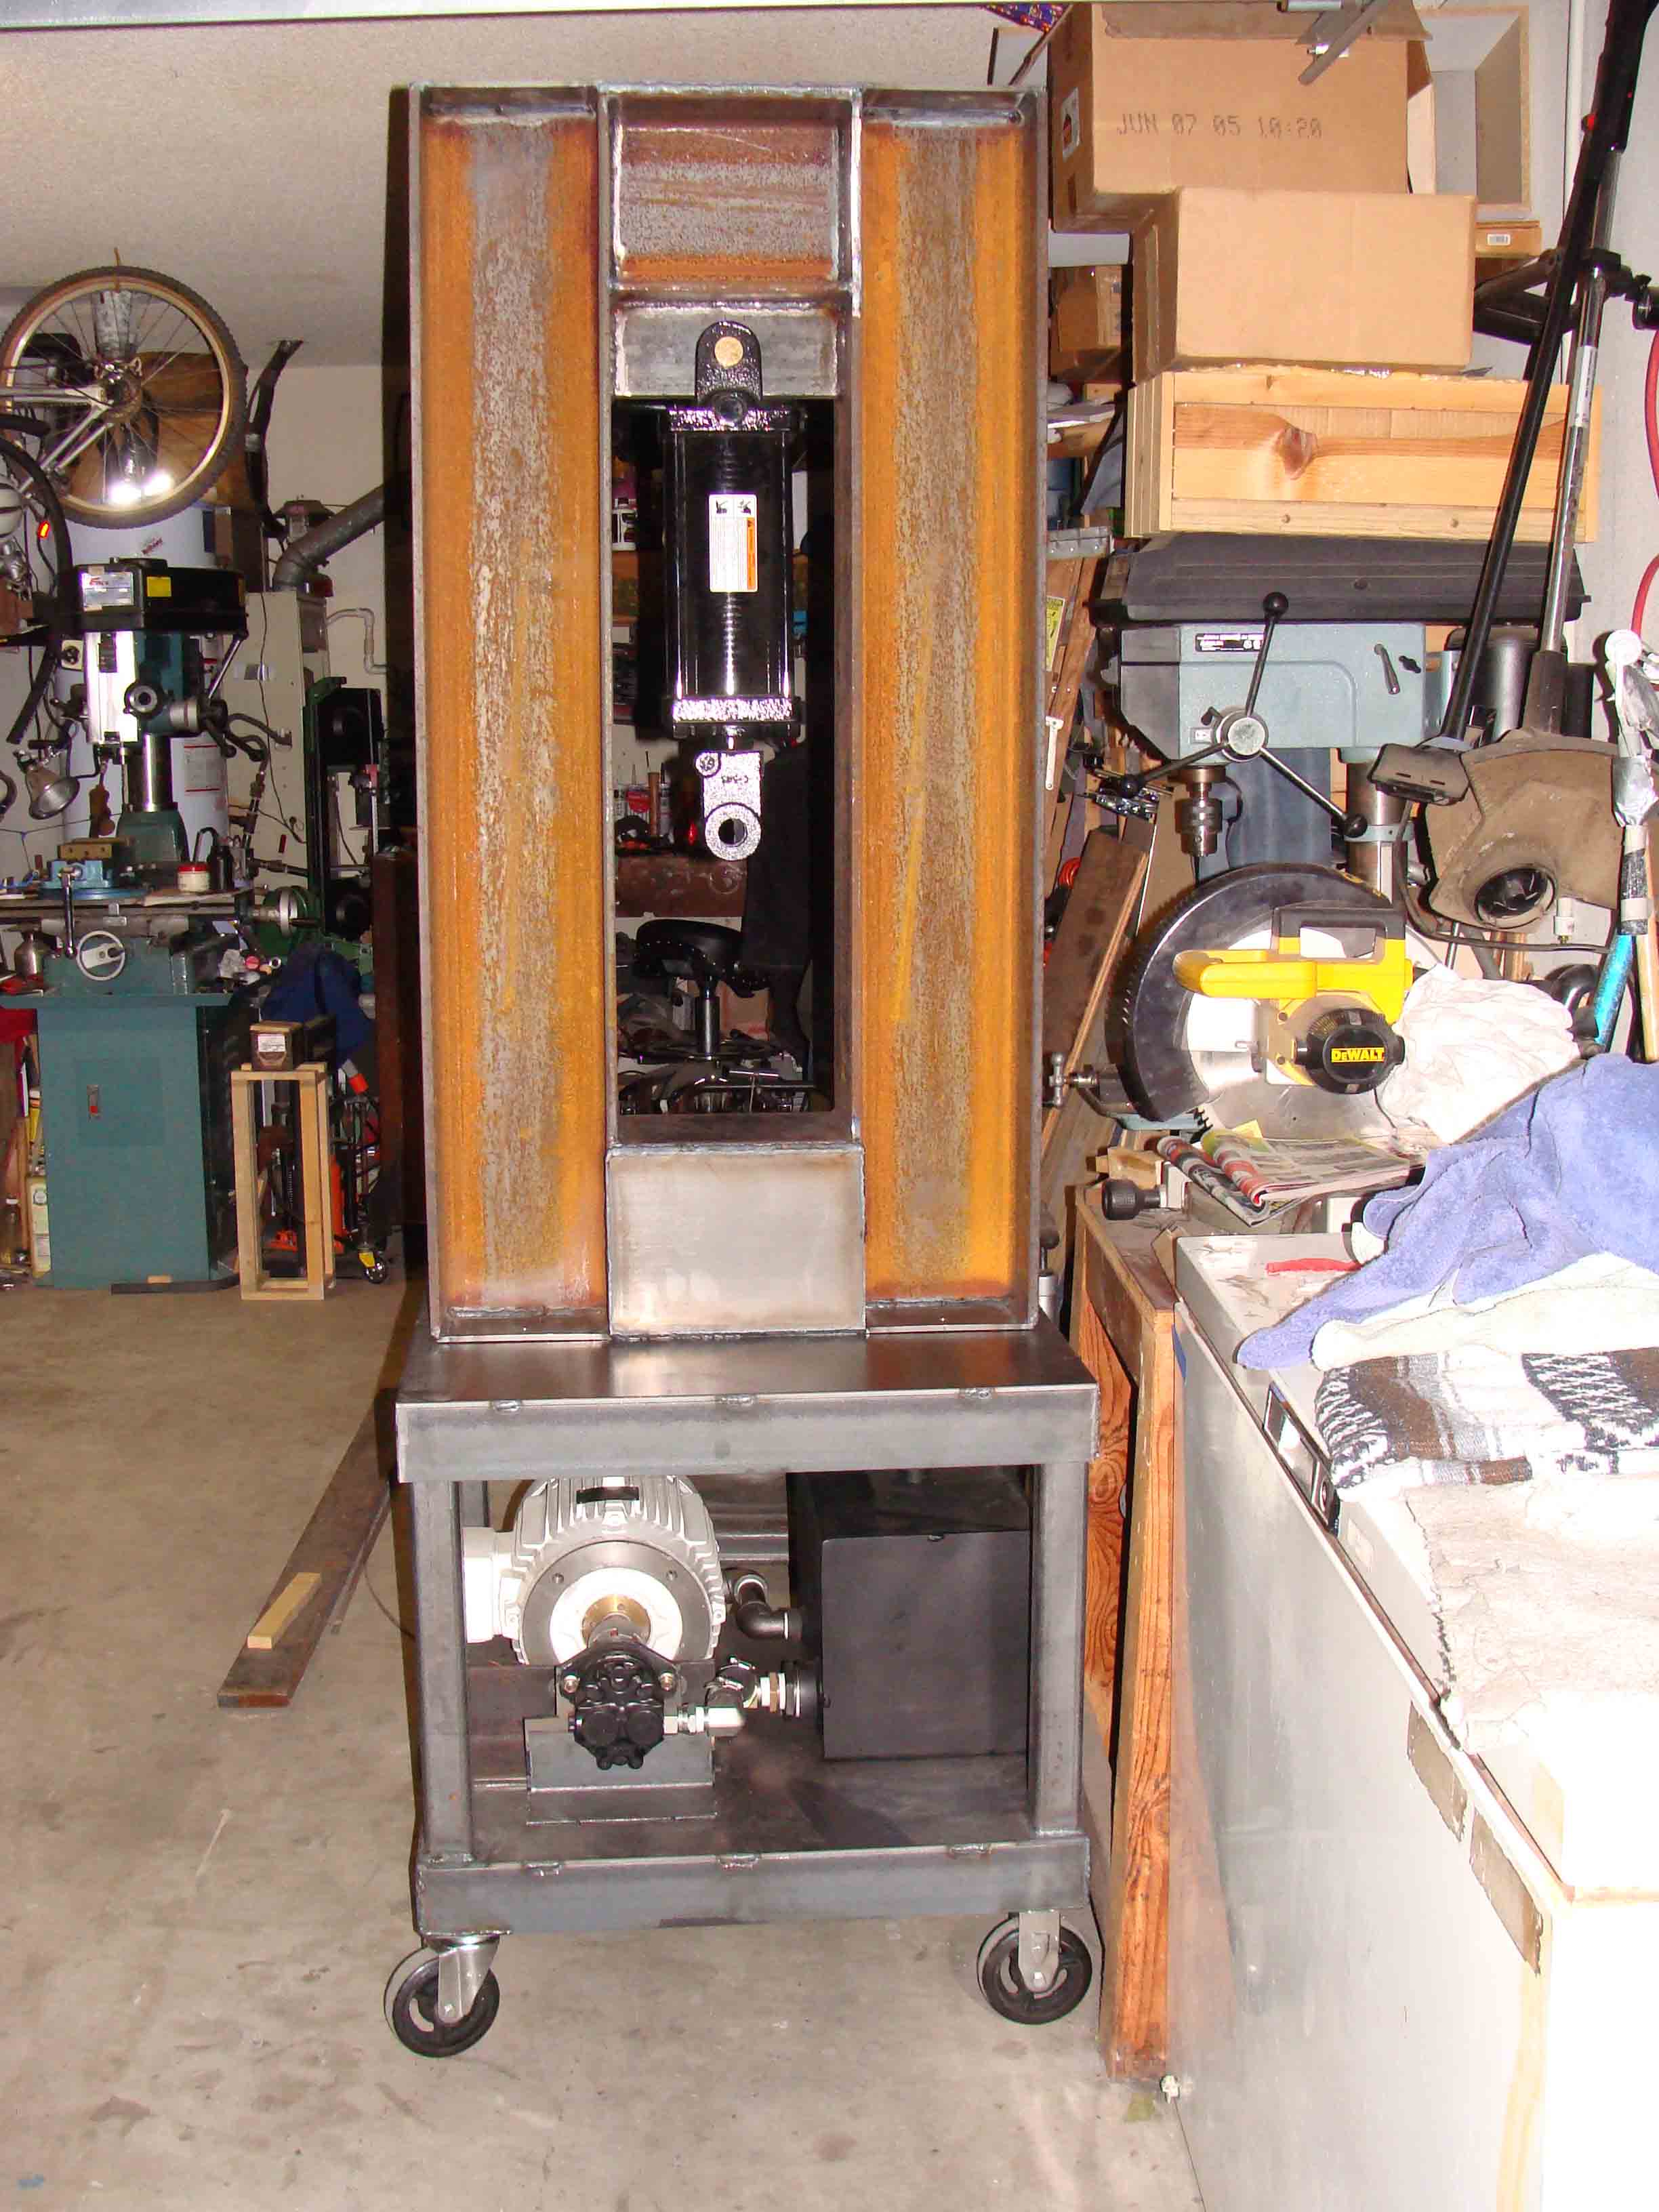
H frame finished and mounted on base.
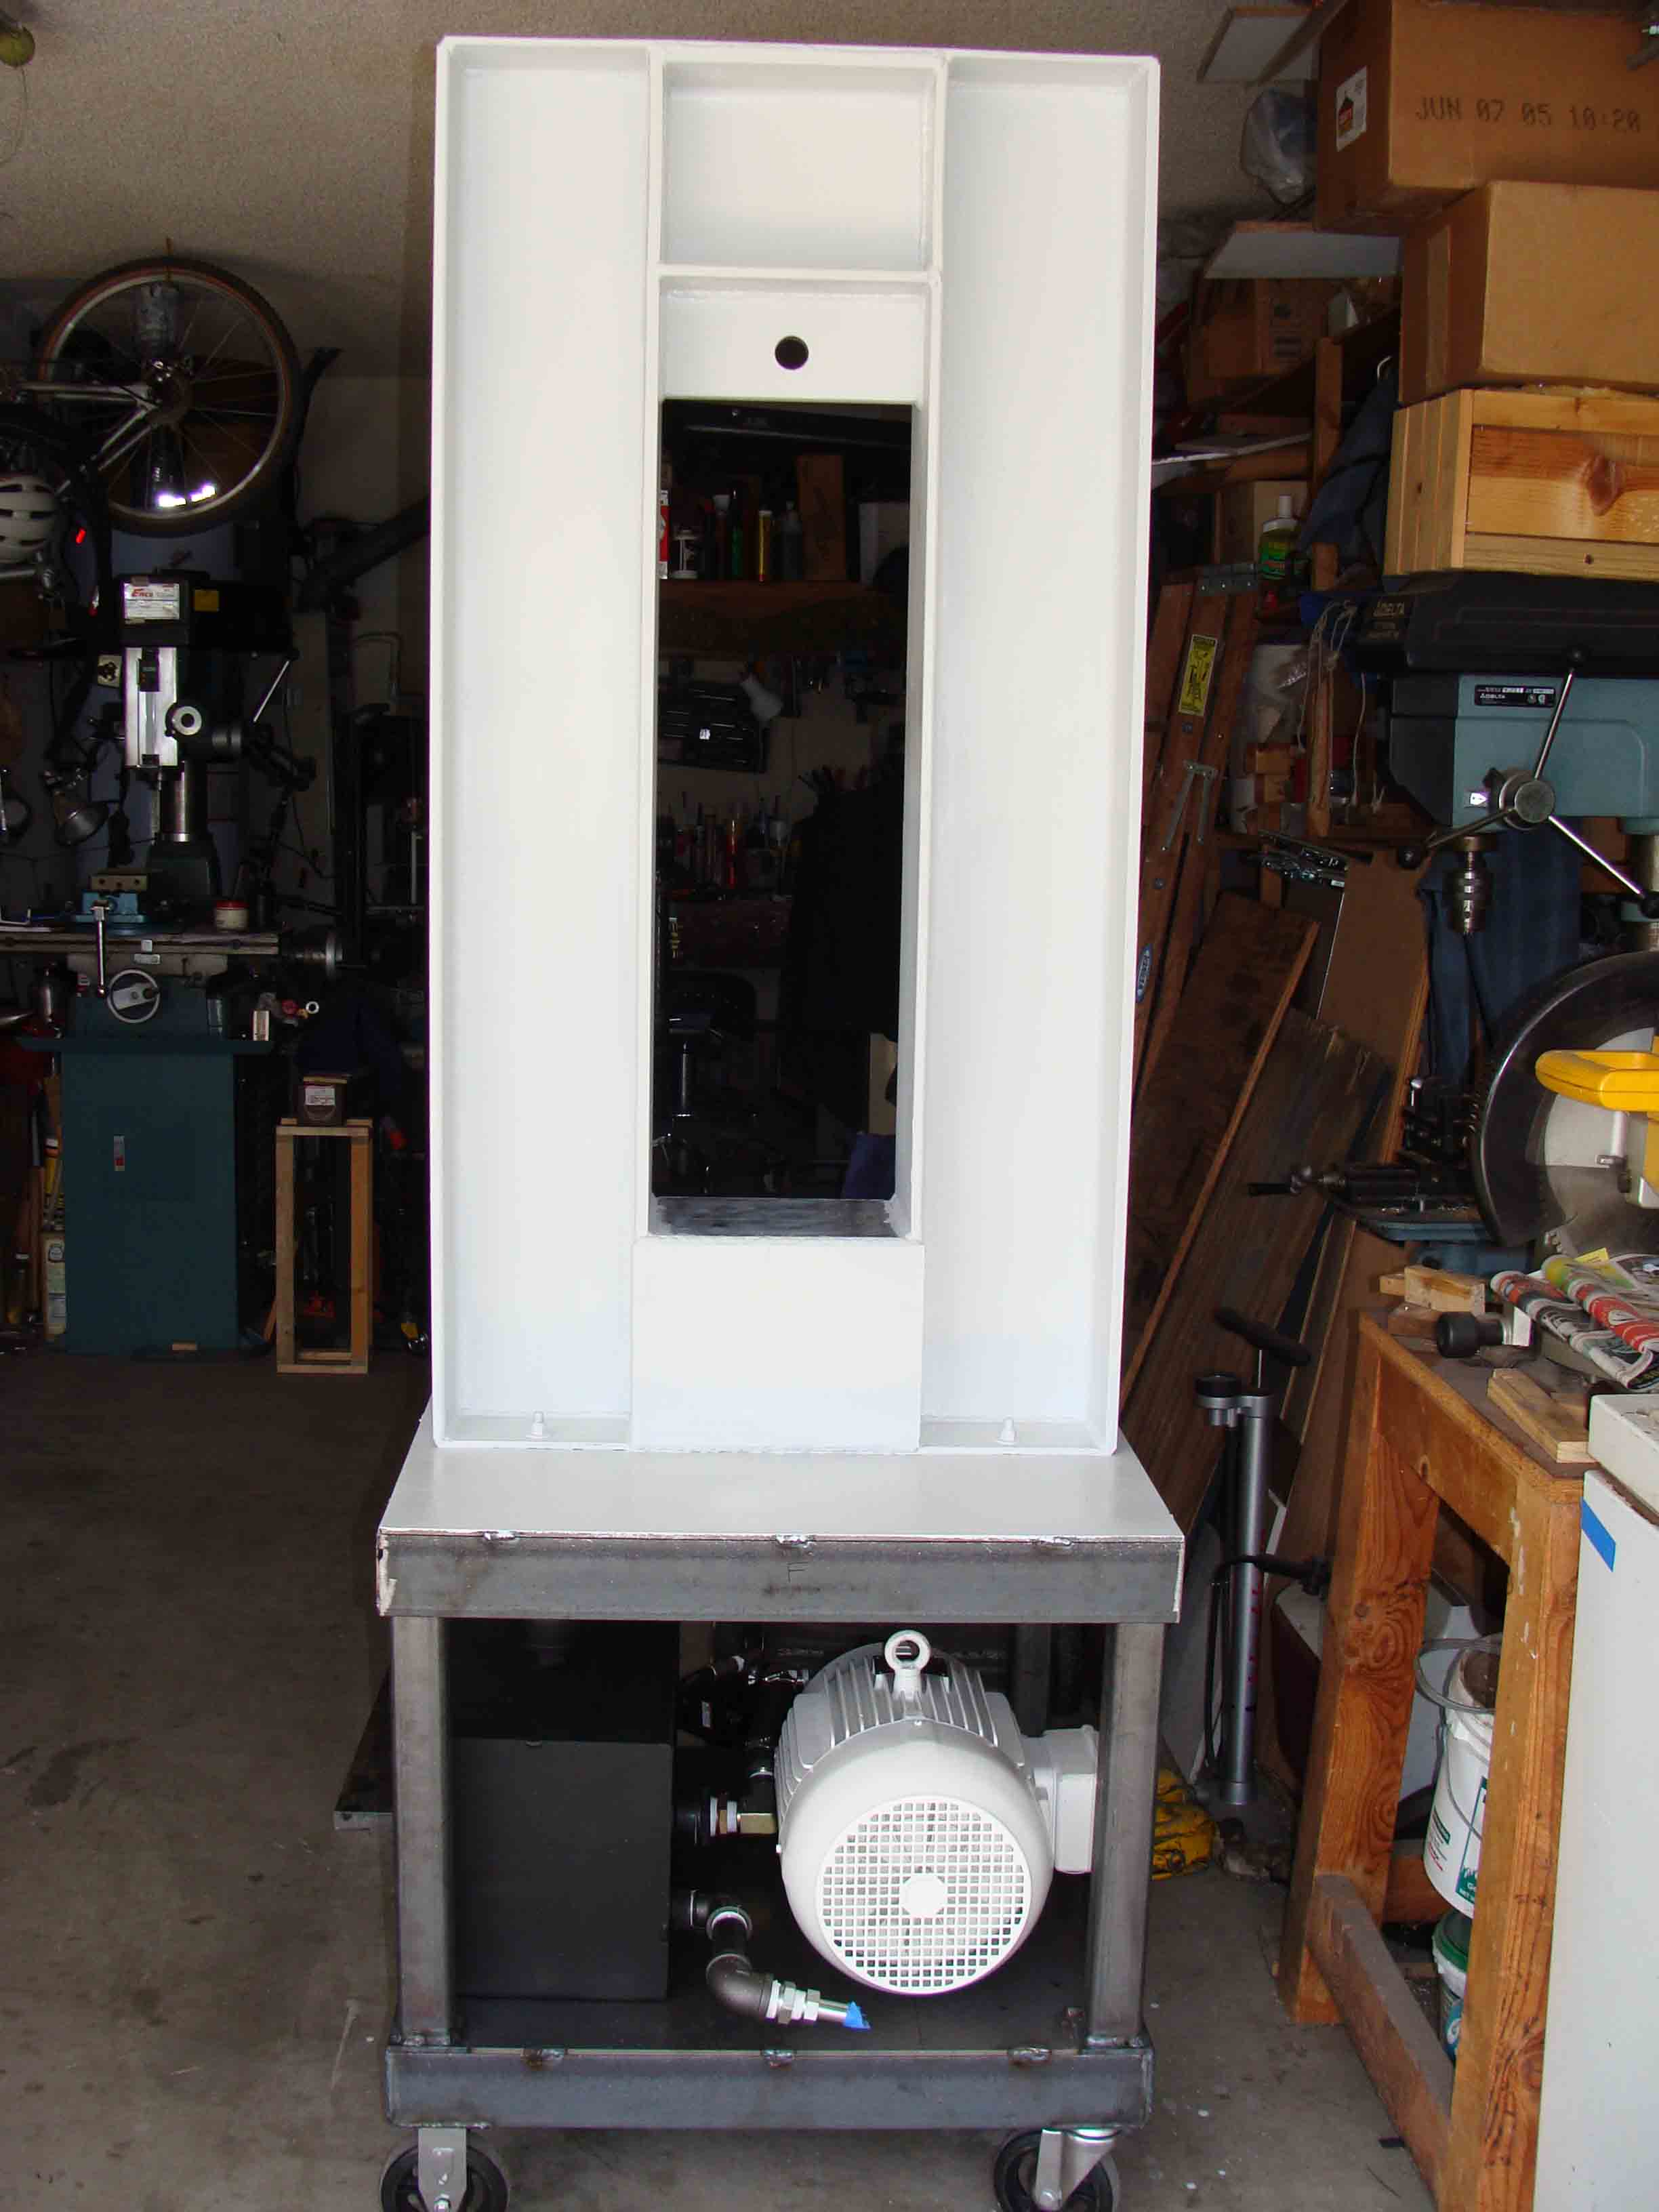
H frame sand blasted and primer coated.
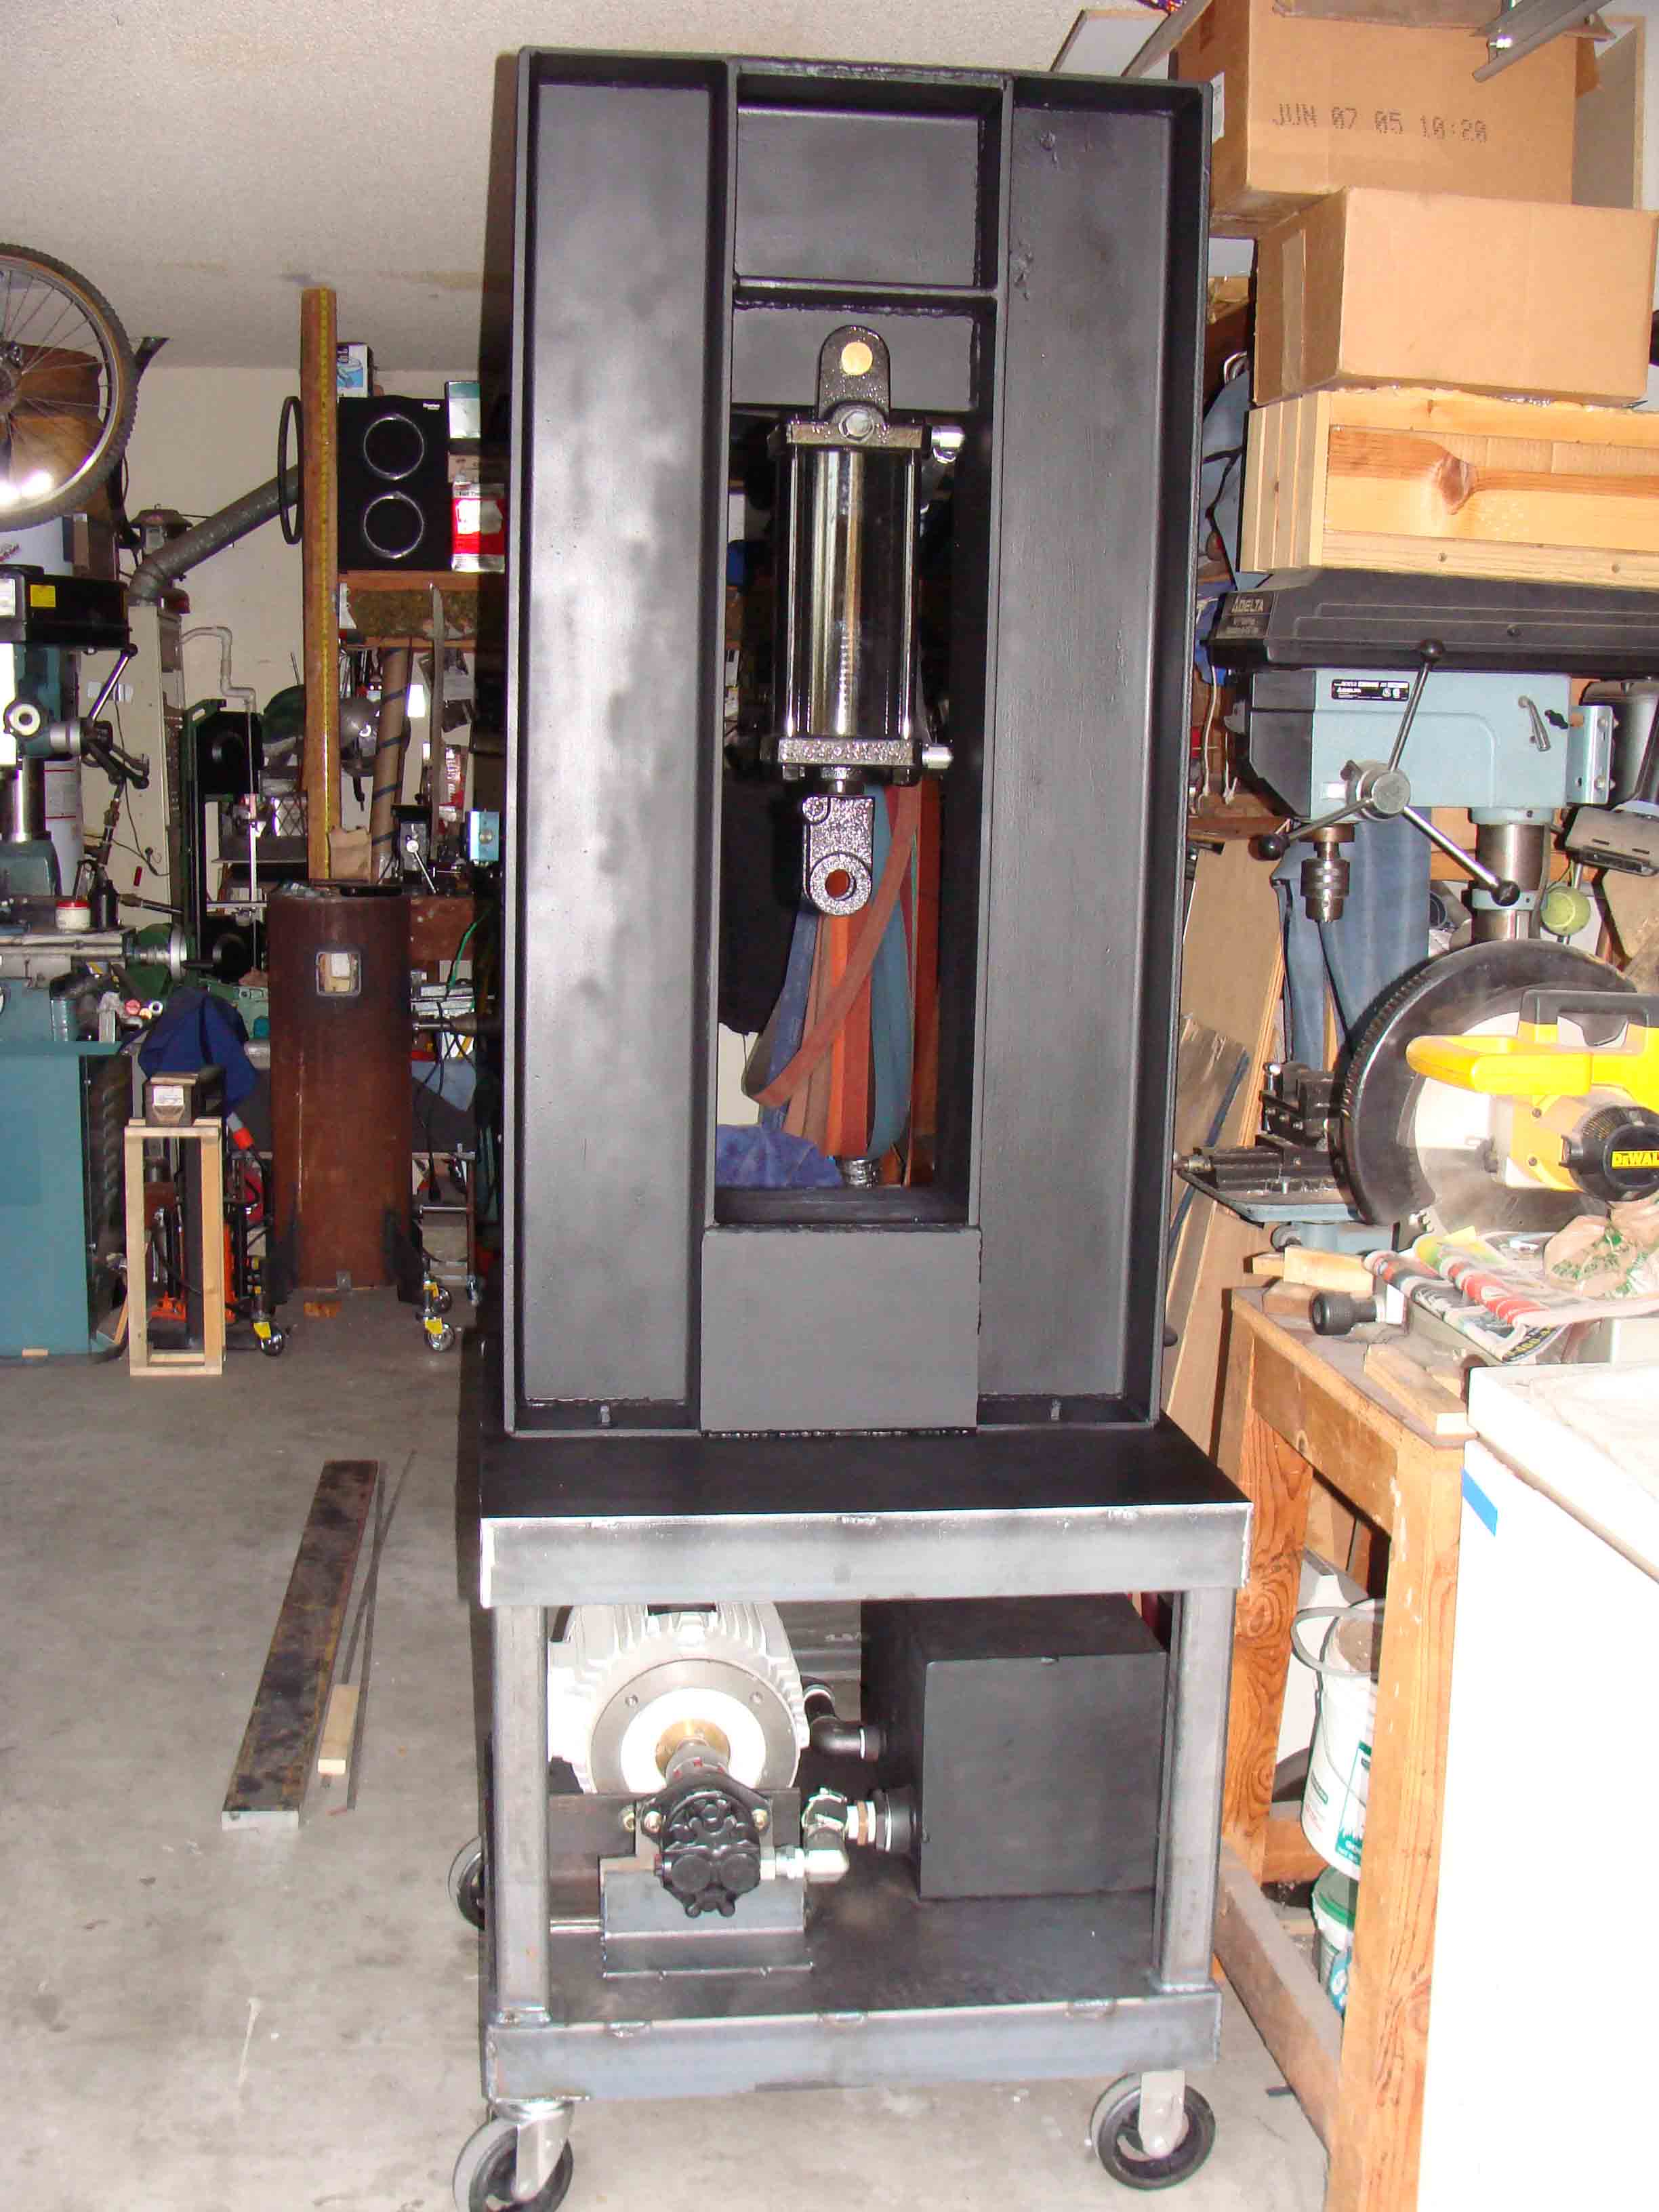
H frame painted black and 5" hydraulic cylinder in place.
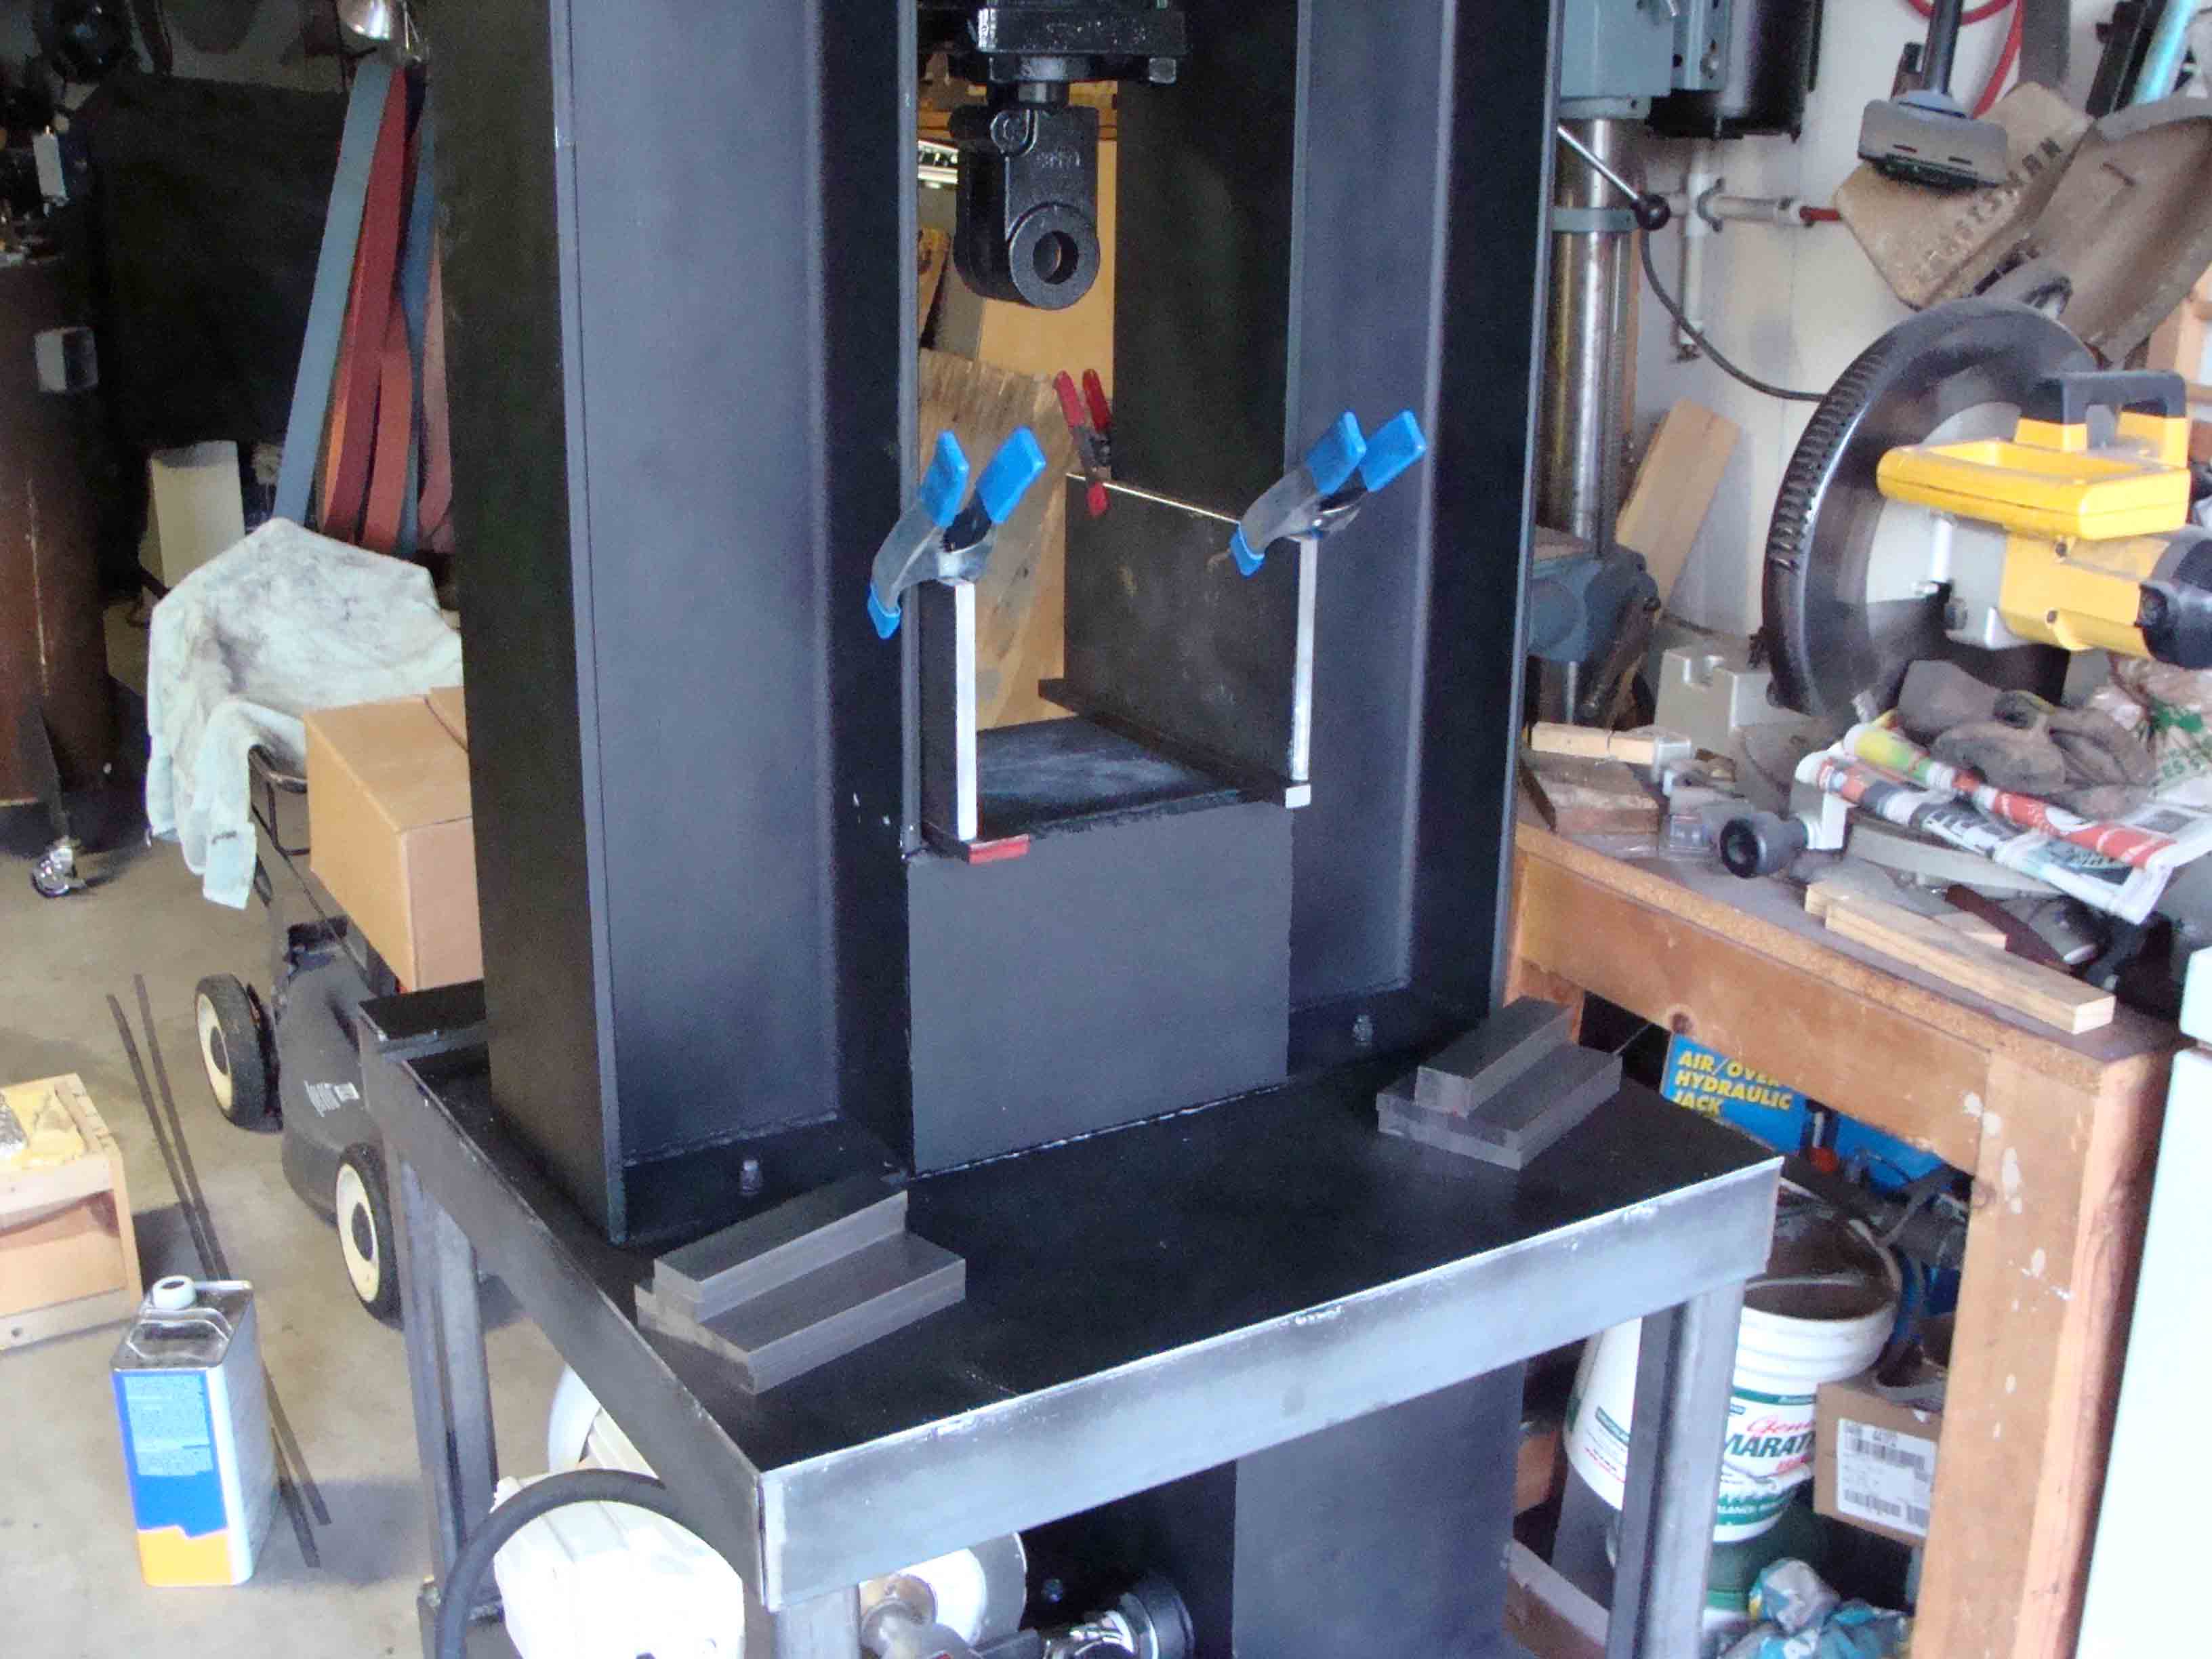
Dry fitting plates for ram guide.
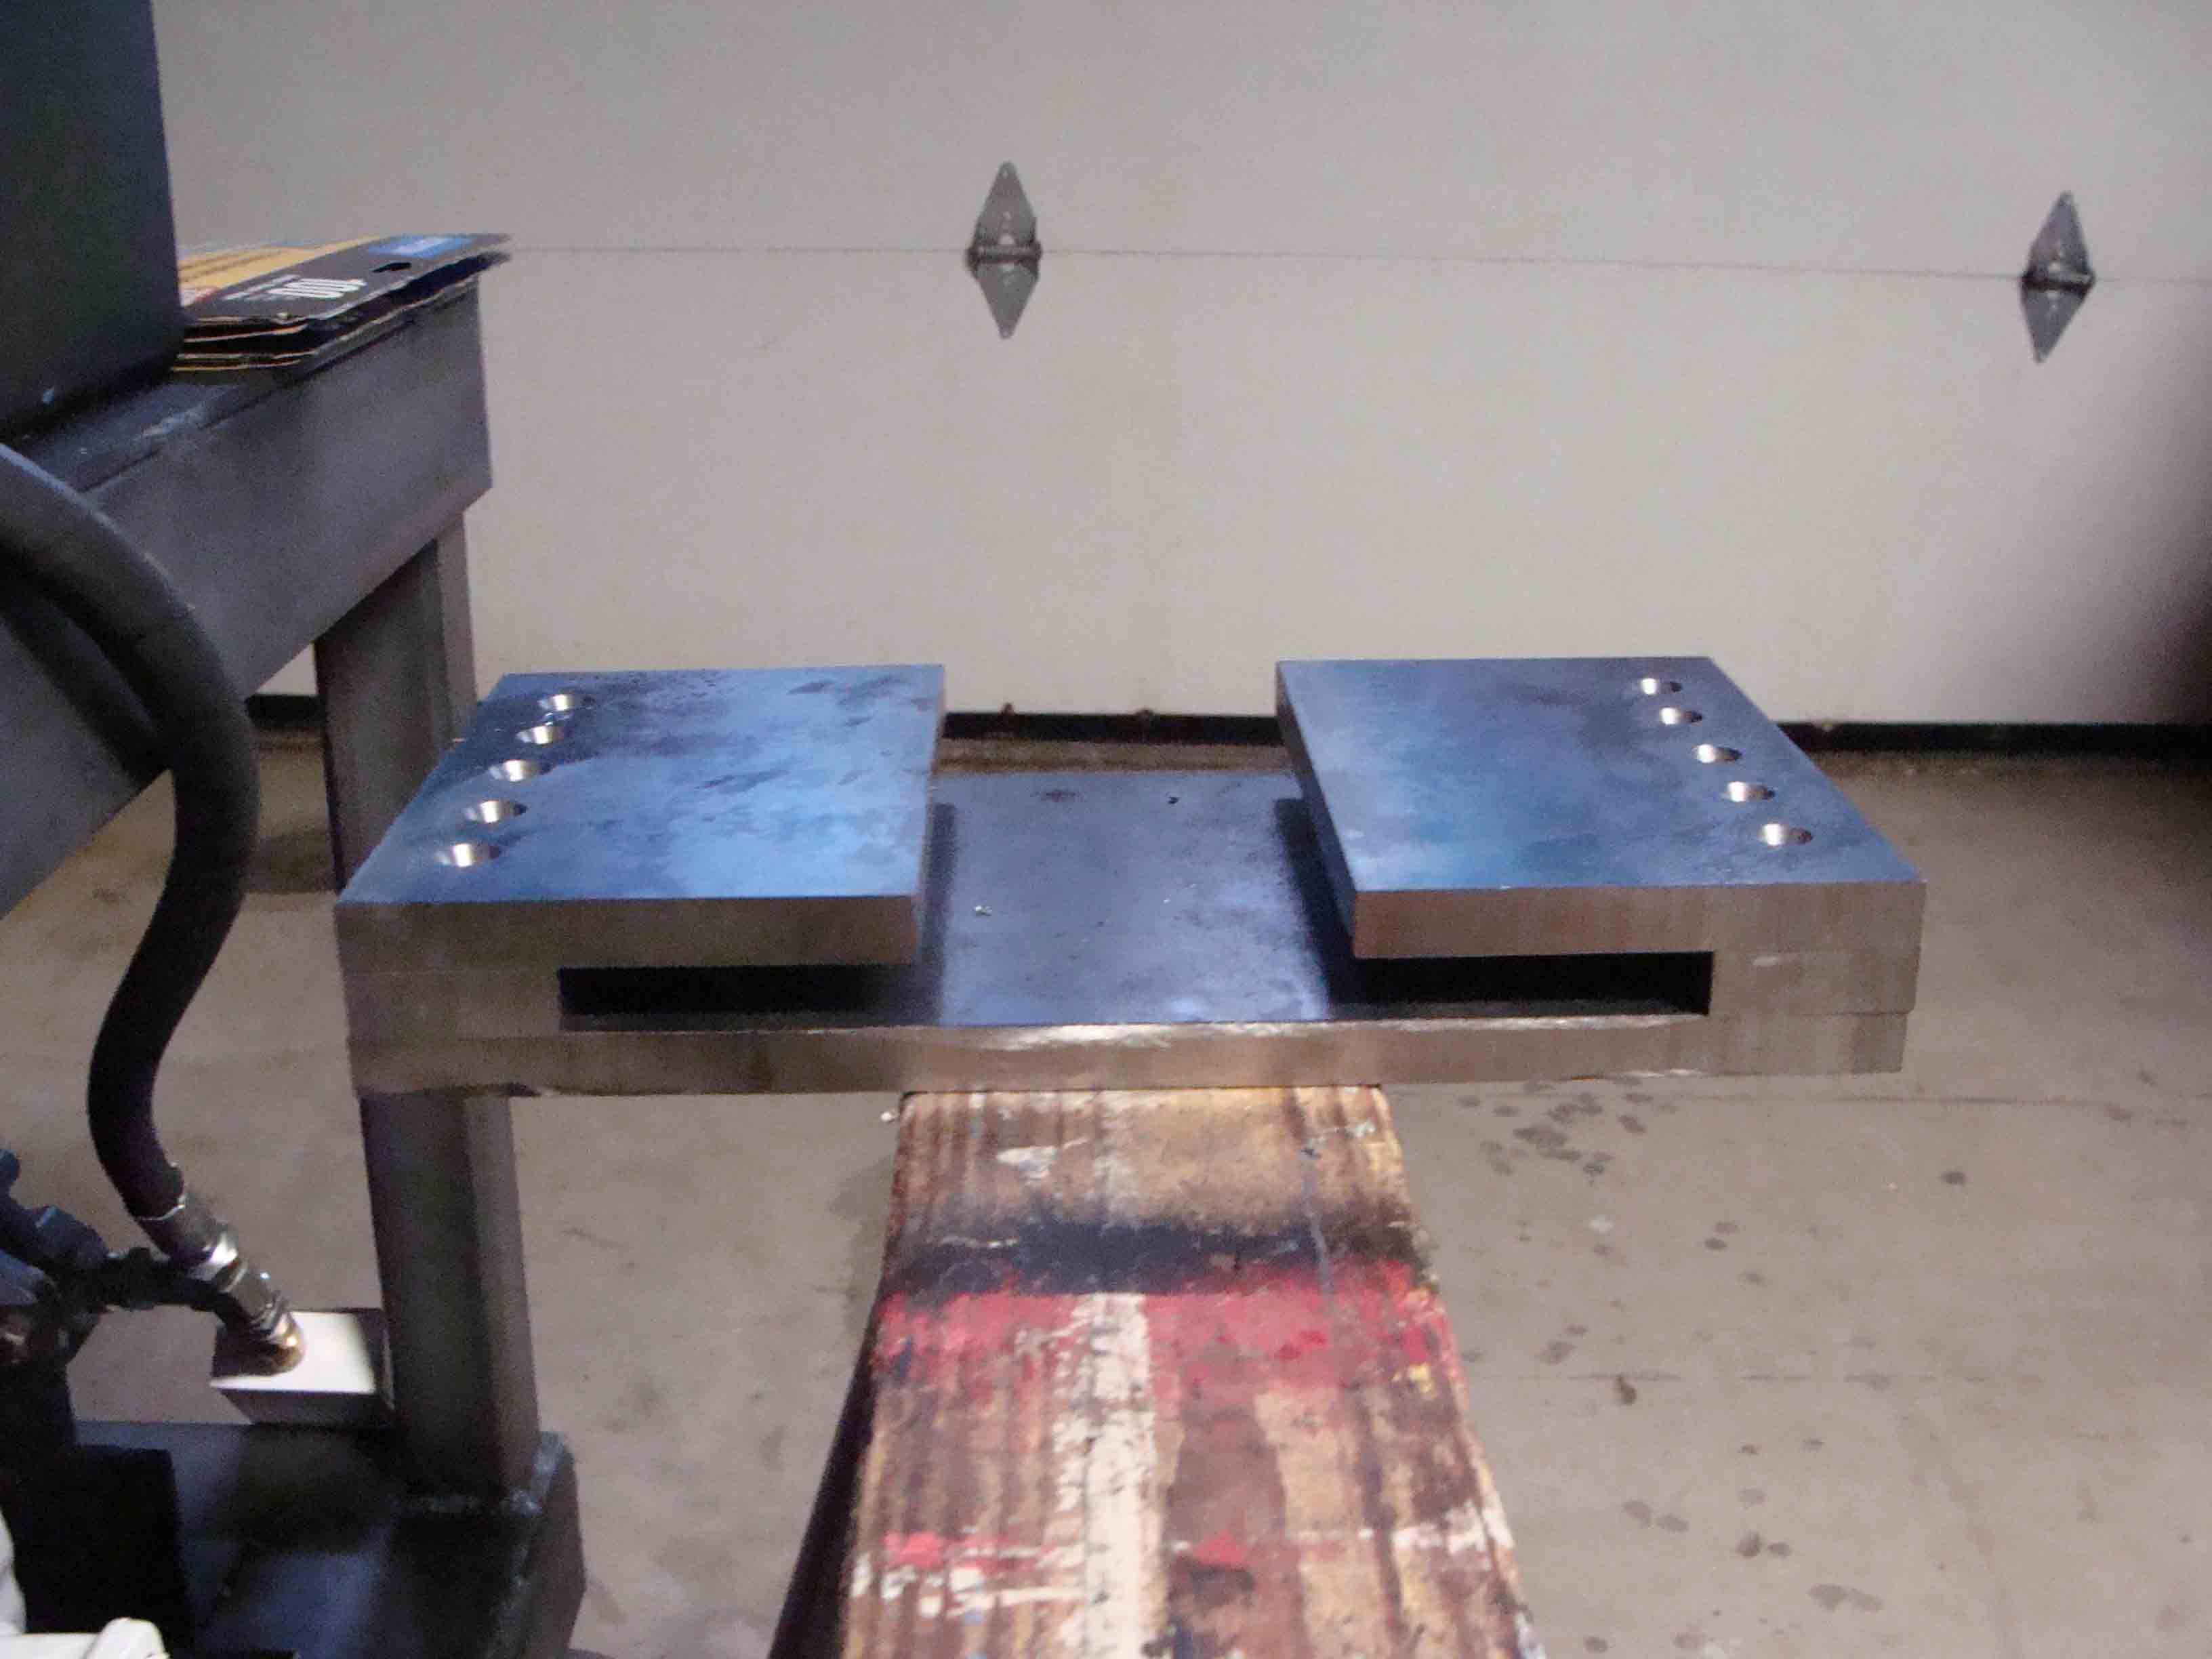
Guide pieces super glued together for drilling holes.
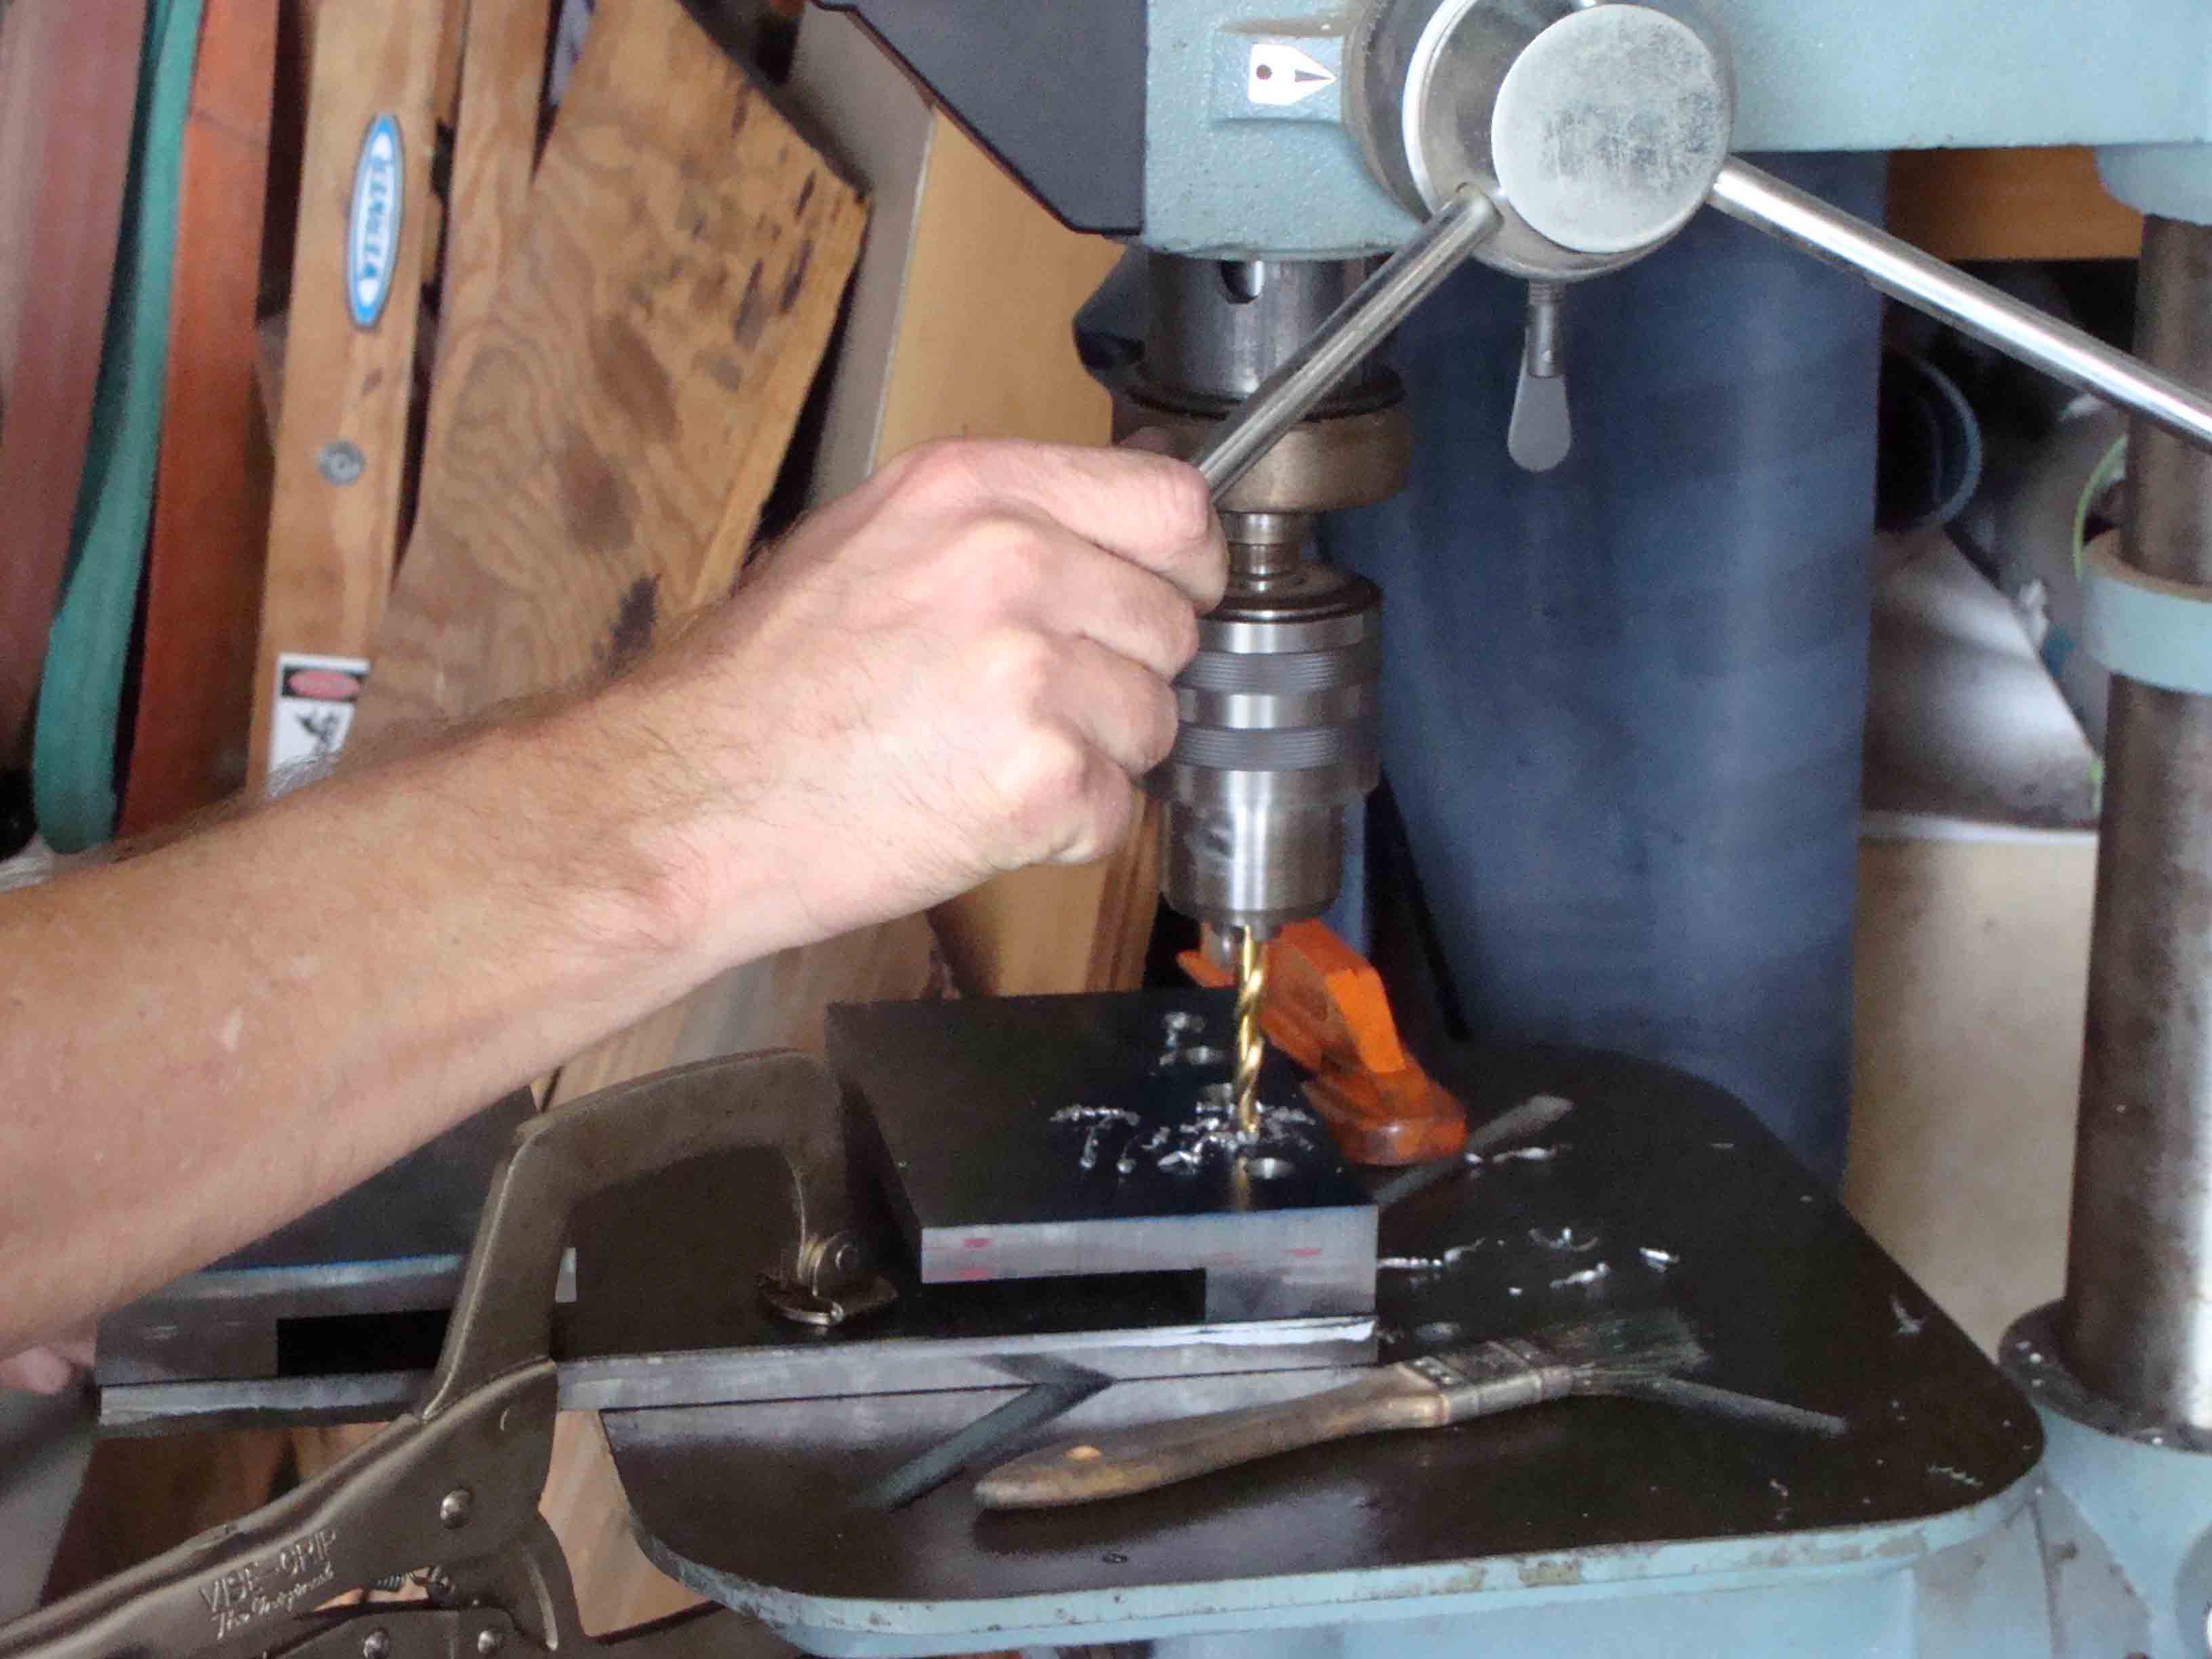
Started out with countersink holes then progressively drilled larger to final tapping size.
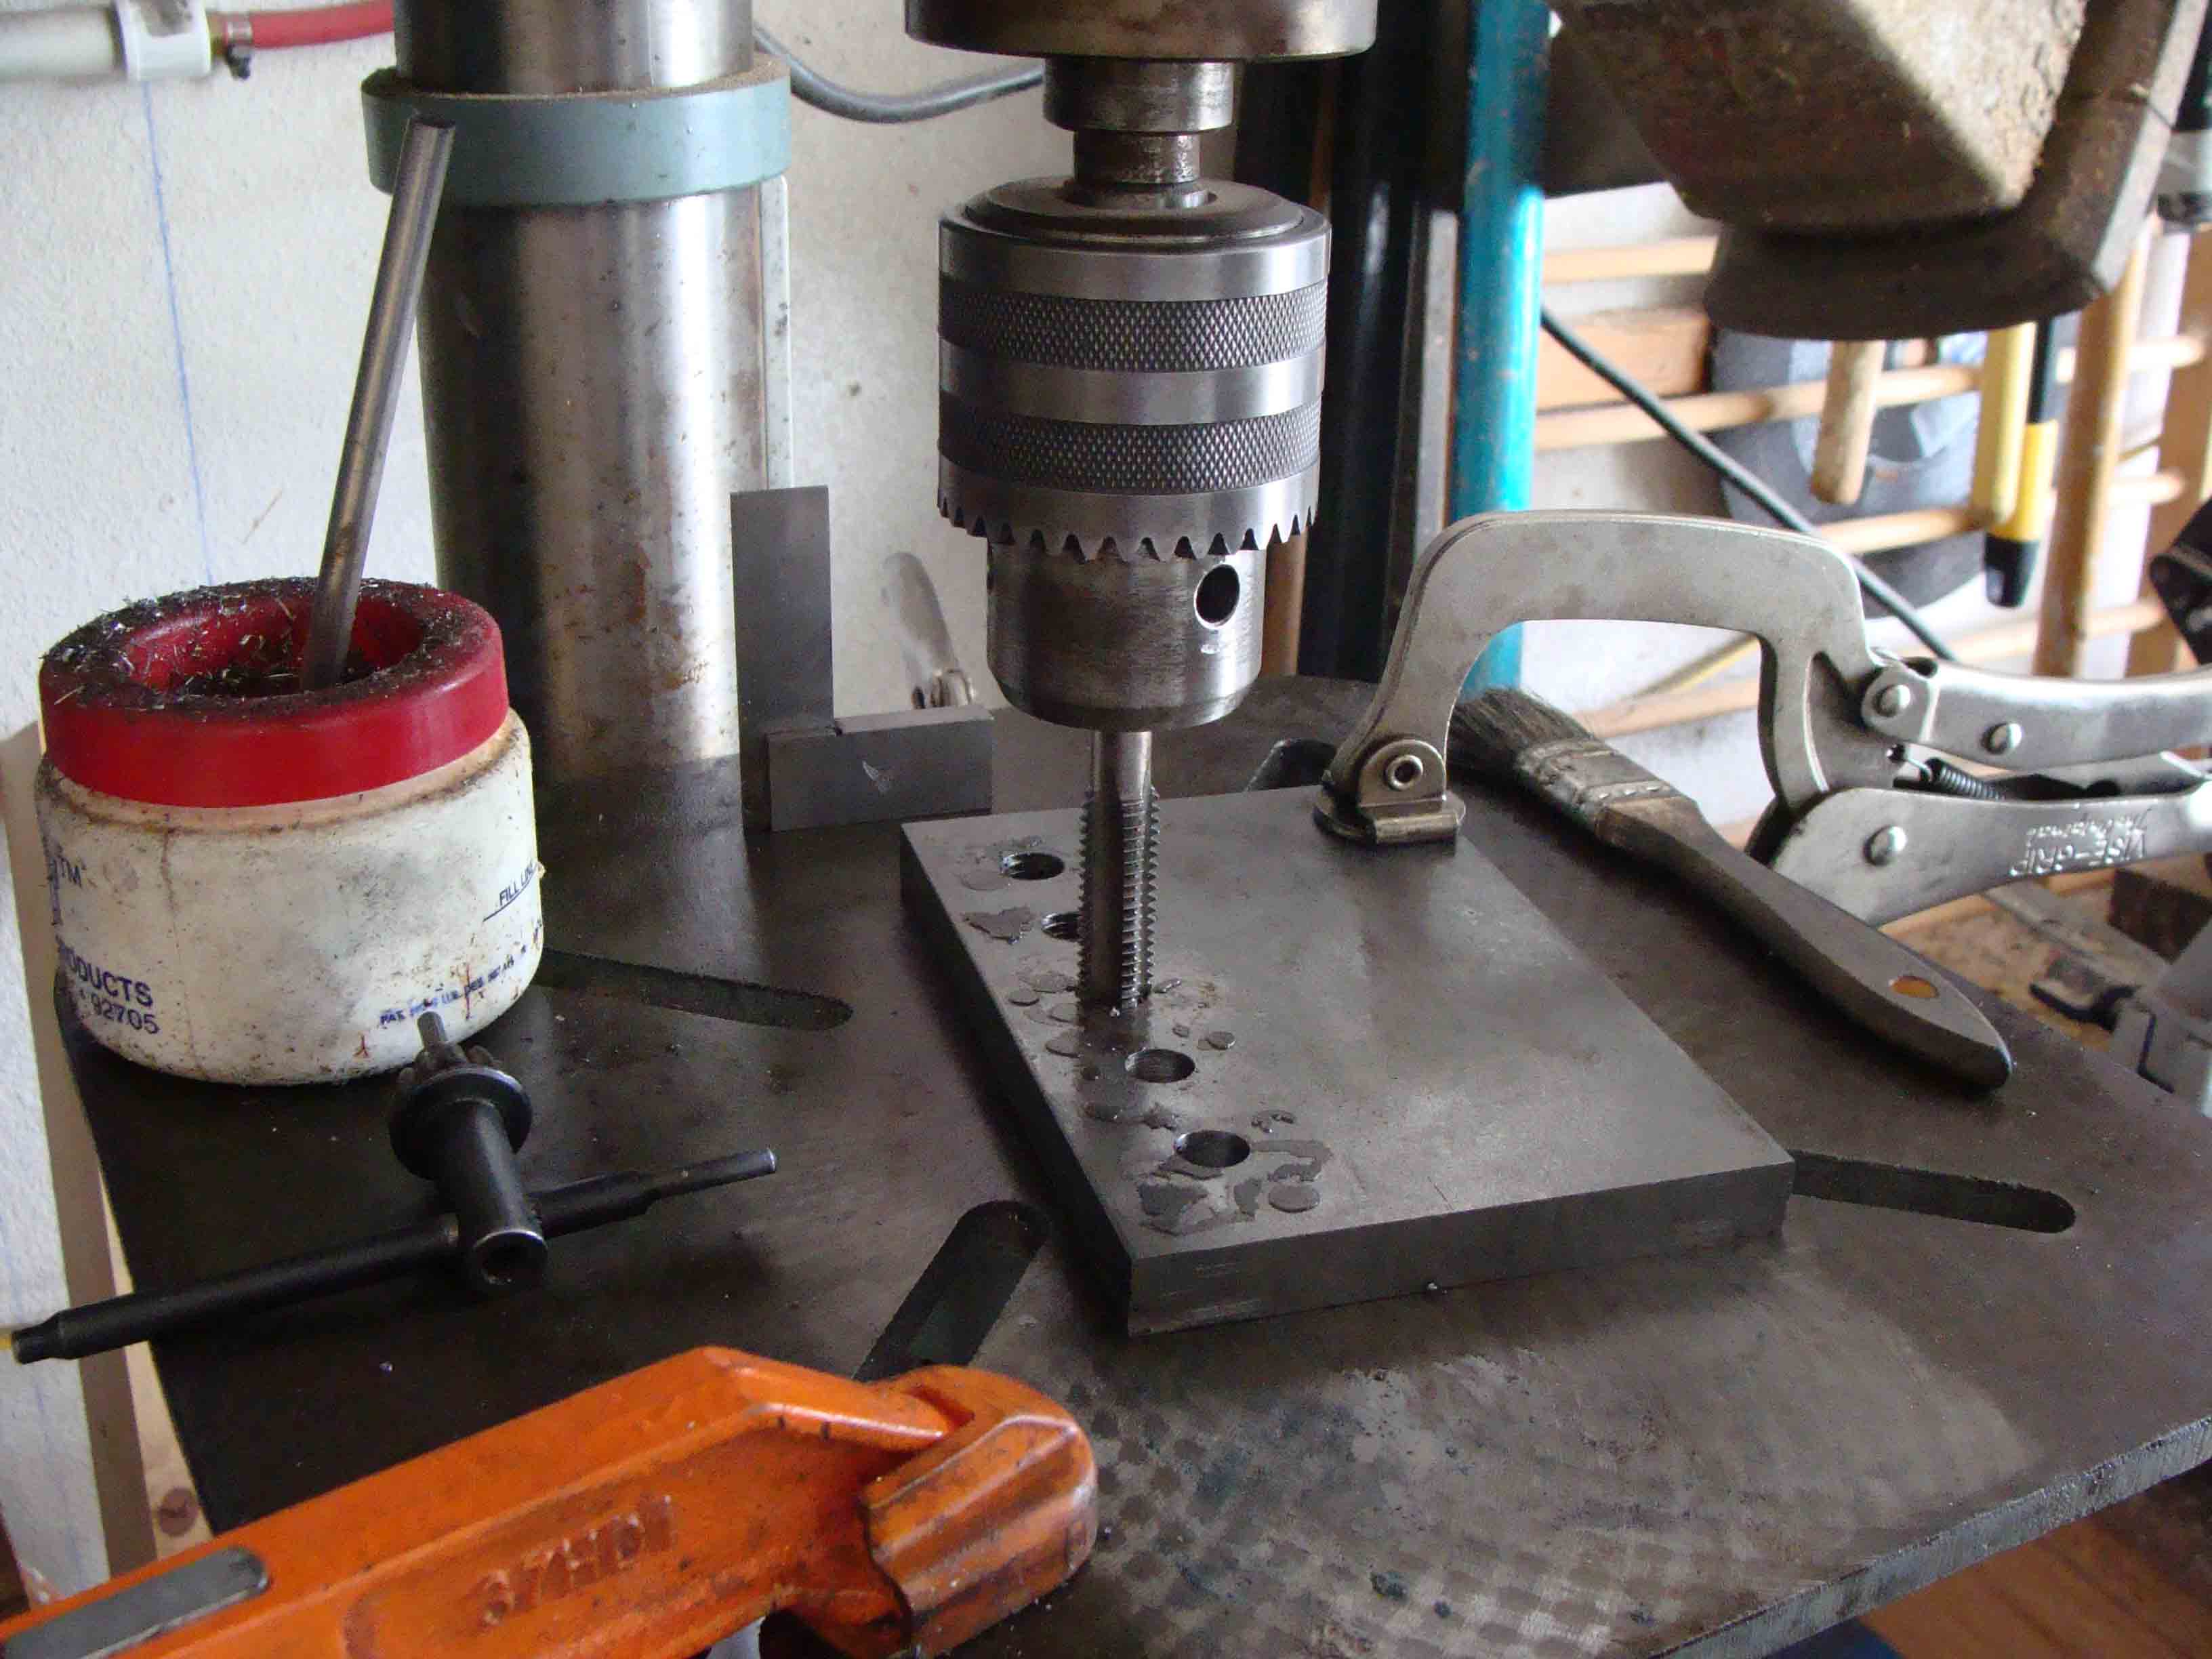
Started the 1/2 inch tap by chucking in the drill press. Removed power and belts from drive and spun spindle by hand to start tap. Once started, removed from drill press and finished by hand.
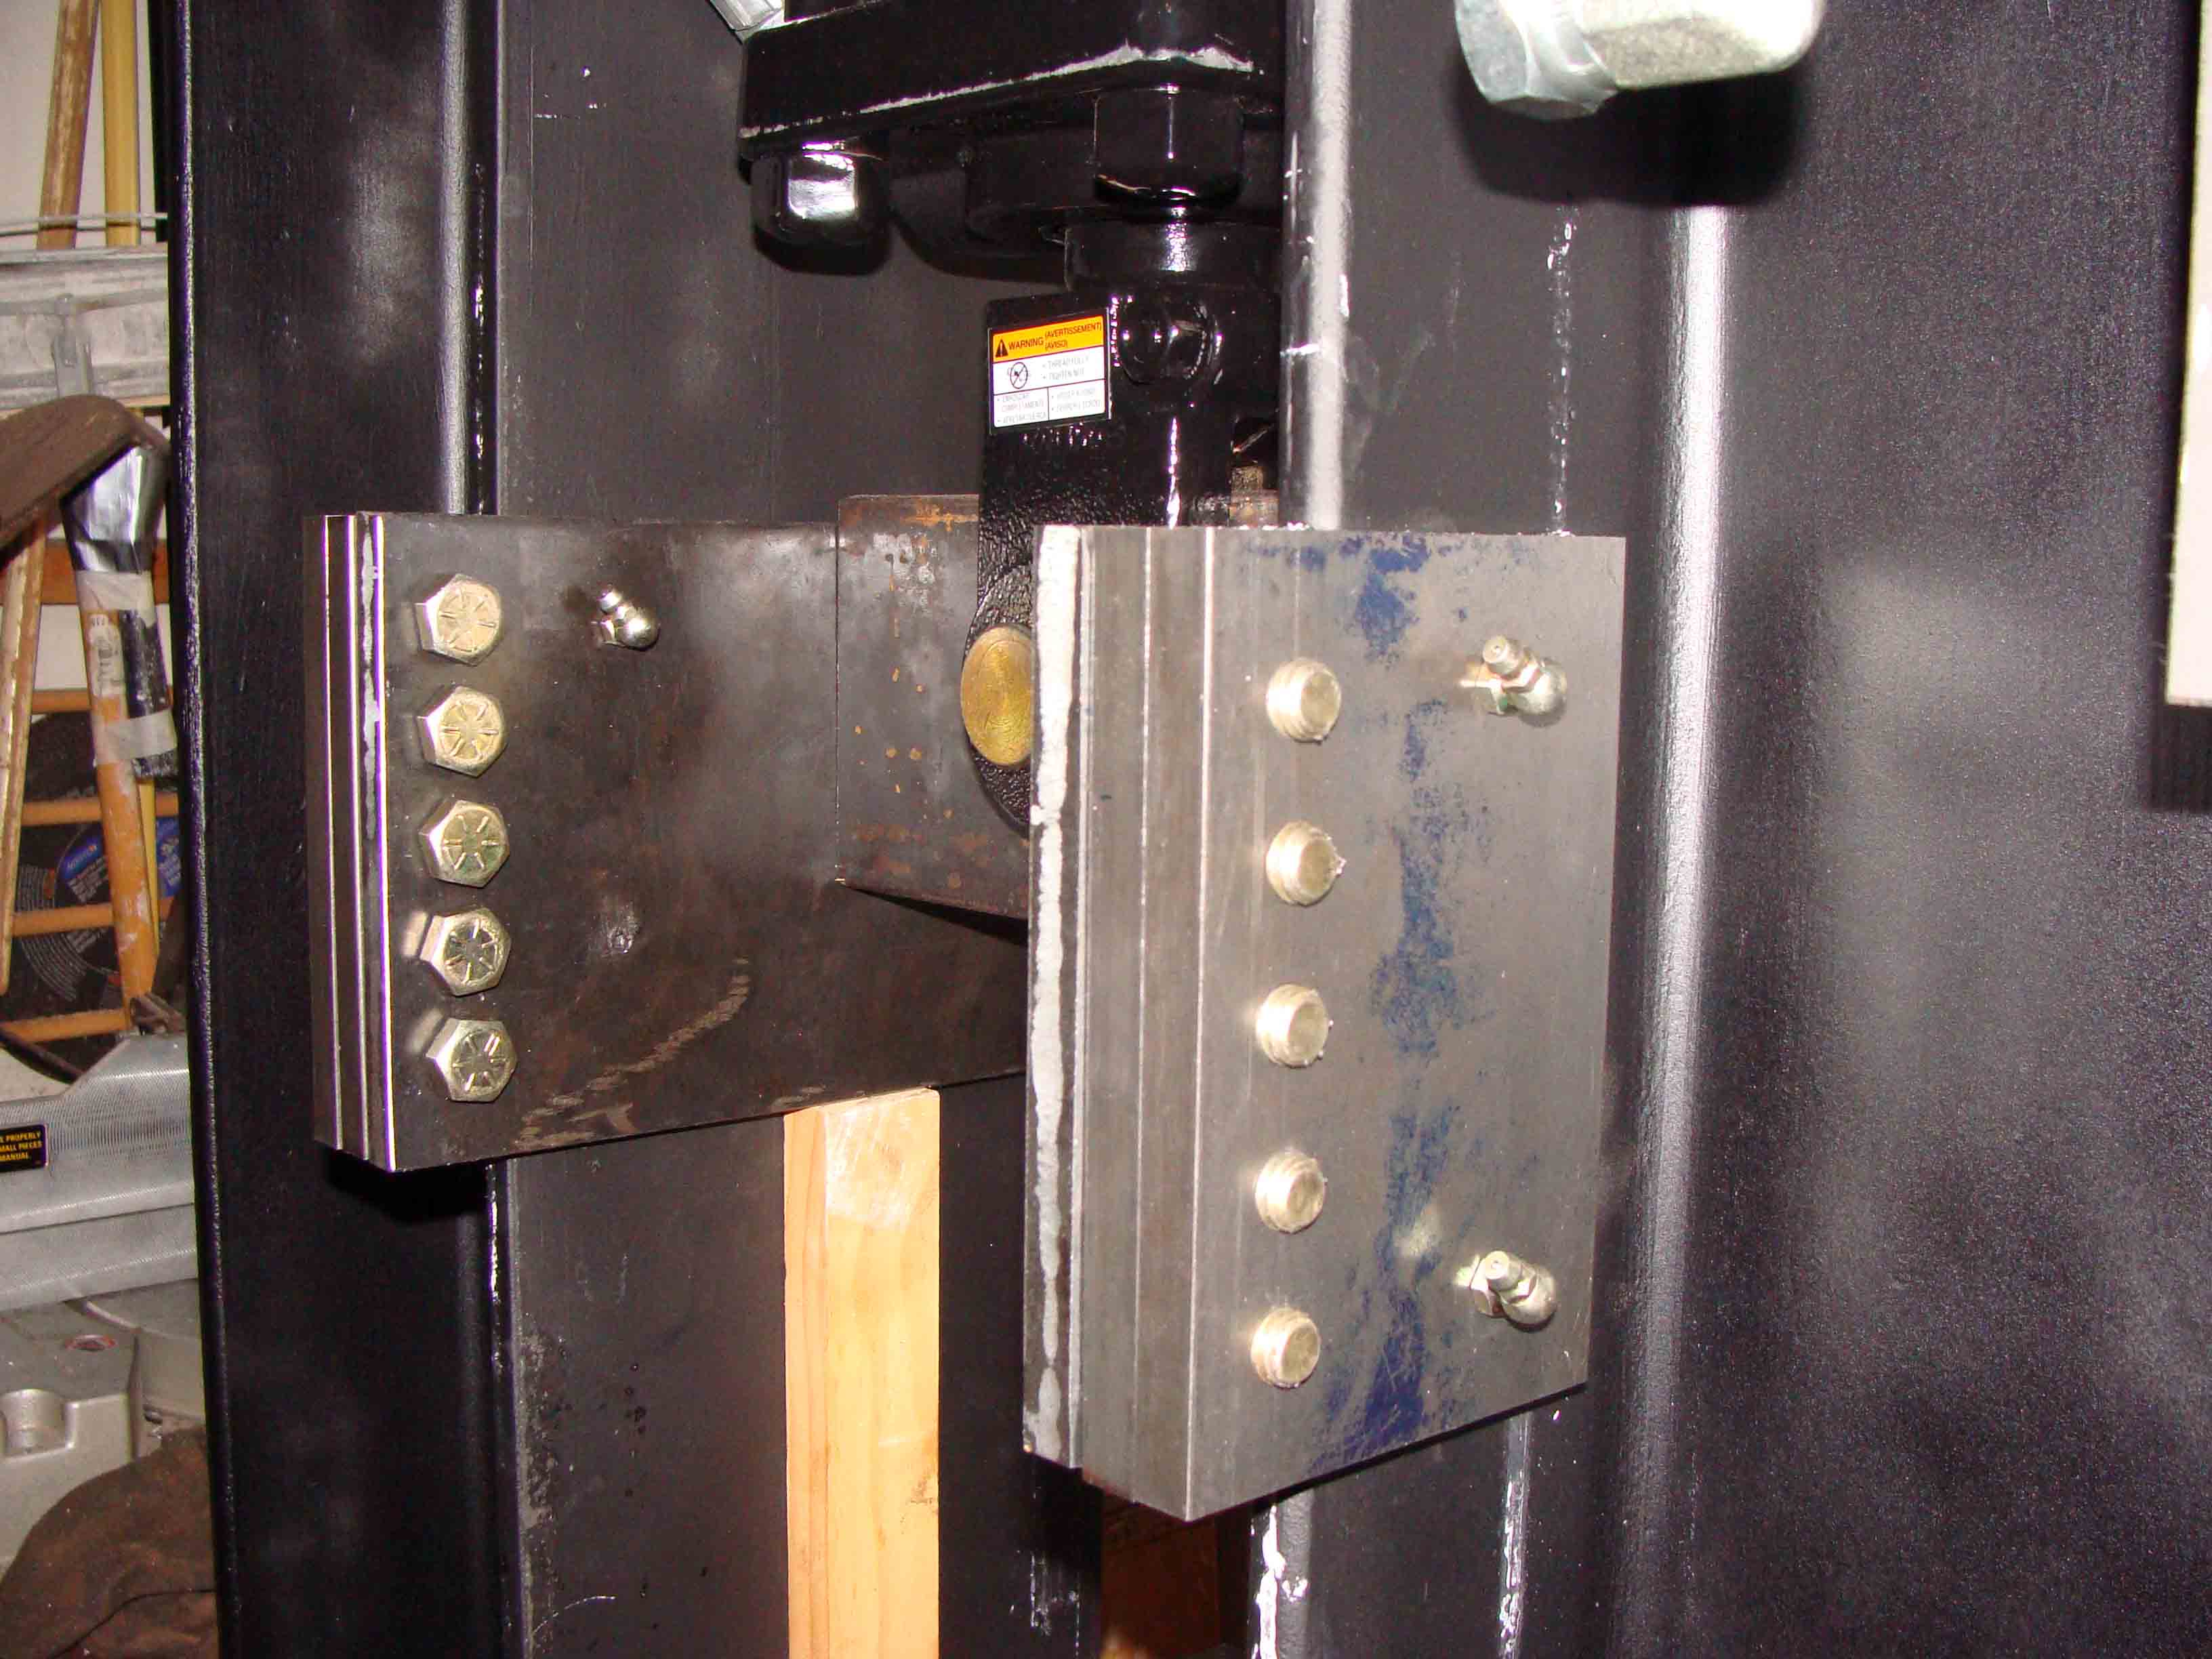
Checking fit up of ram slides. Putting grease fittings in place as well.
Another look at the ram guides.
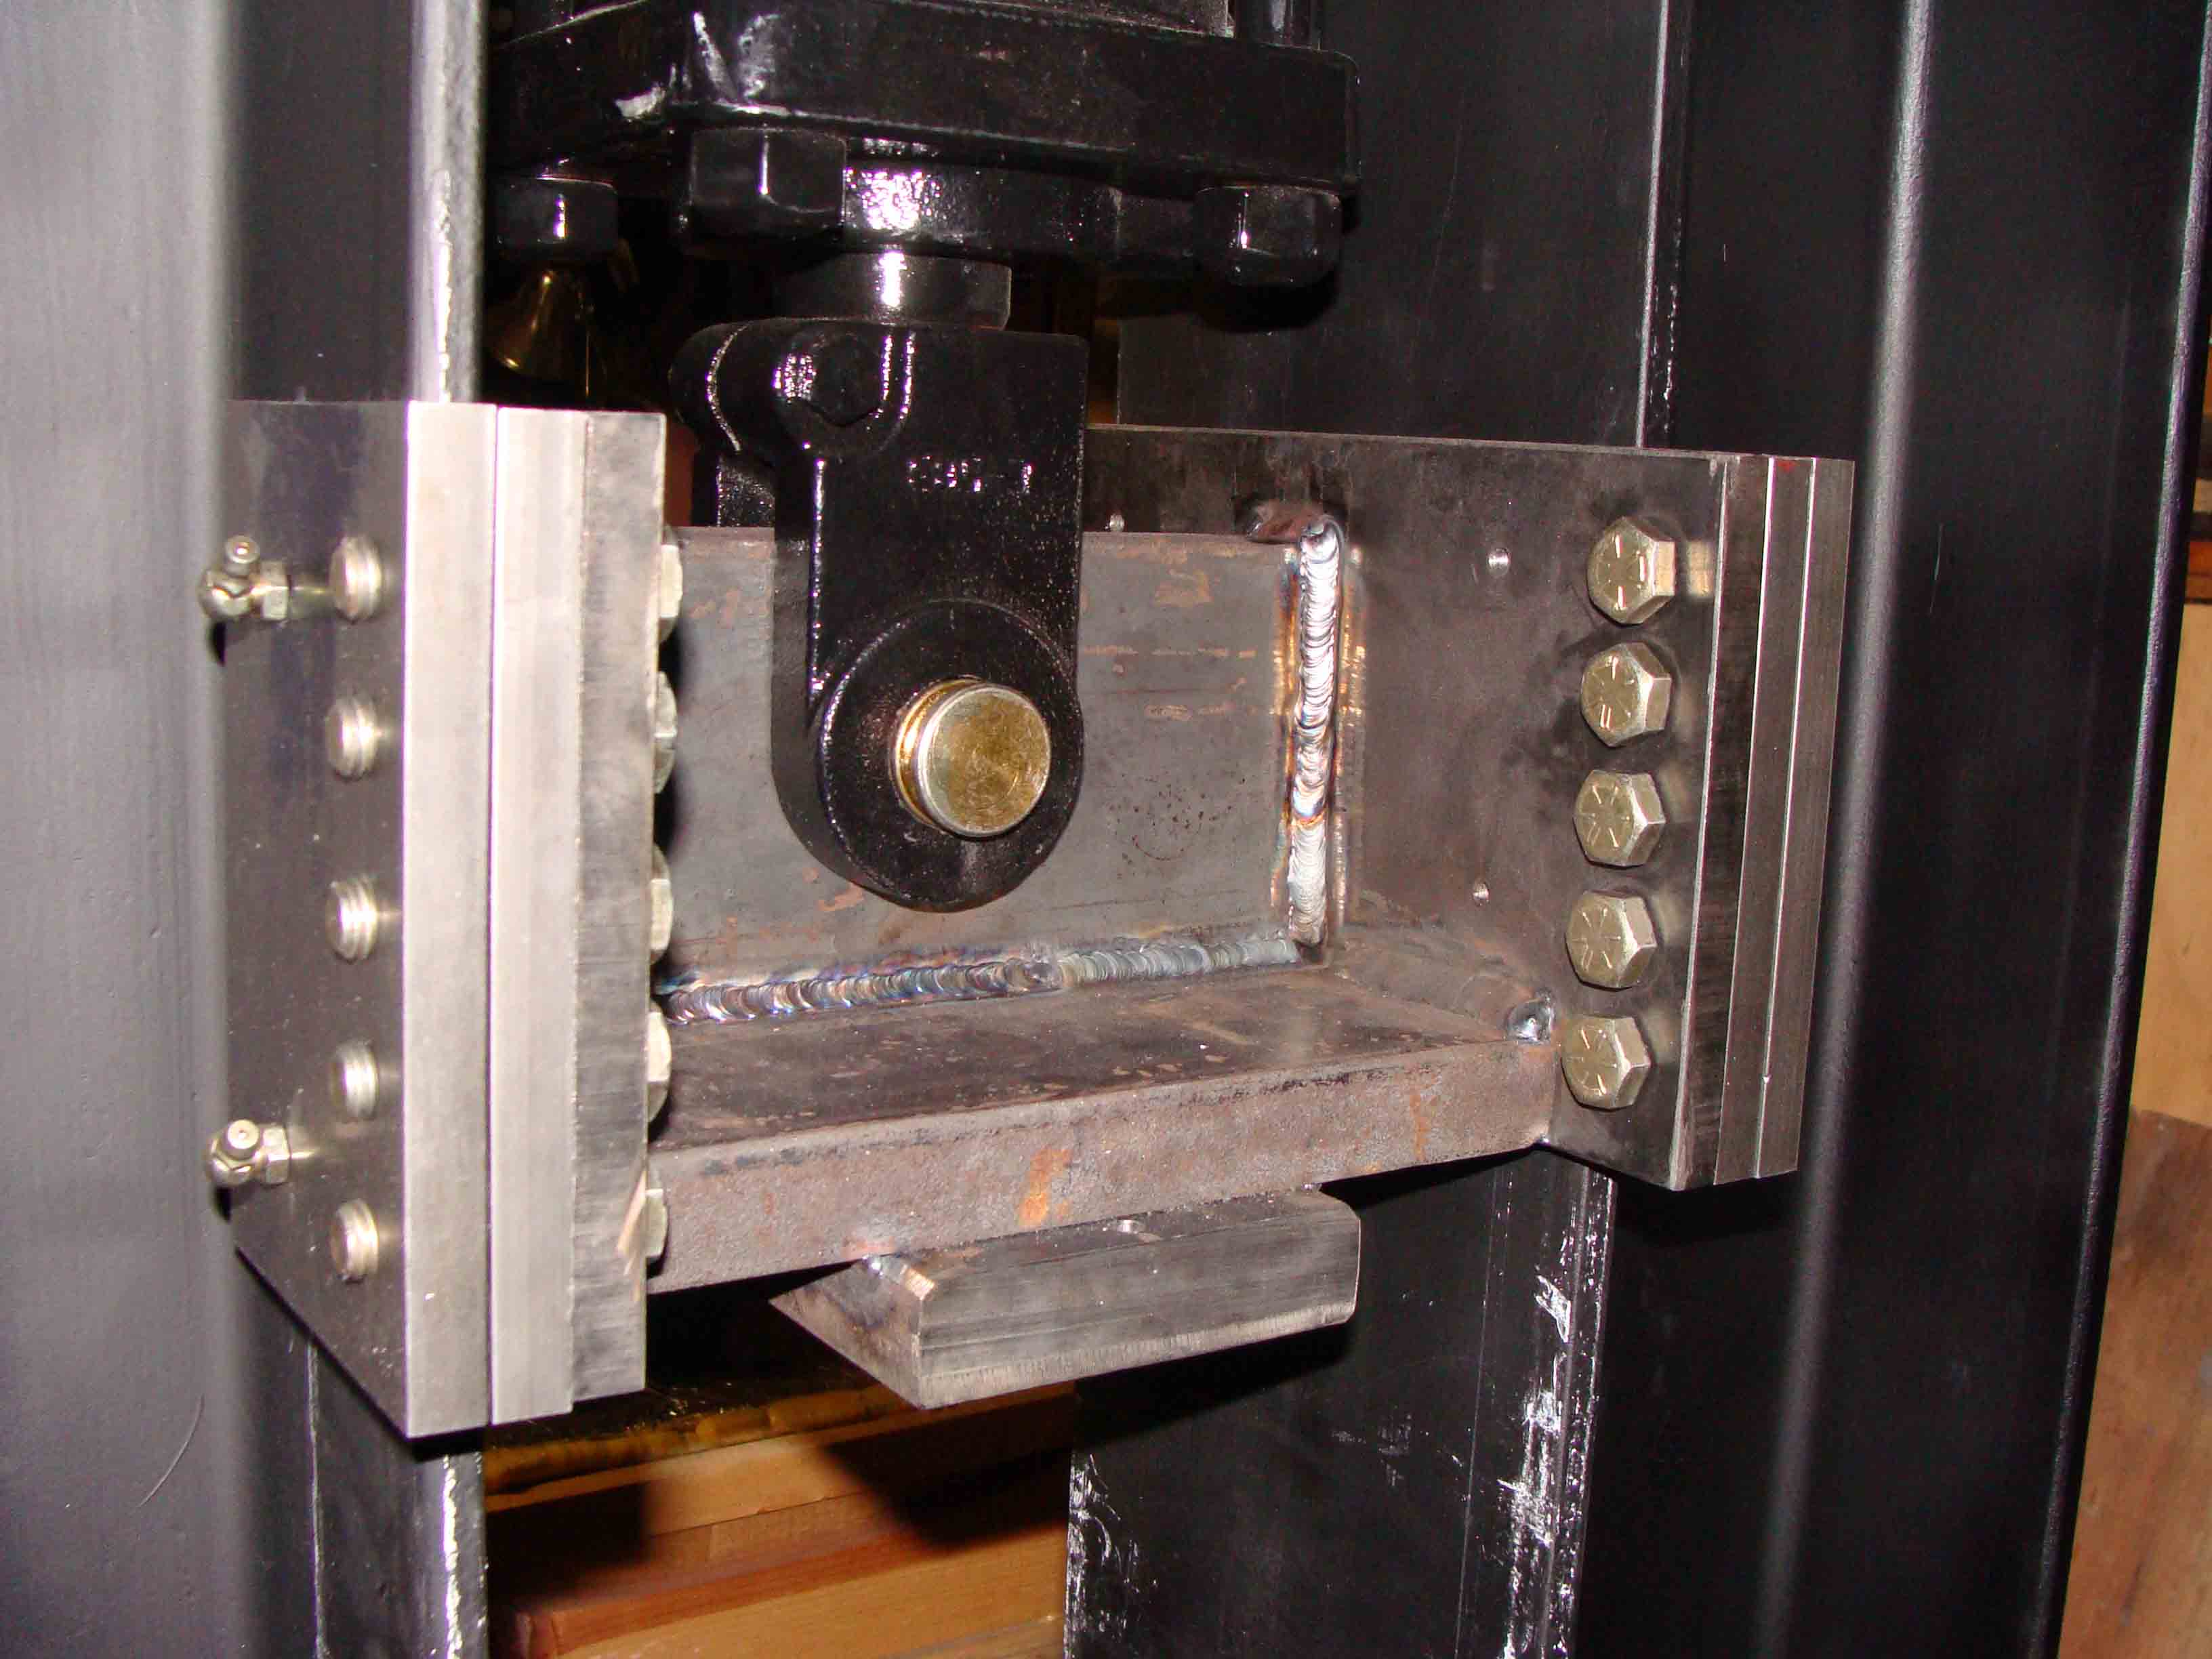
Ram guide plate all welded up.
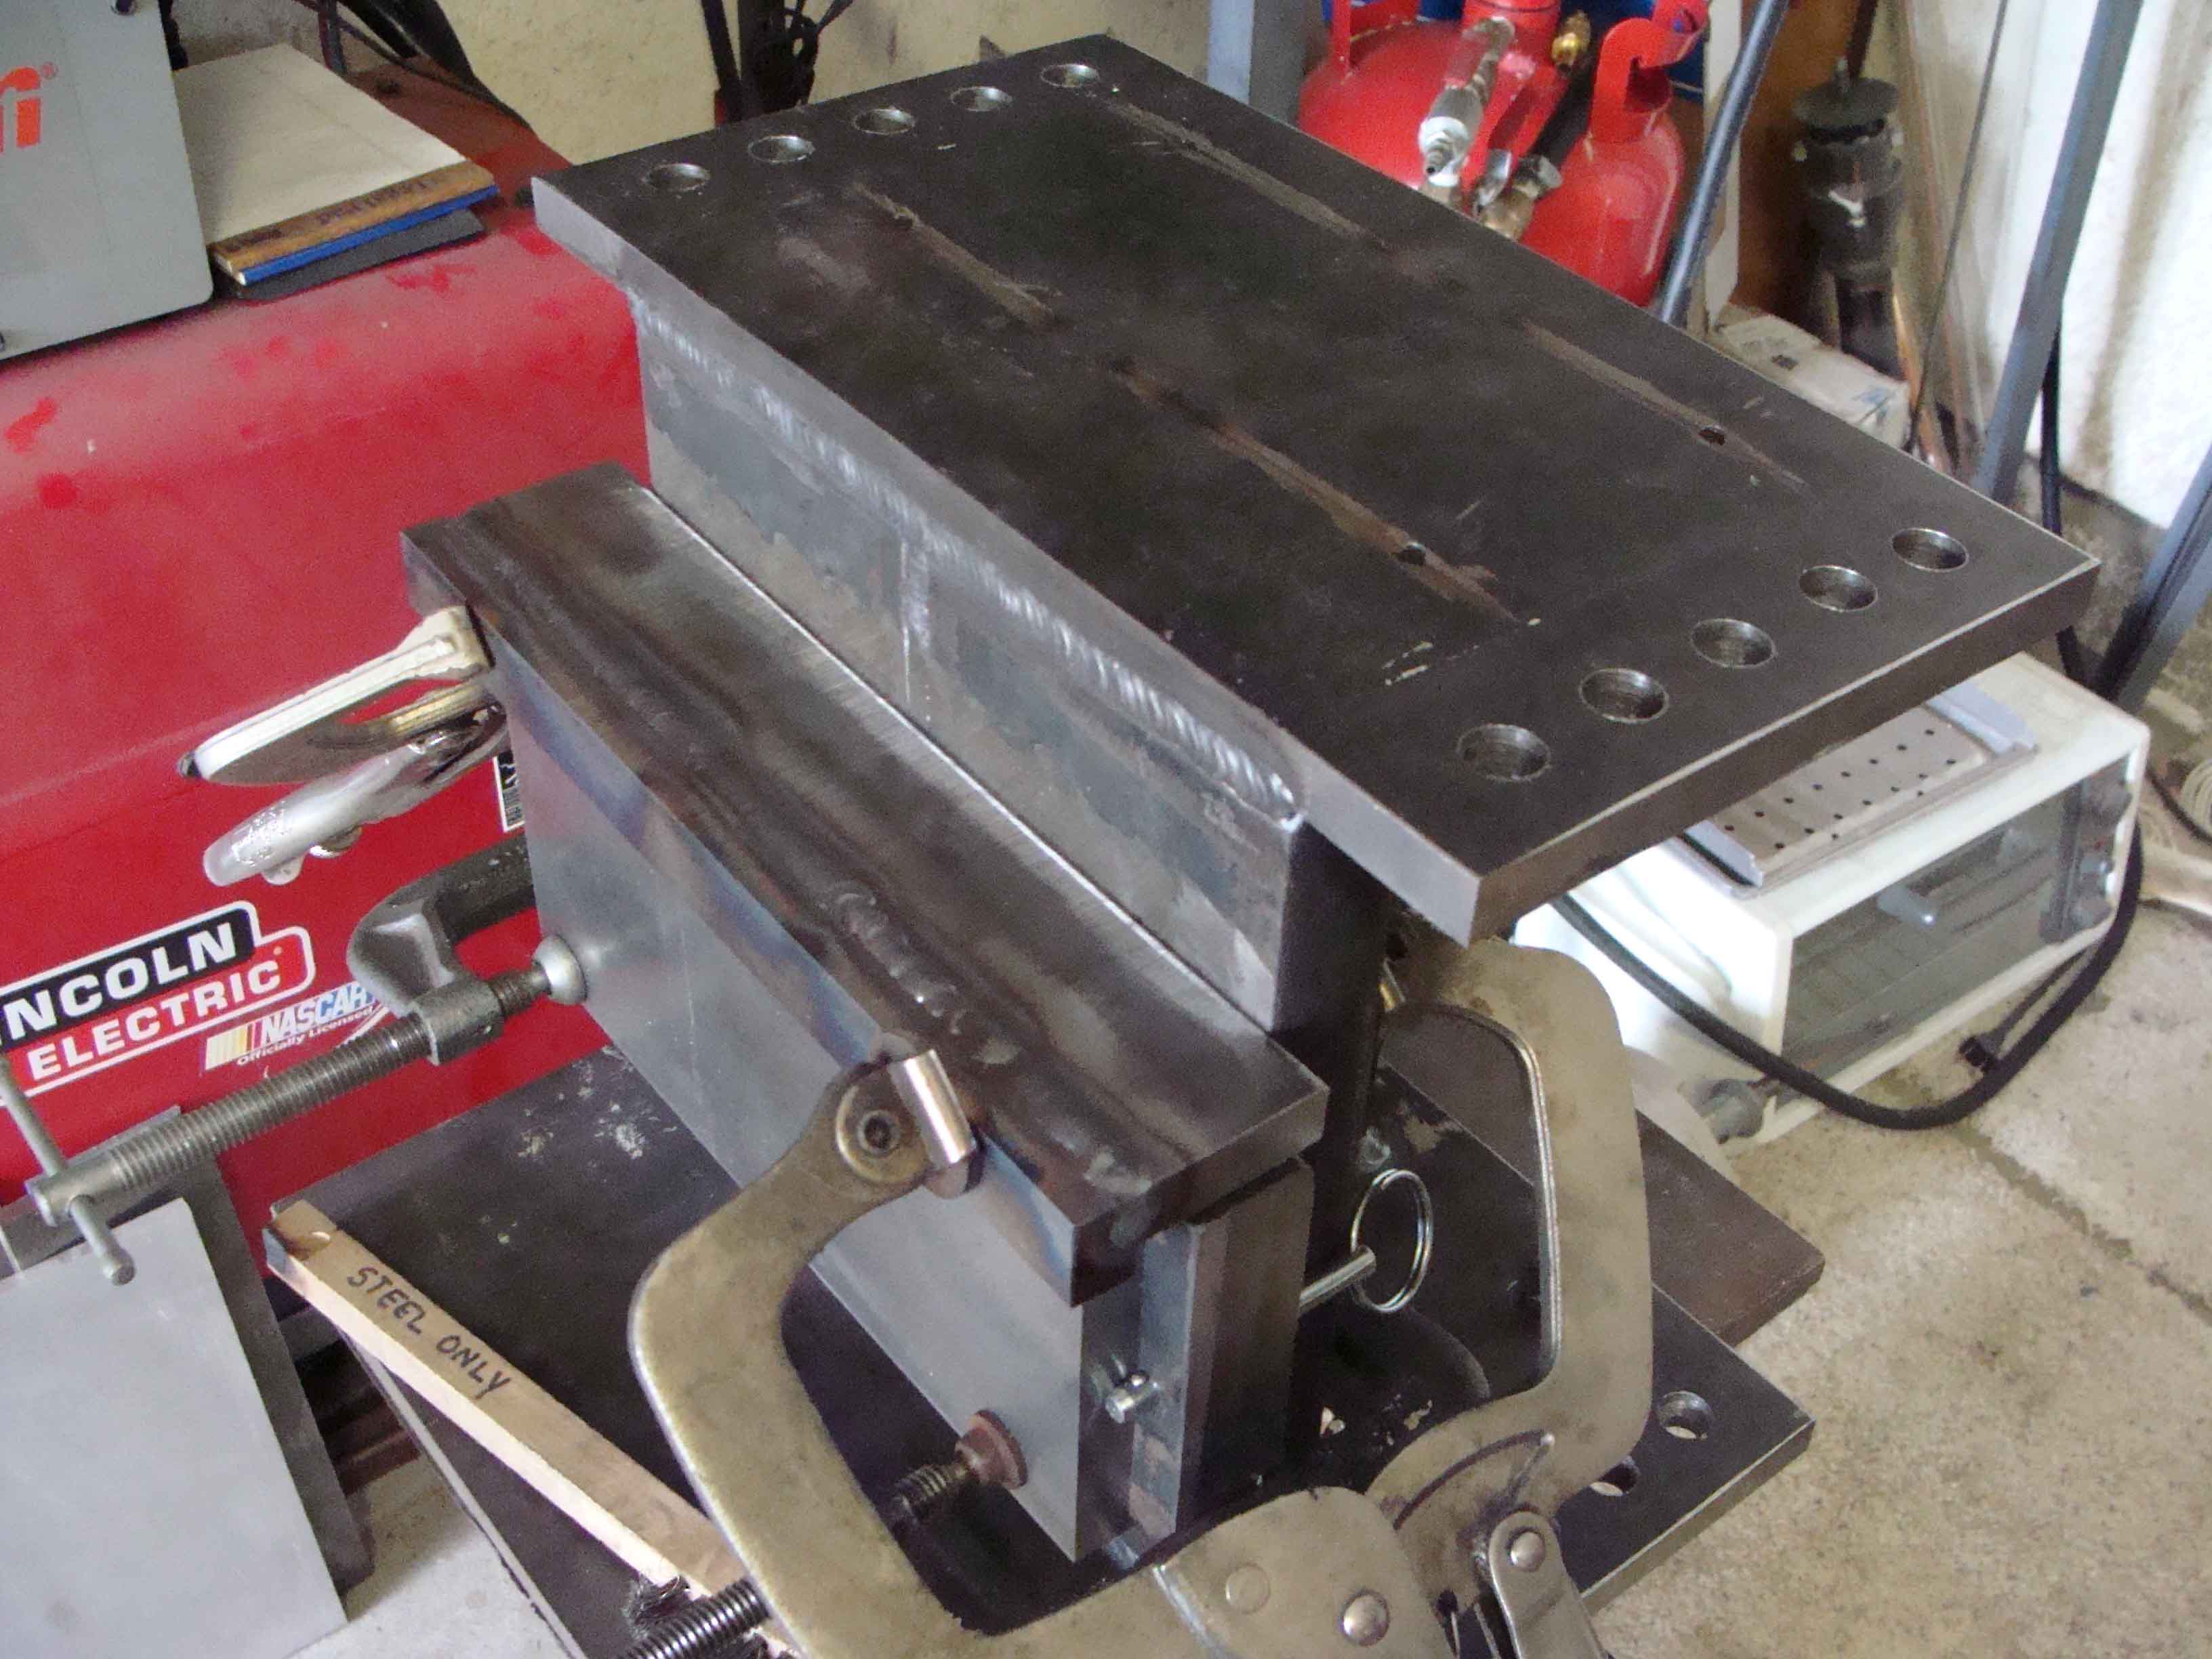
Fabrication of upper die holder.
Upper die holder complete.
New plumbing added.
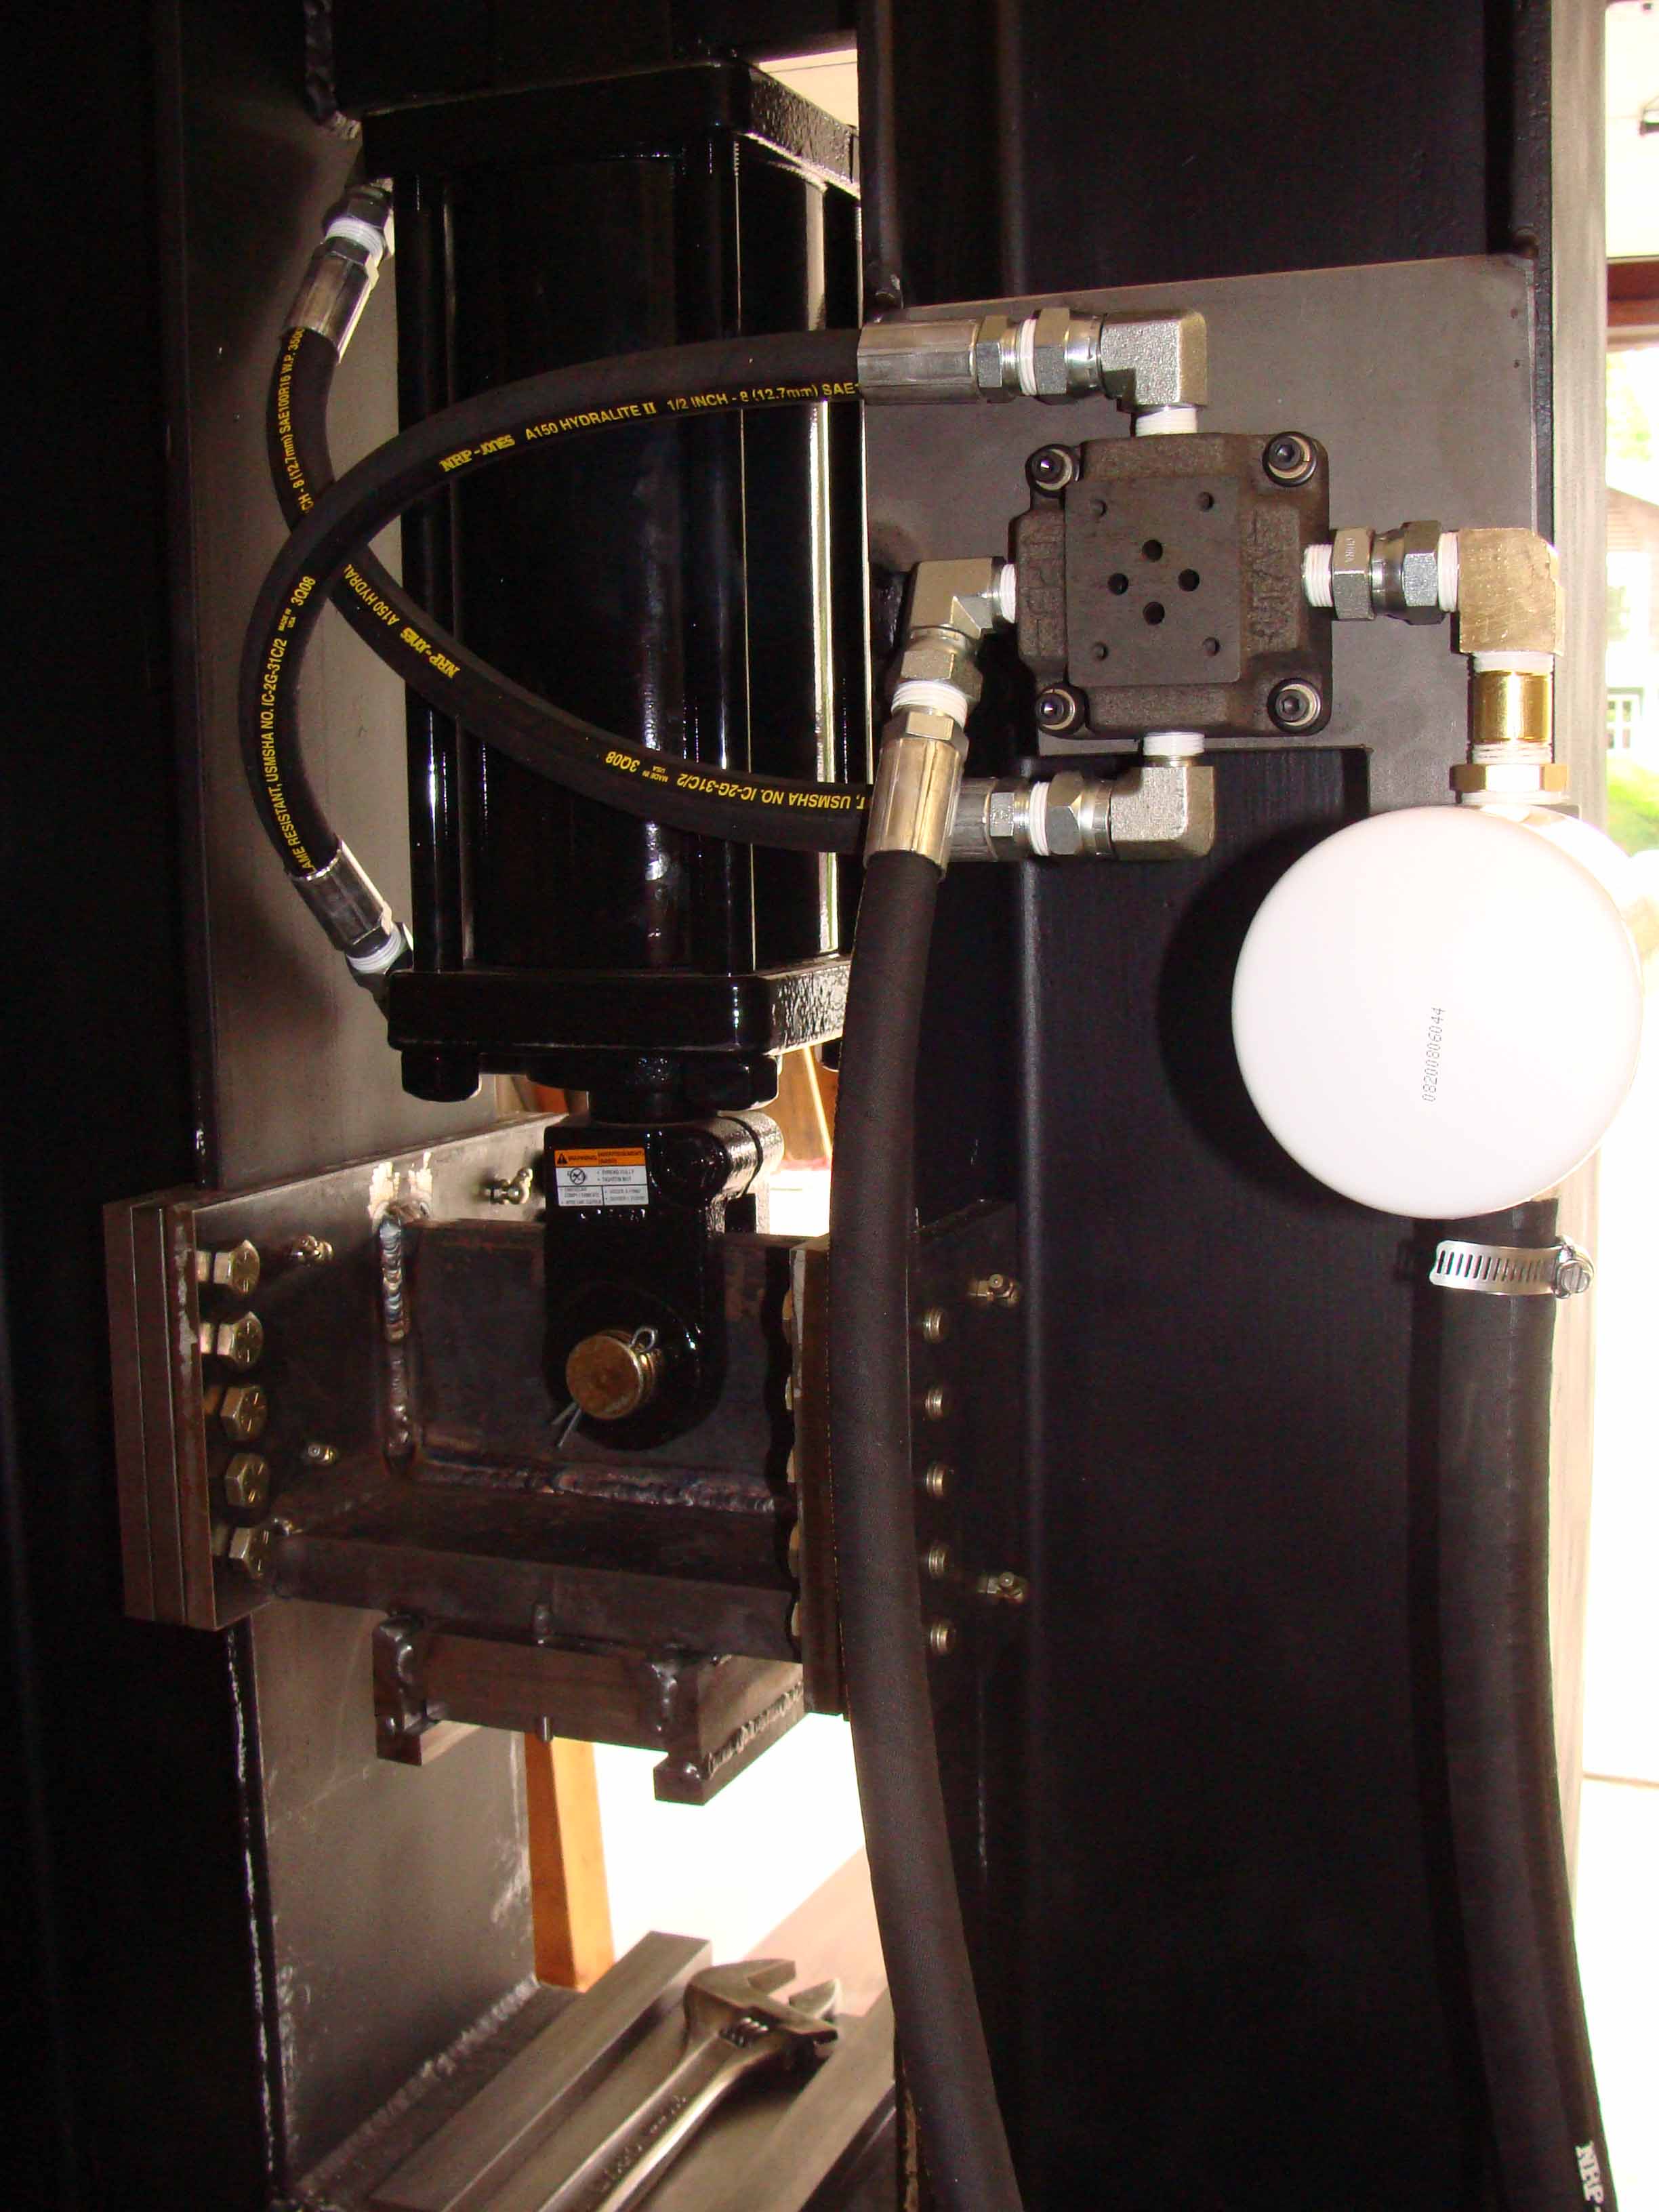
Close up of hydraulic solenoid mounting plate.
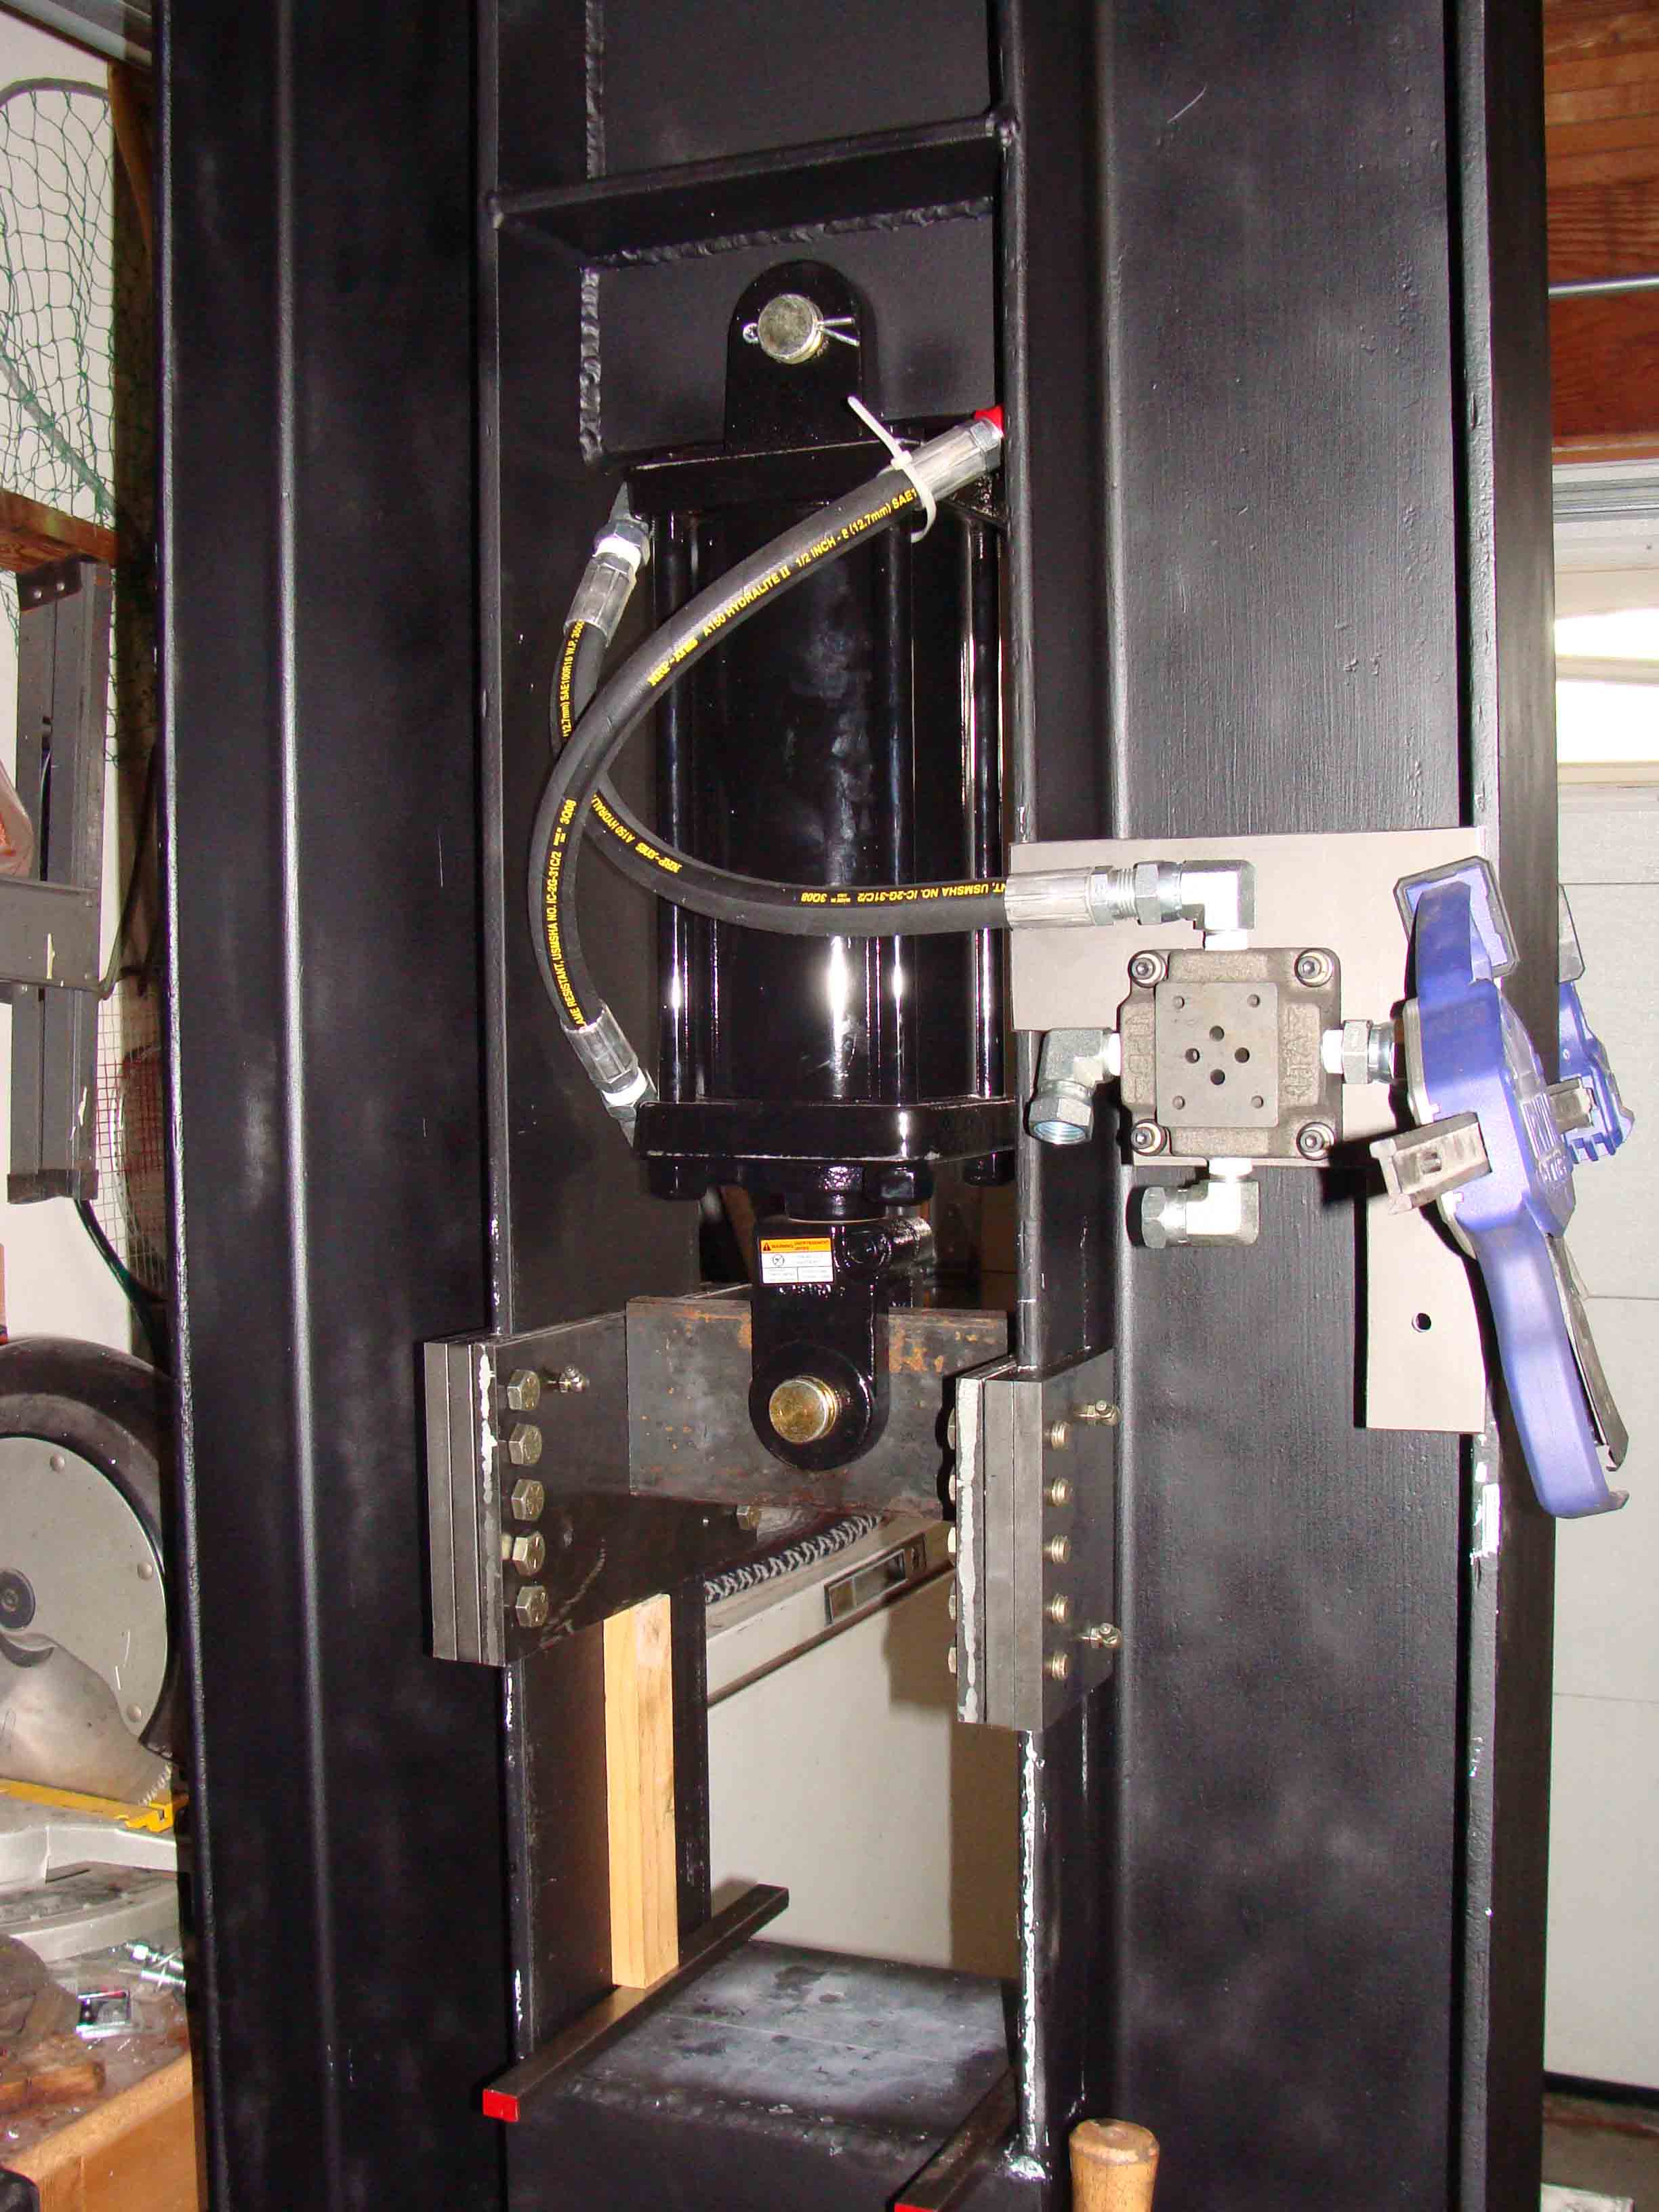
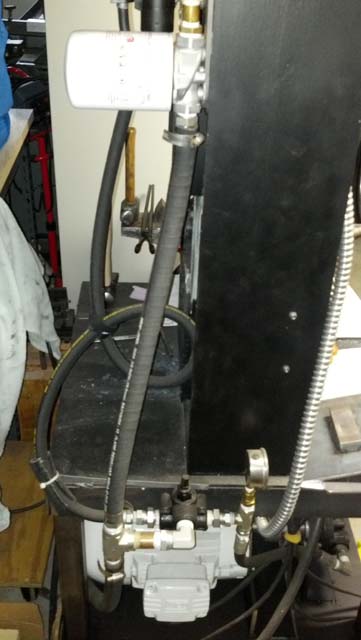
Side view of press and new plumbing.
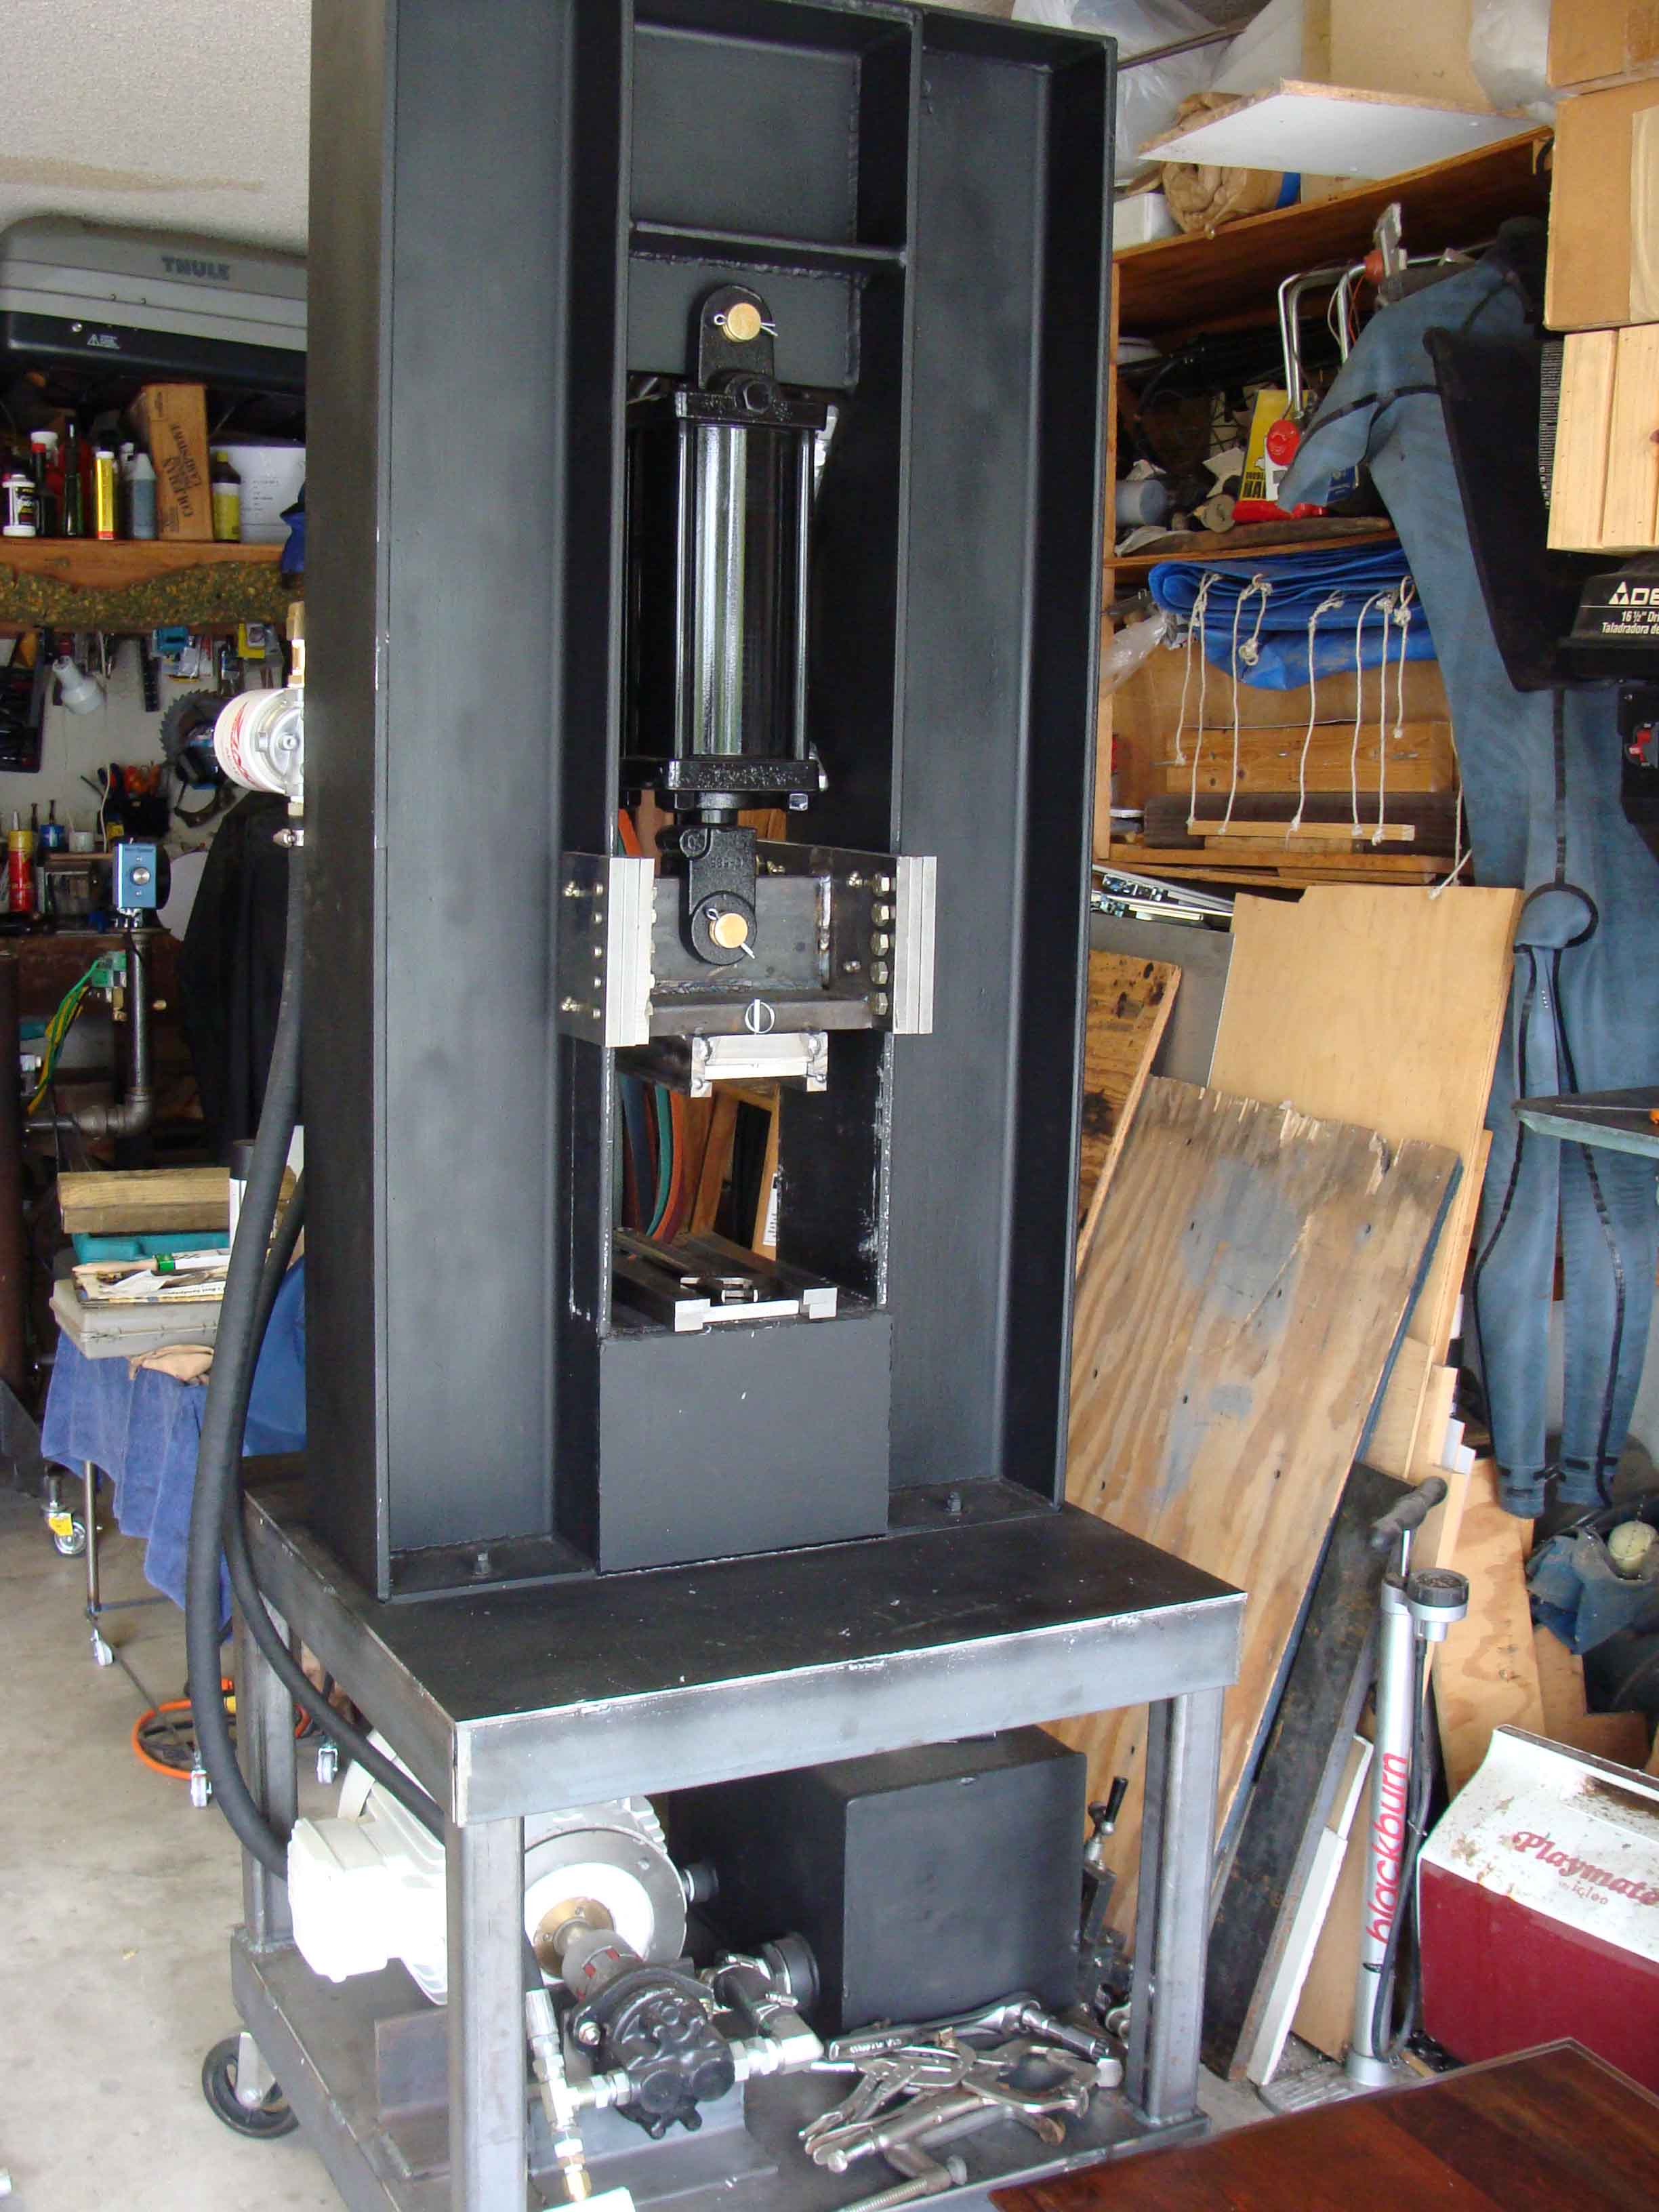
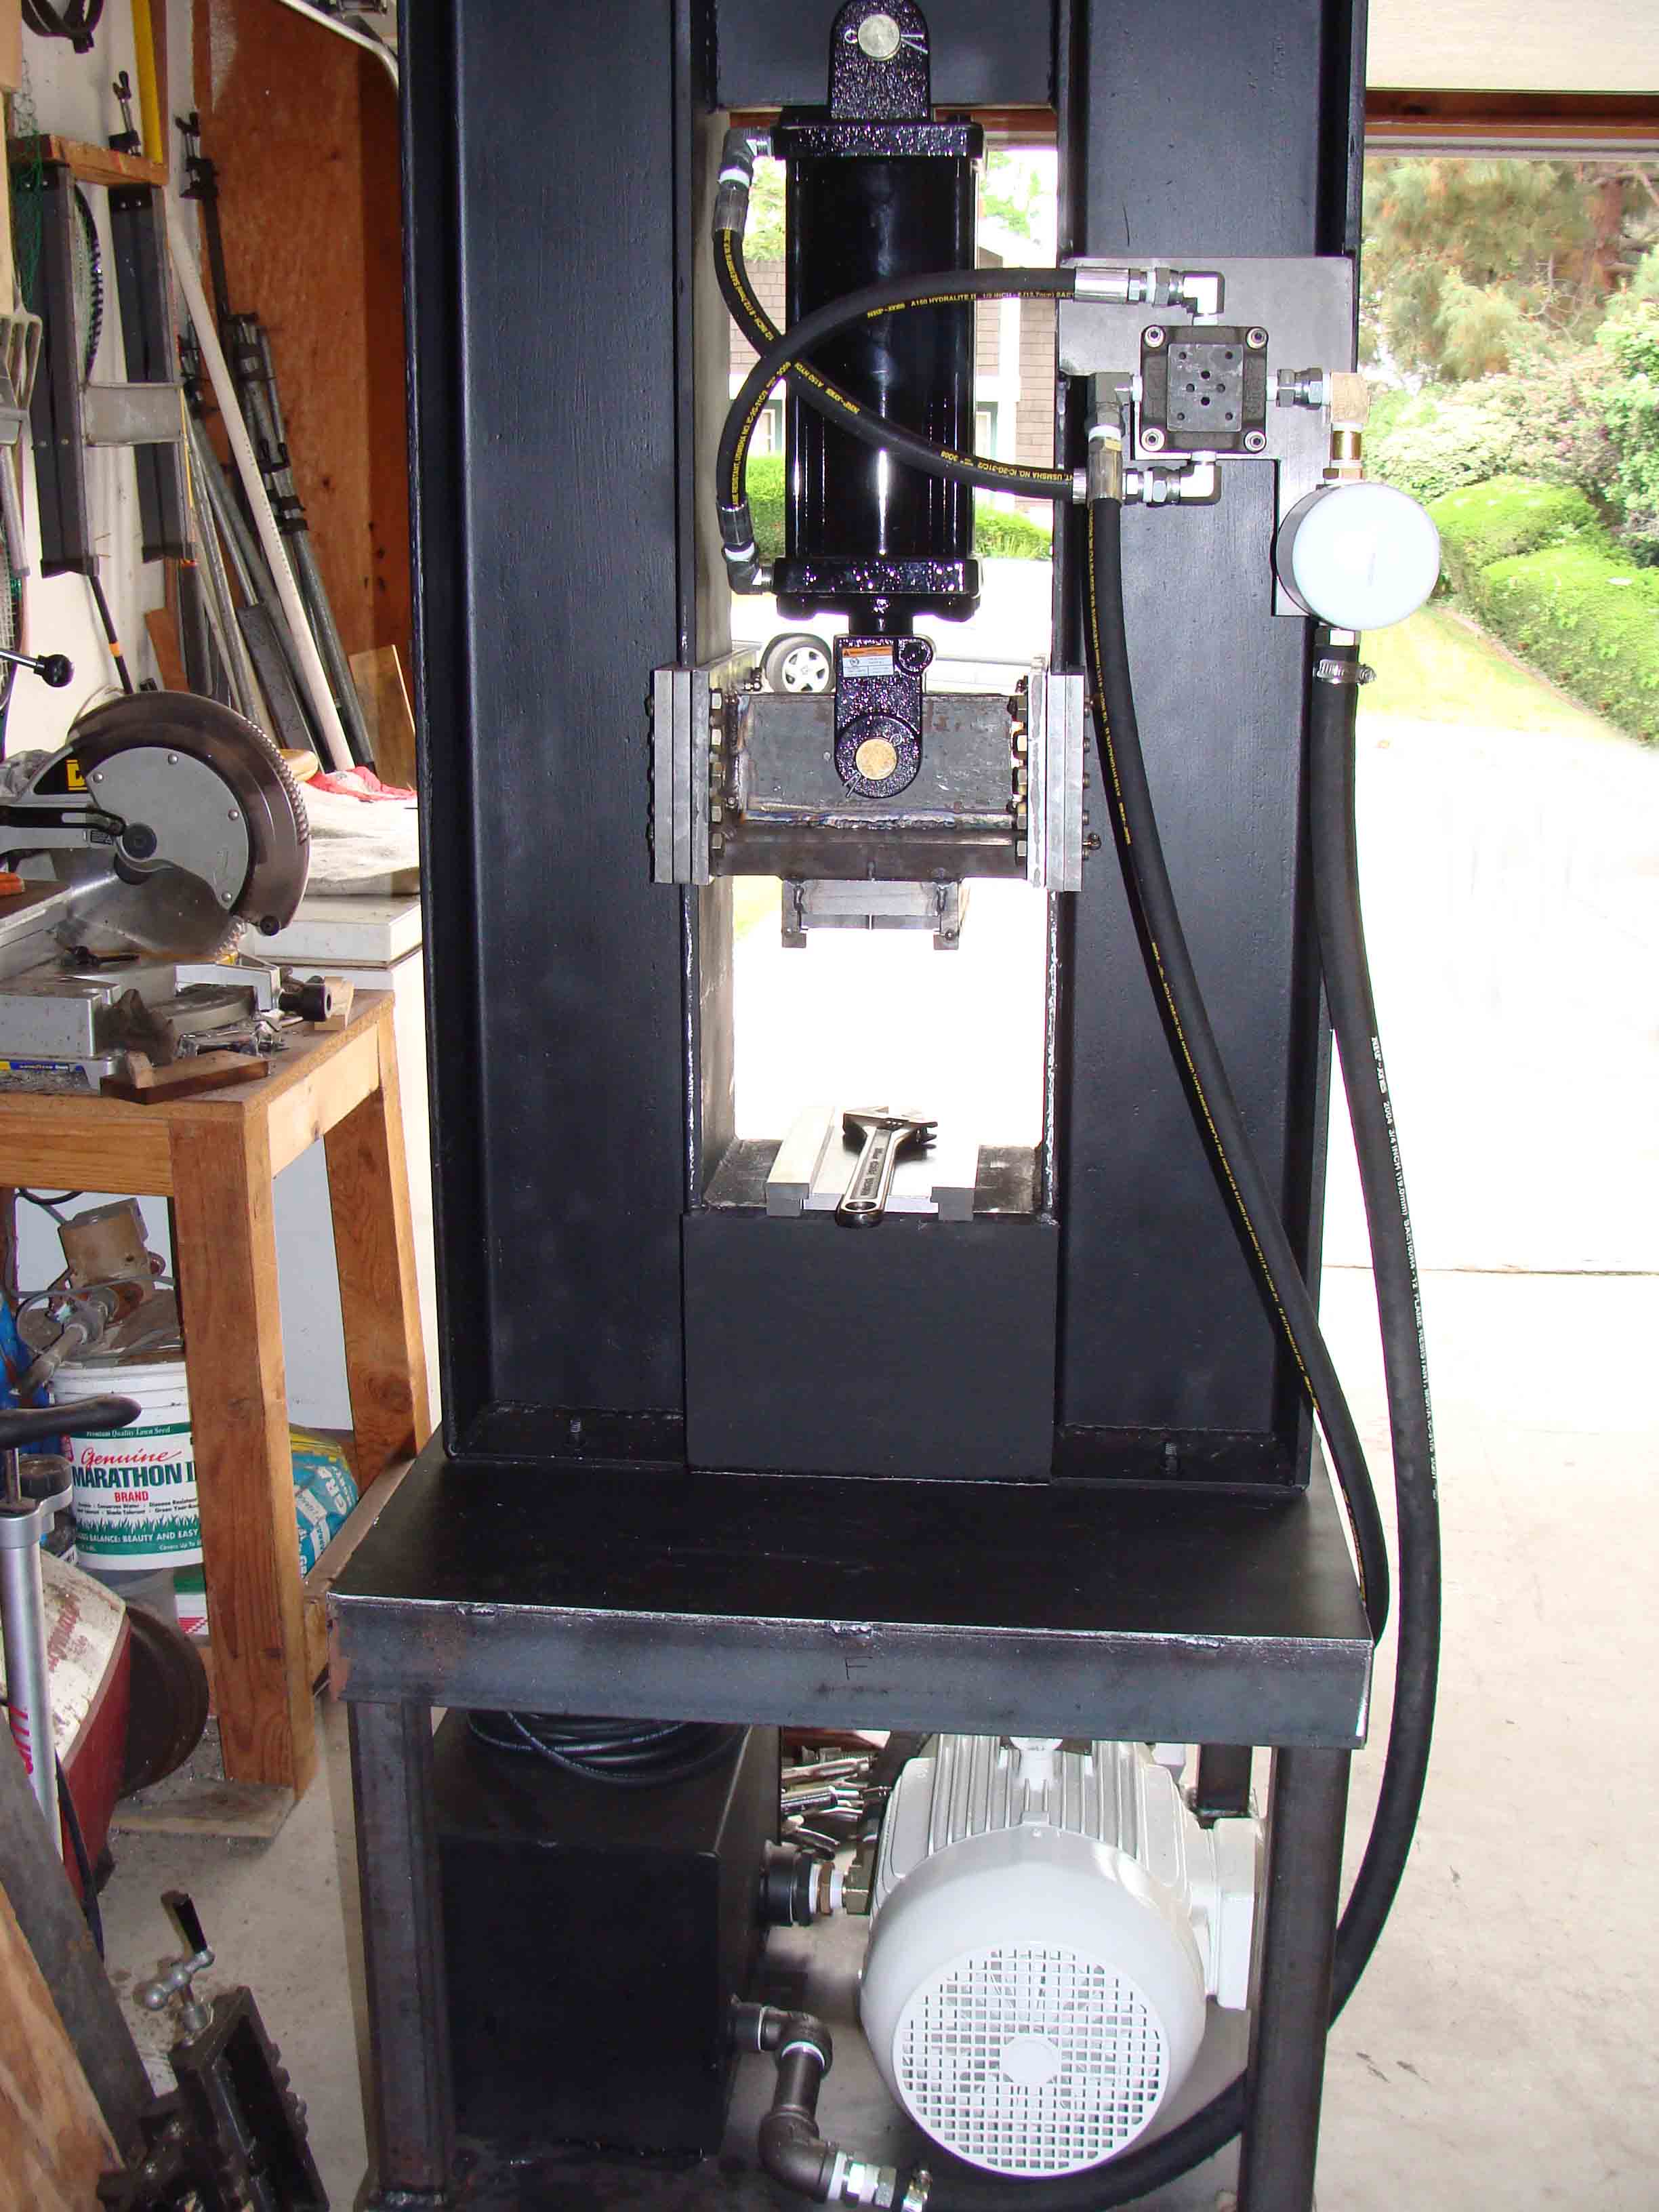
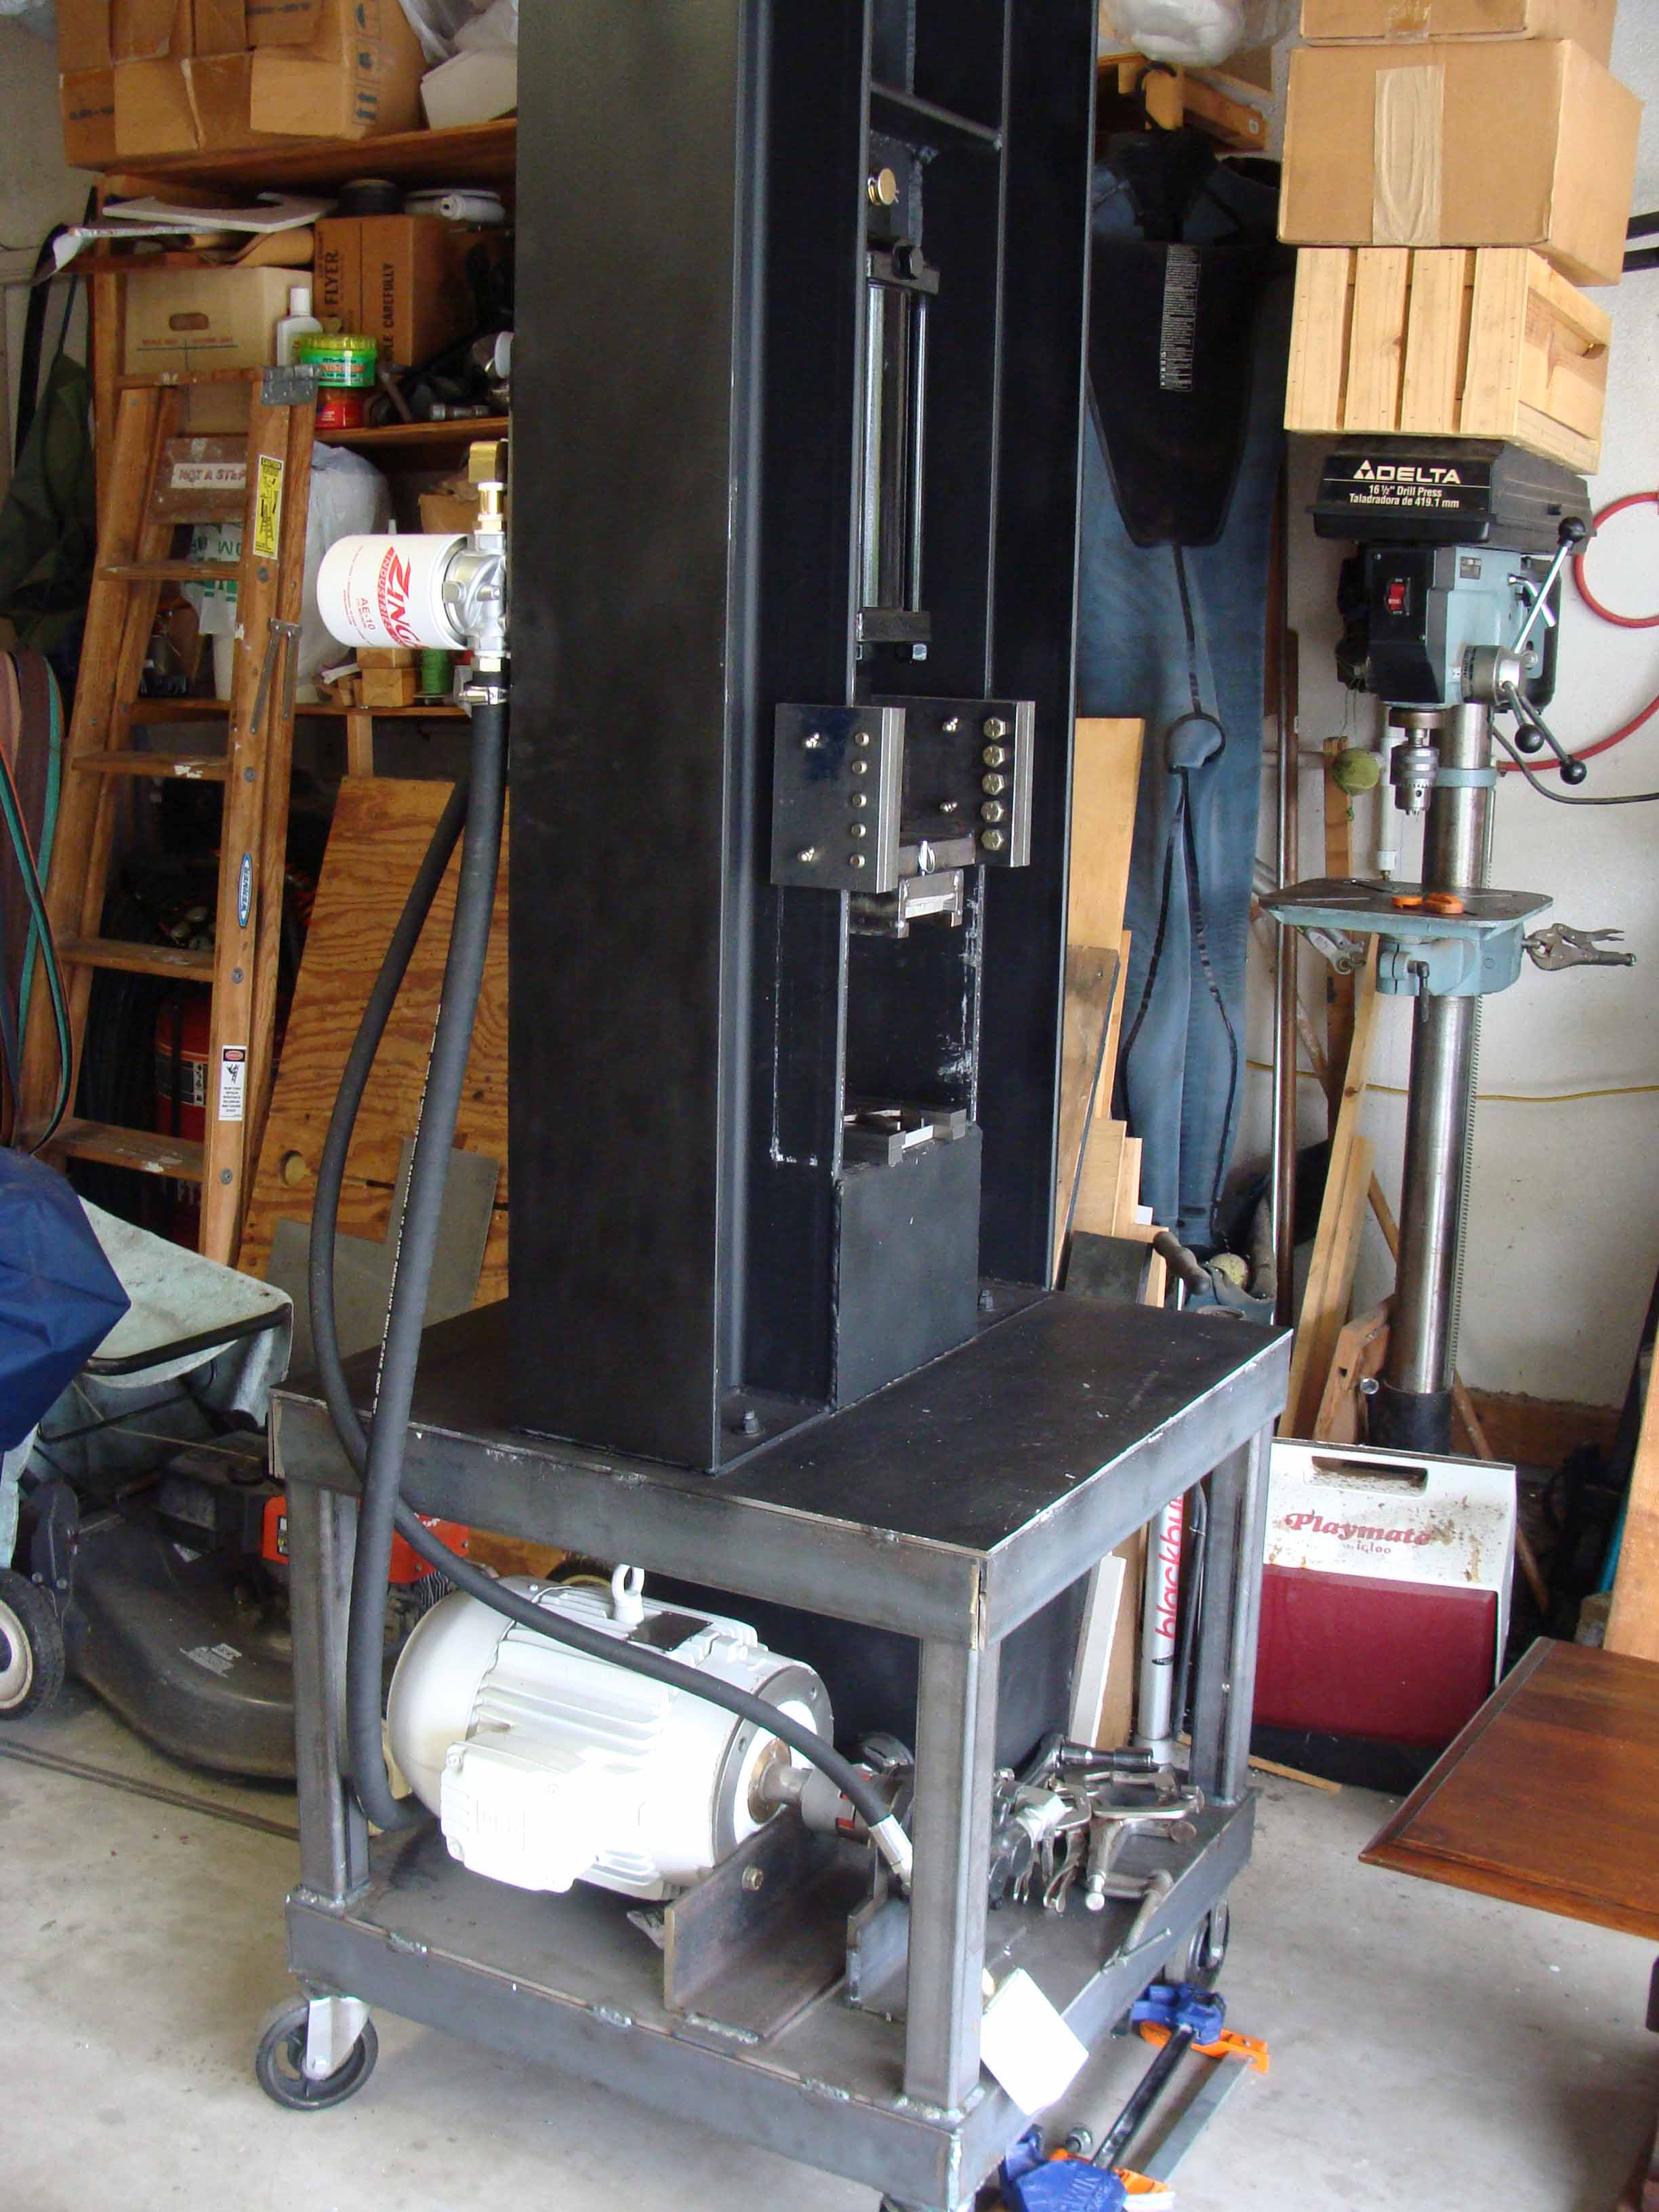
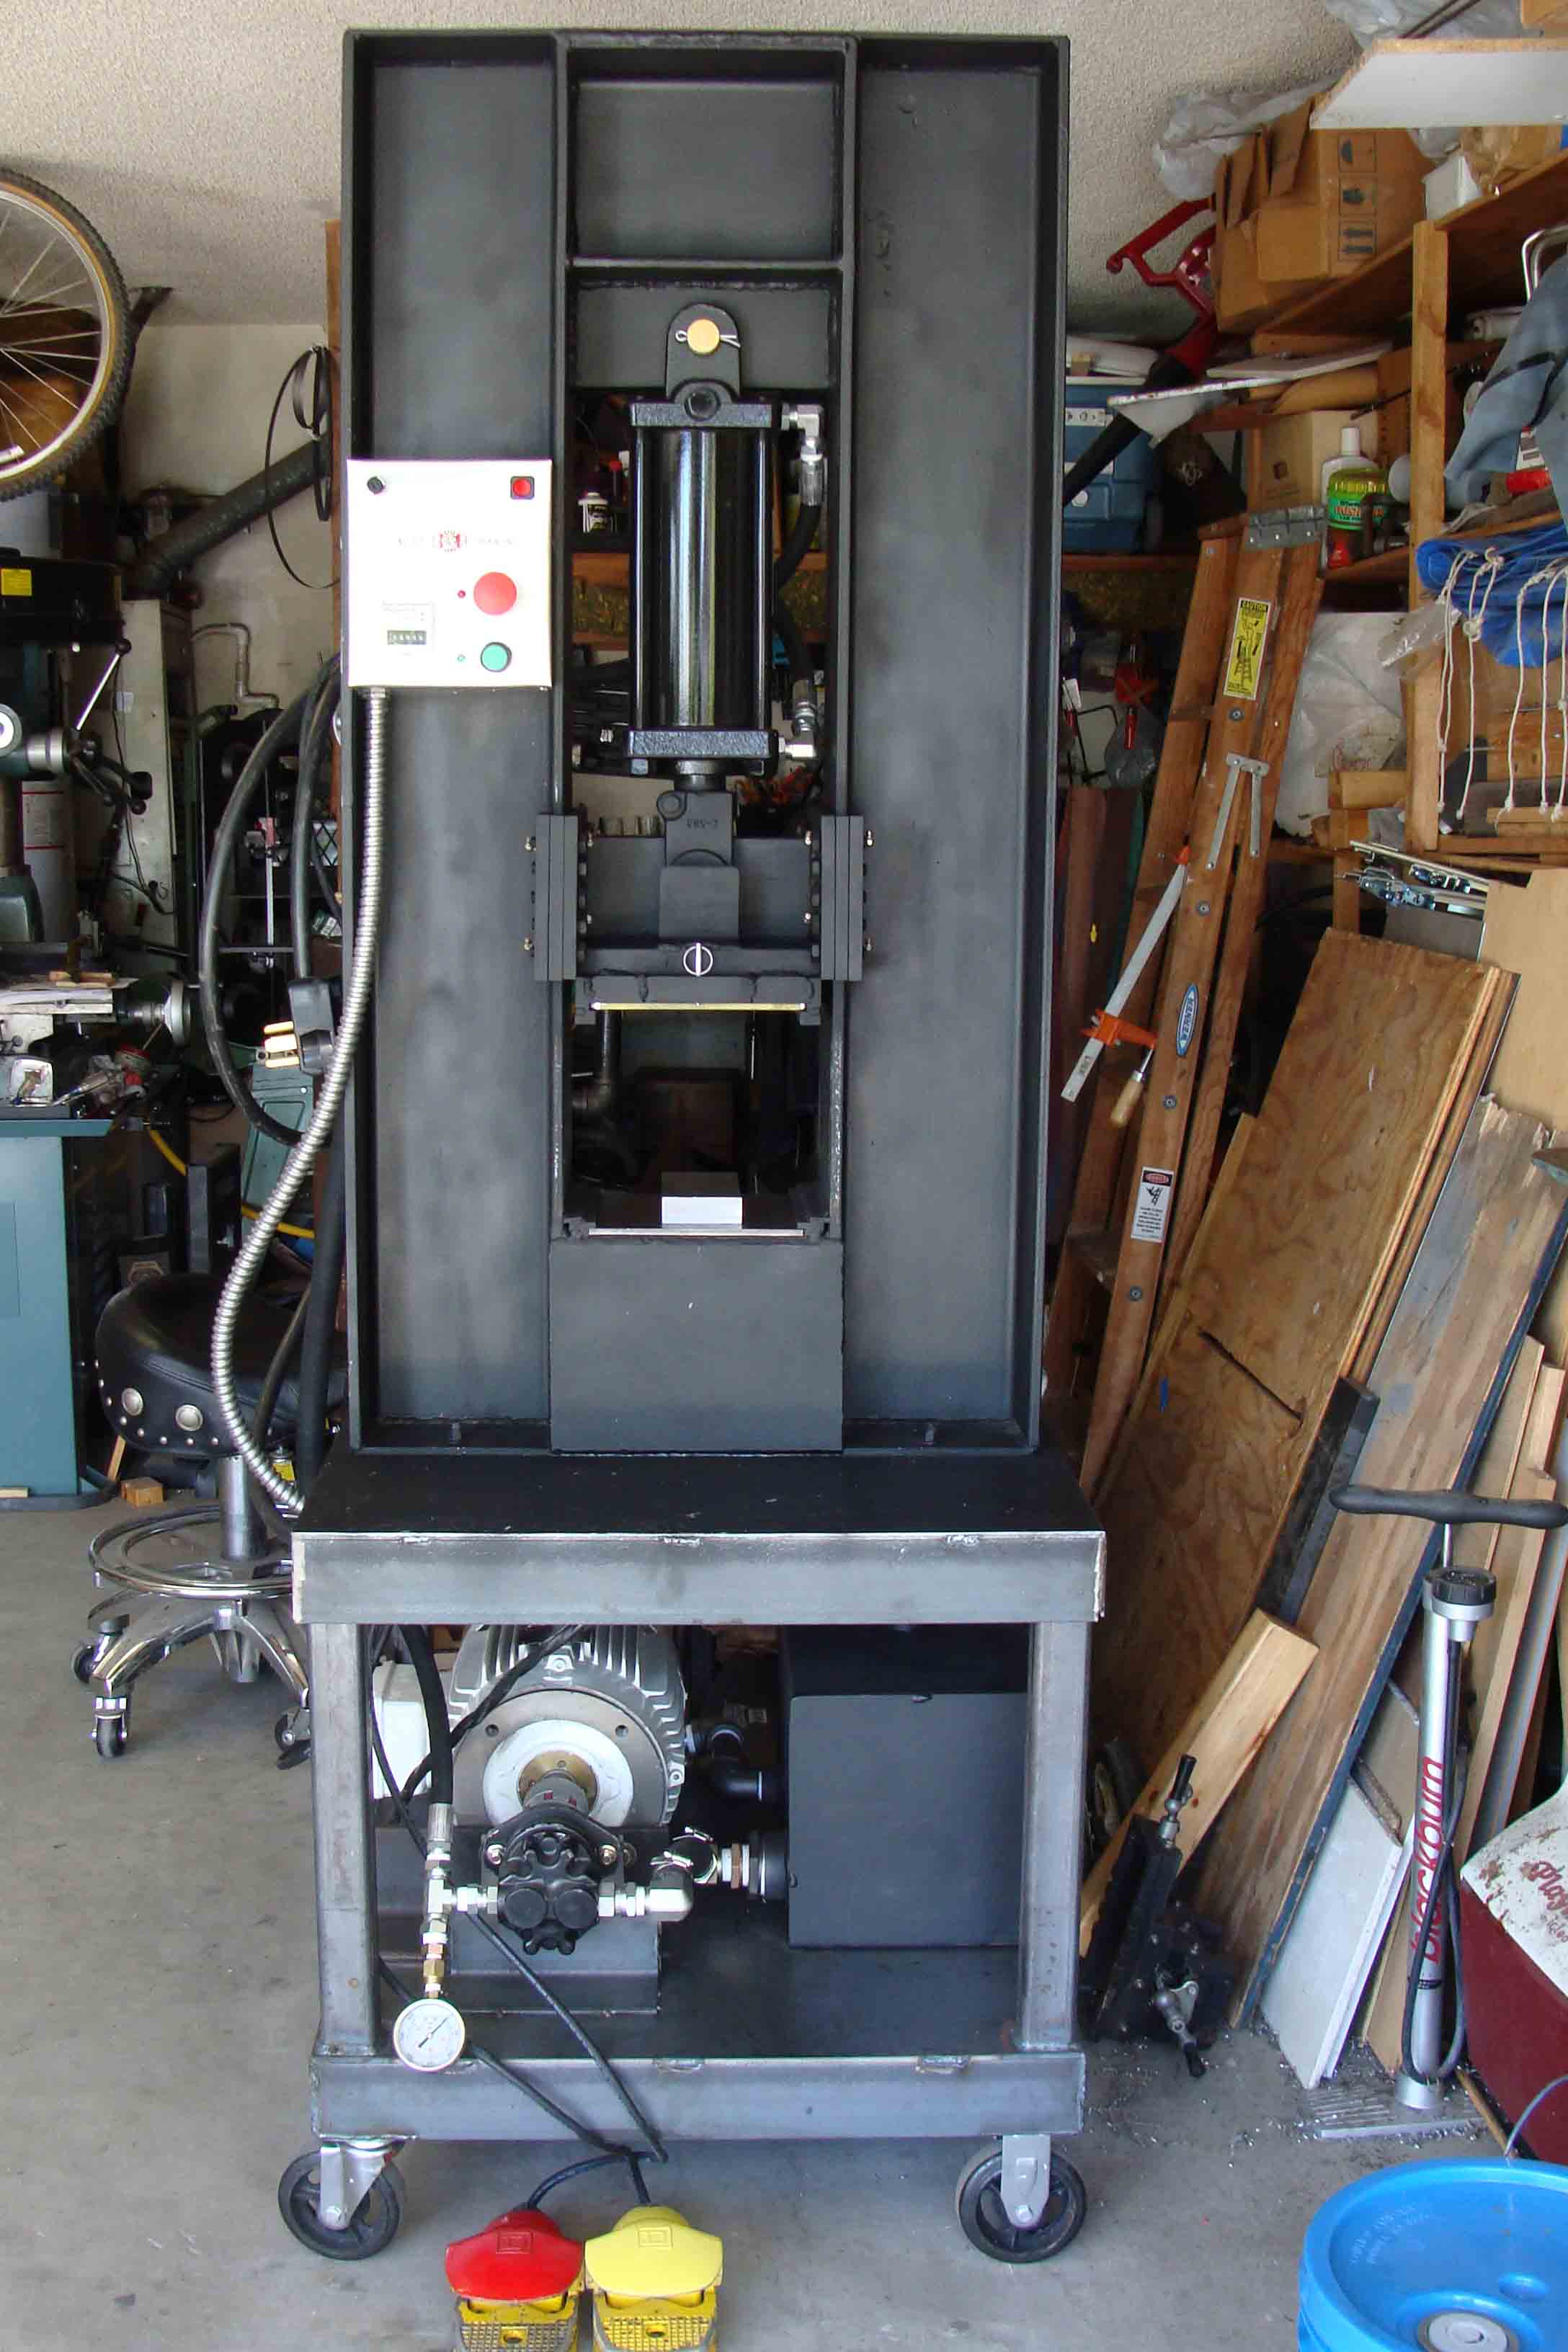
Front view of press as it sits now.
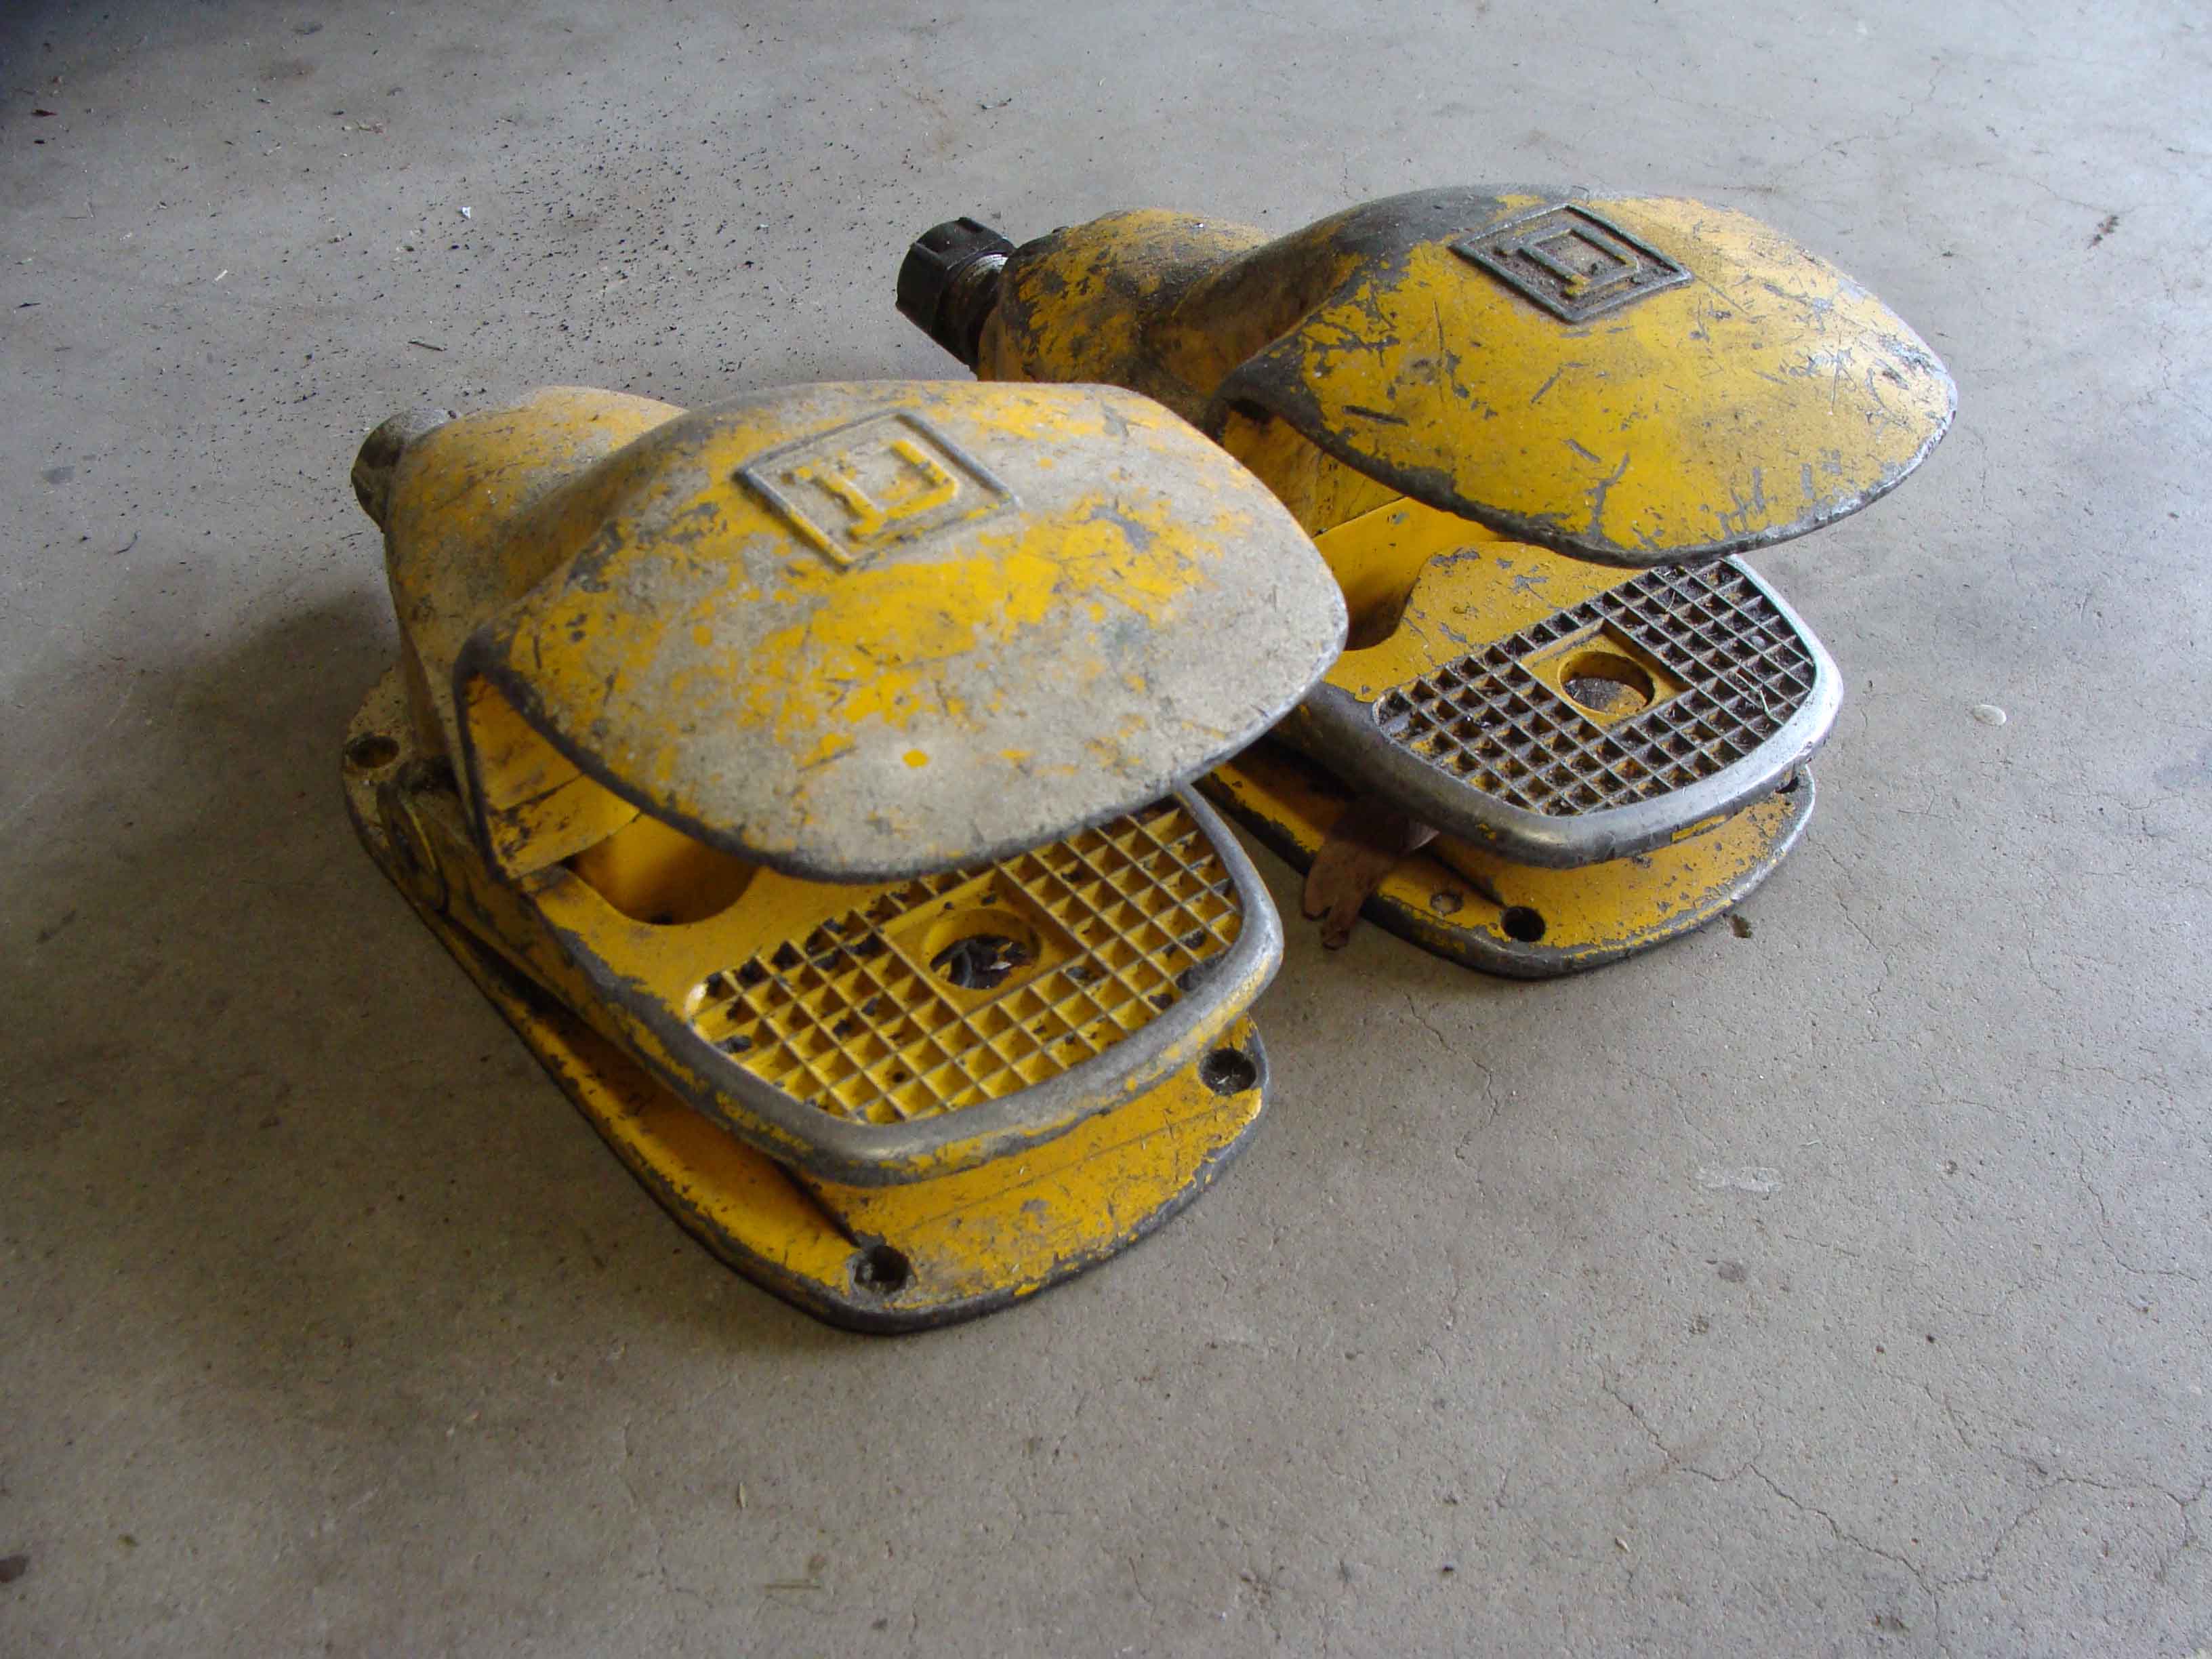
These are the foot switches that will be wired to control ram movement.
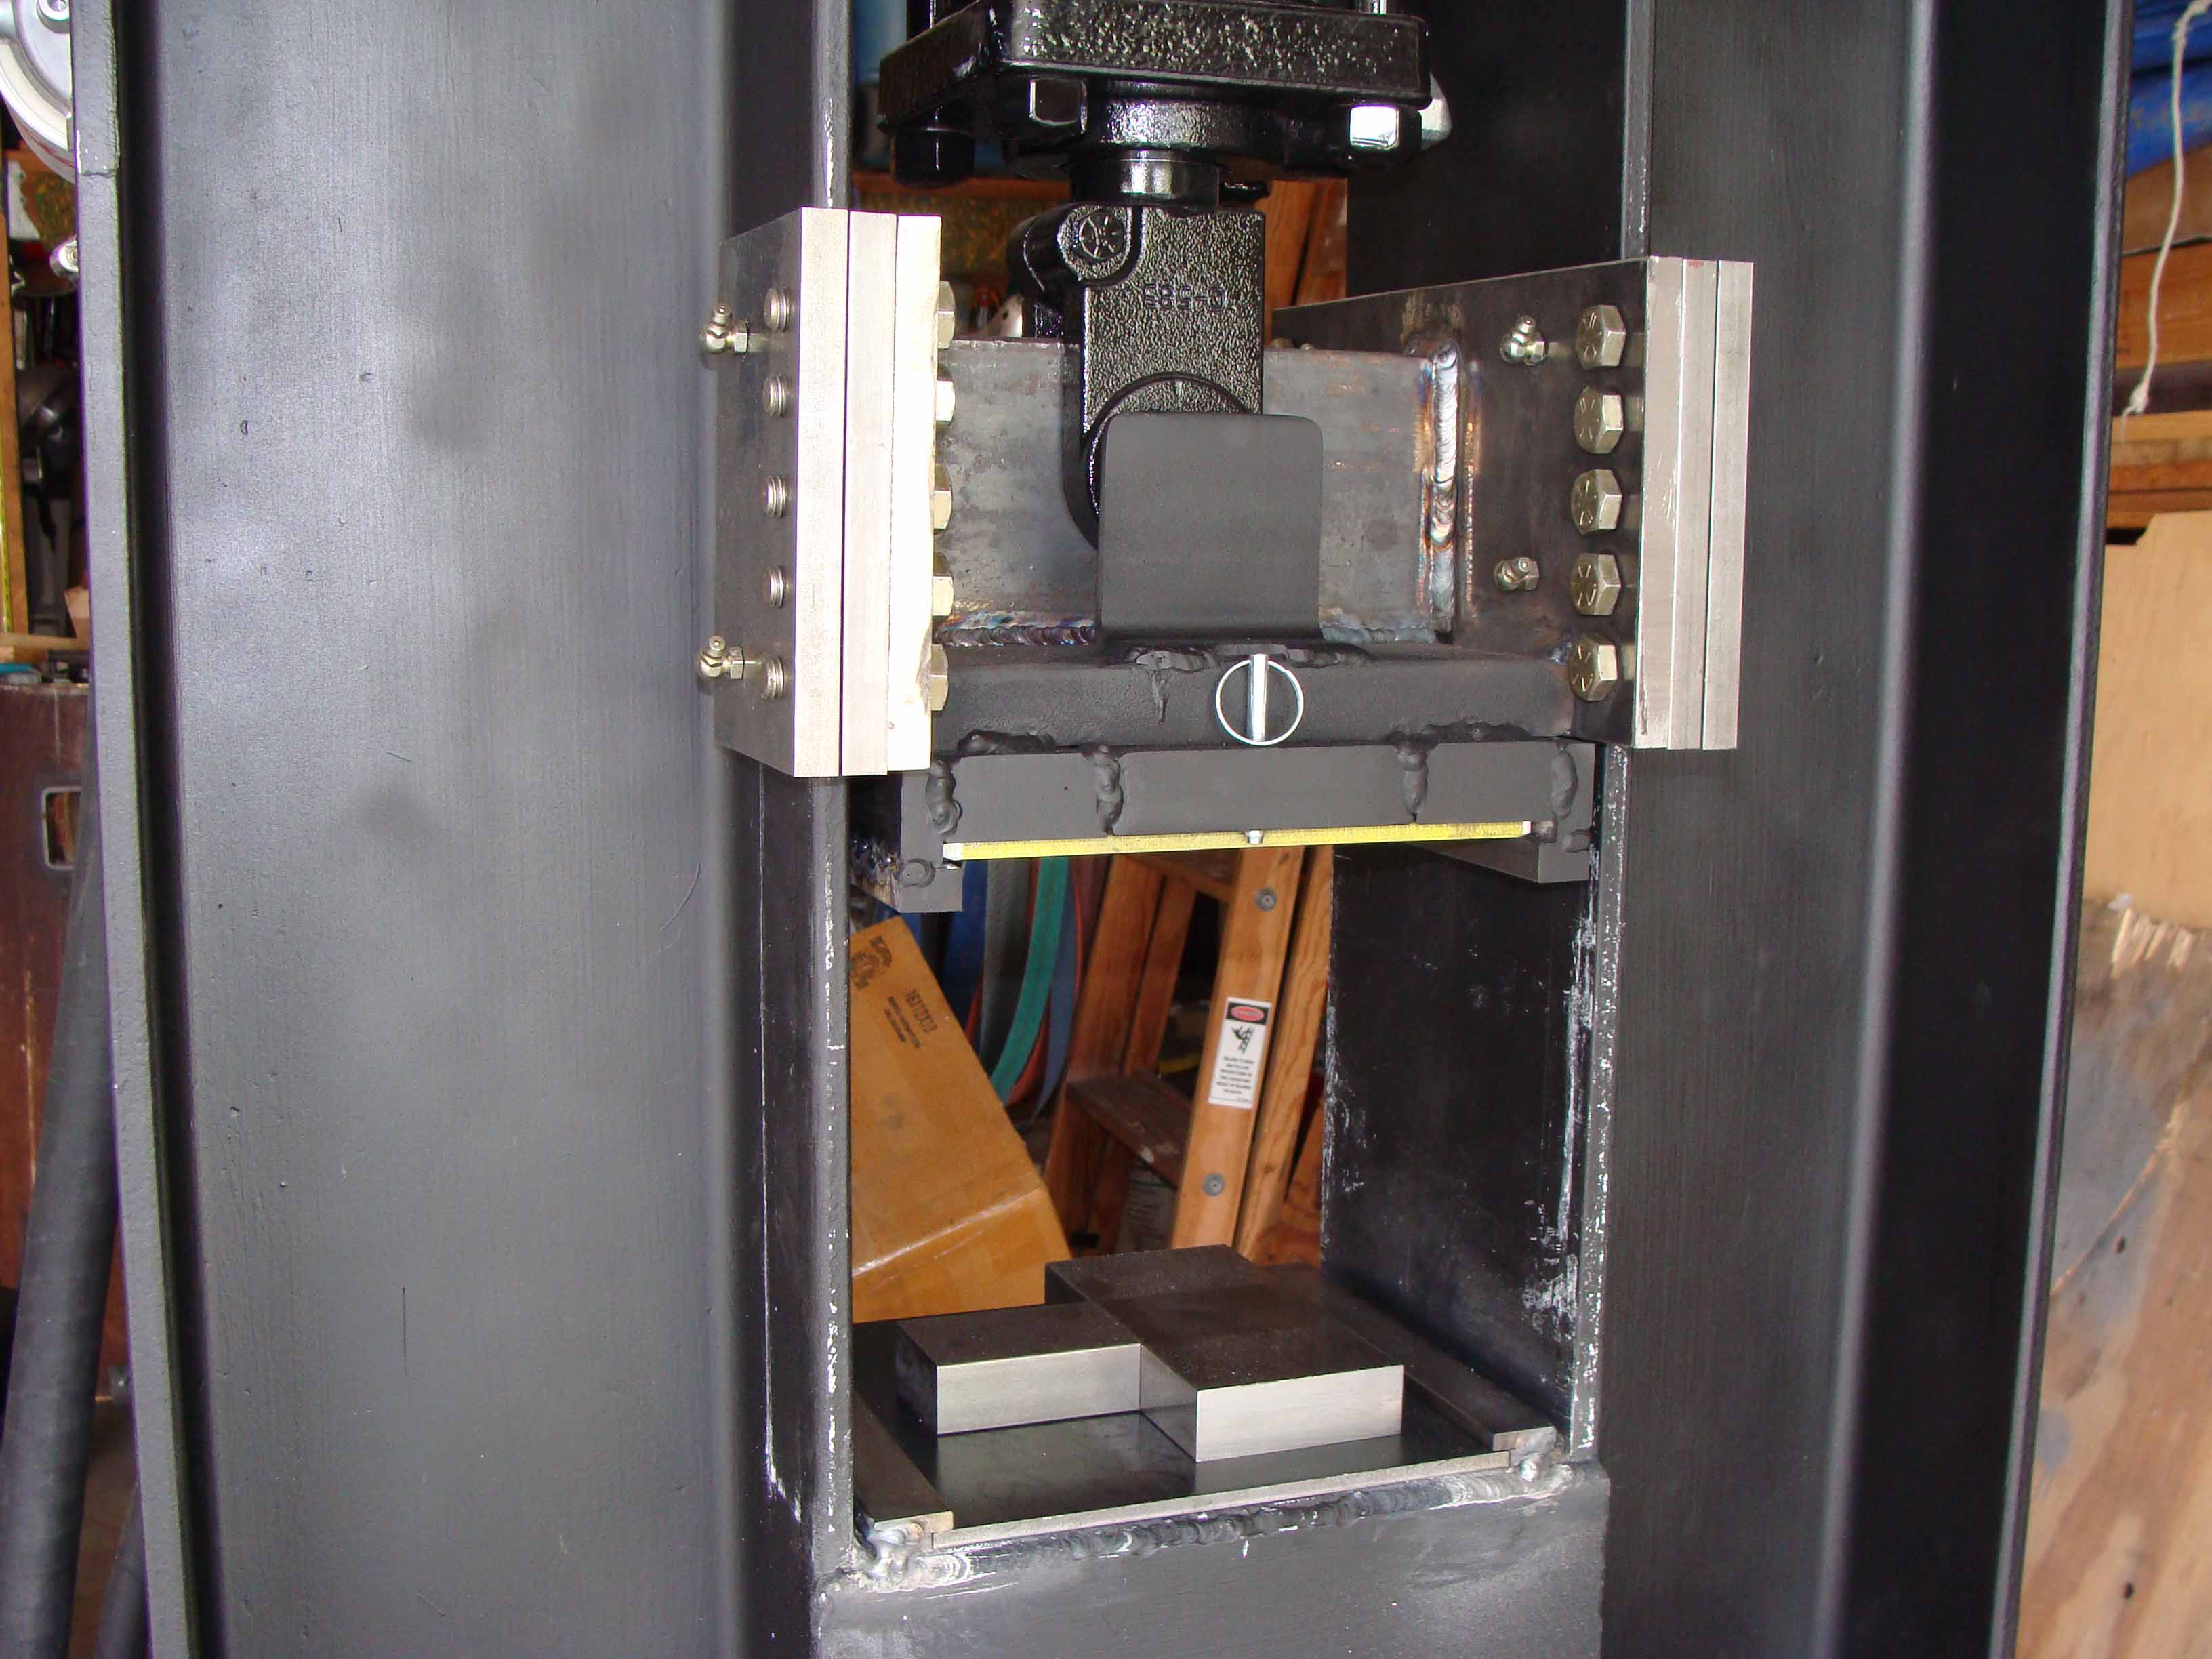
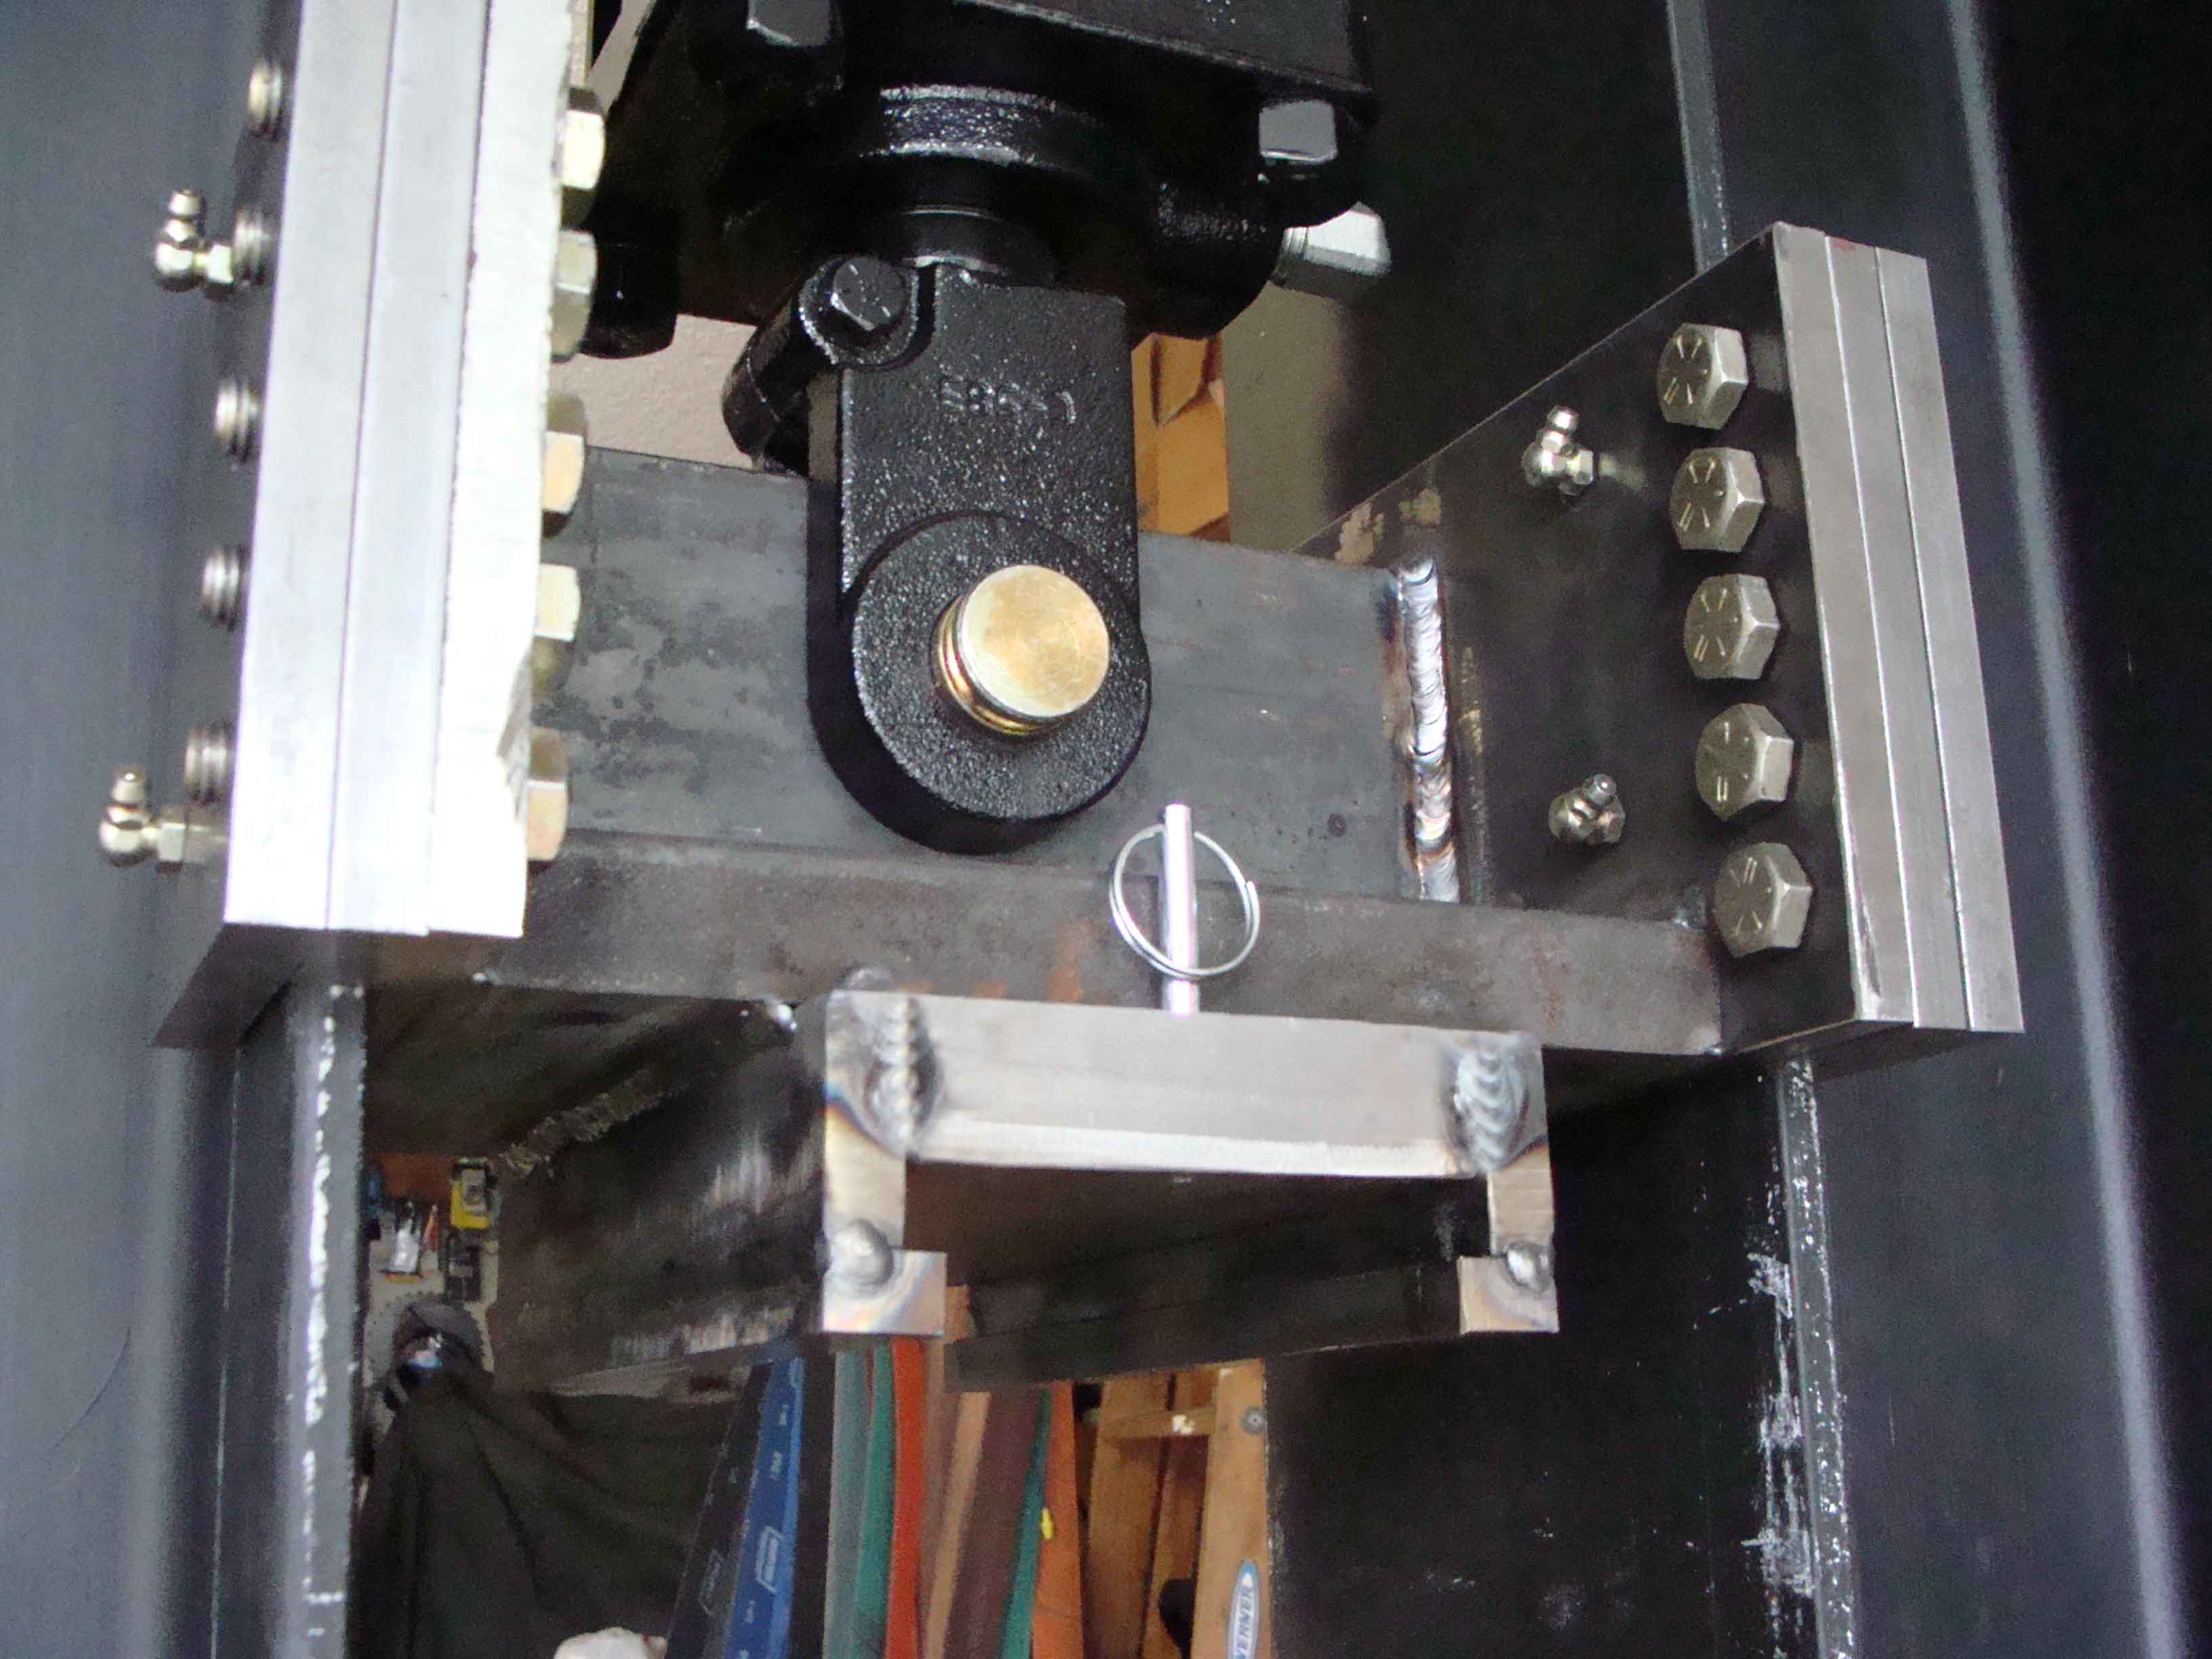
Well, I ended up cutting off the die holder from prior pics and replacing with 8" X 8" die holders. Also added a protection plate in front of the clevis pin to make sure it cannot shoot towards me in the event it breaks.
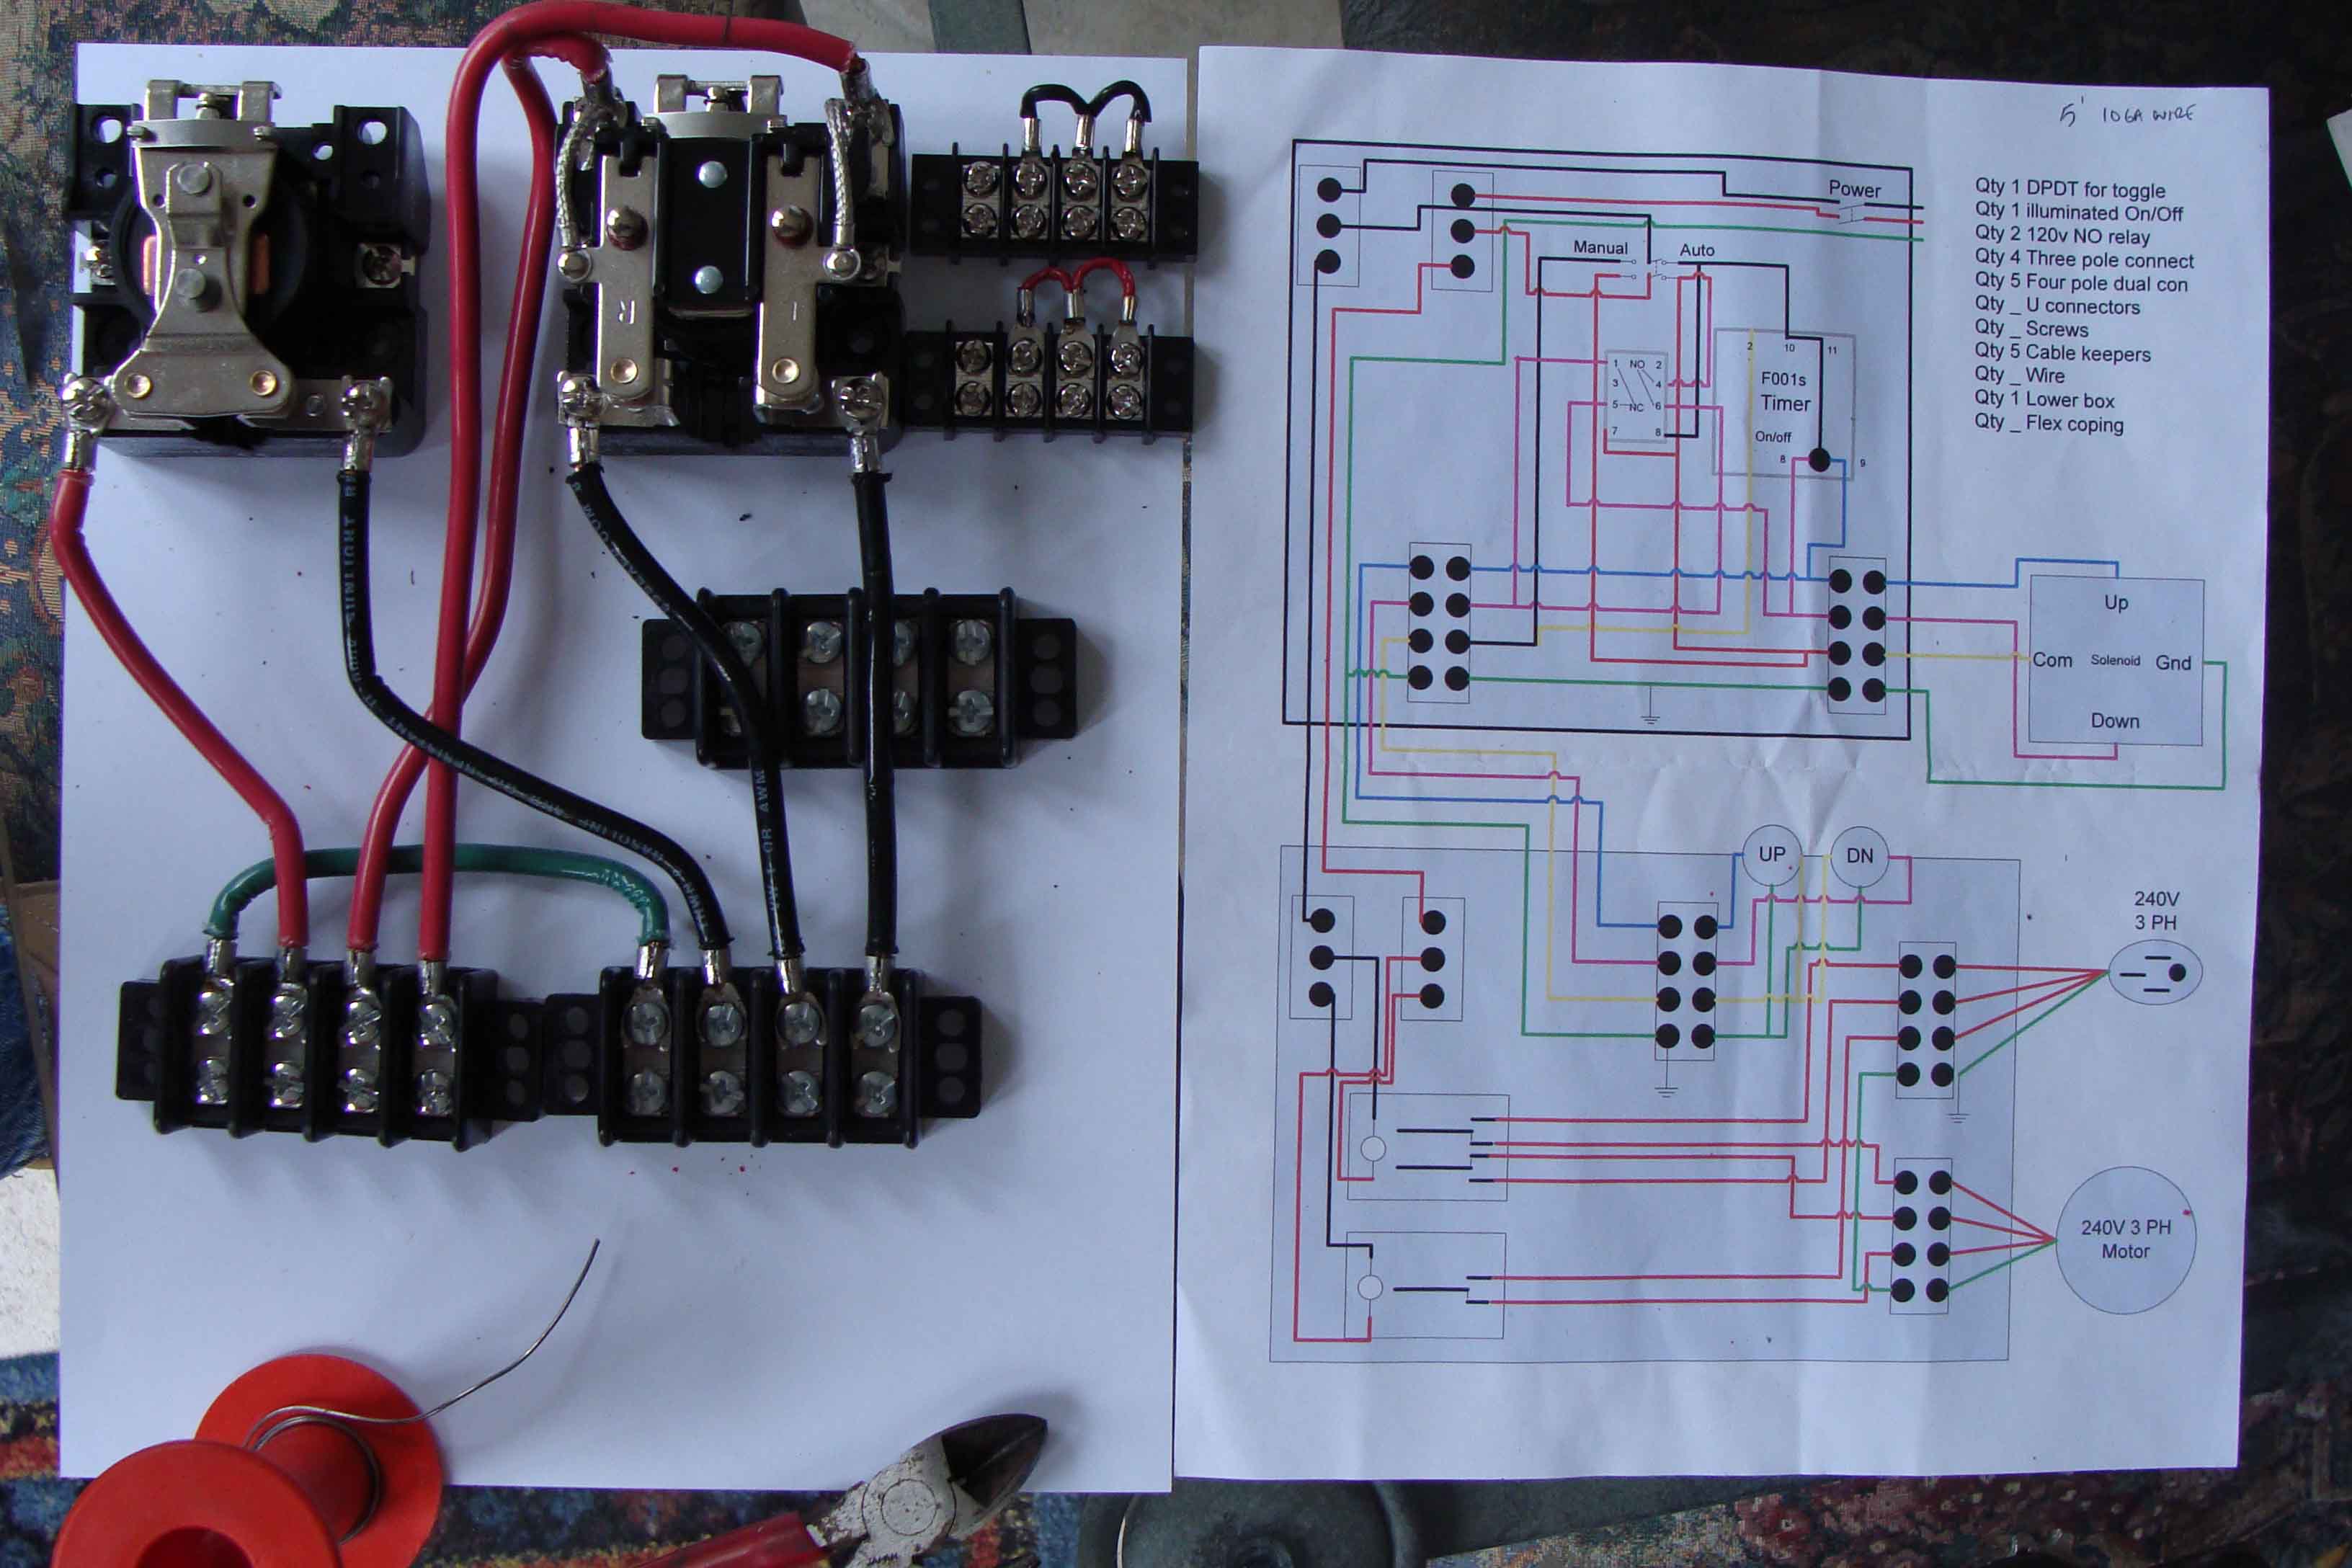
Started in on wiring up the lower controller. This will turn on and off the 3 phase motor as will as provide initial hook up of foot switches. See schematic to the right.
Here is the initial wiring of the control box.
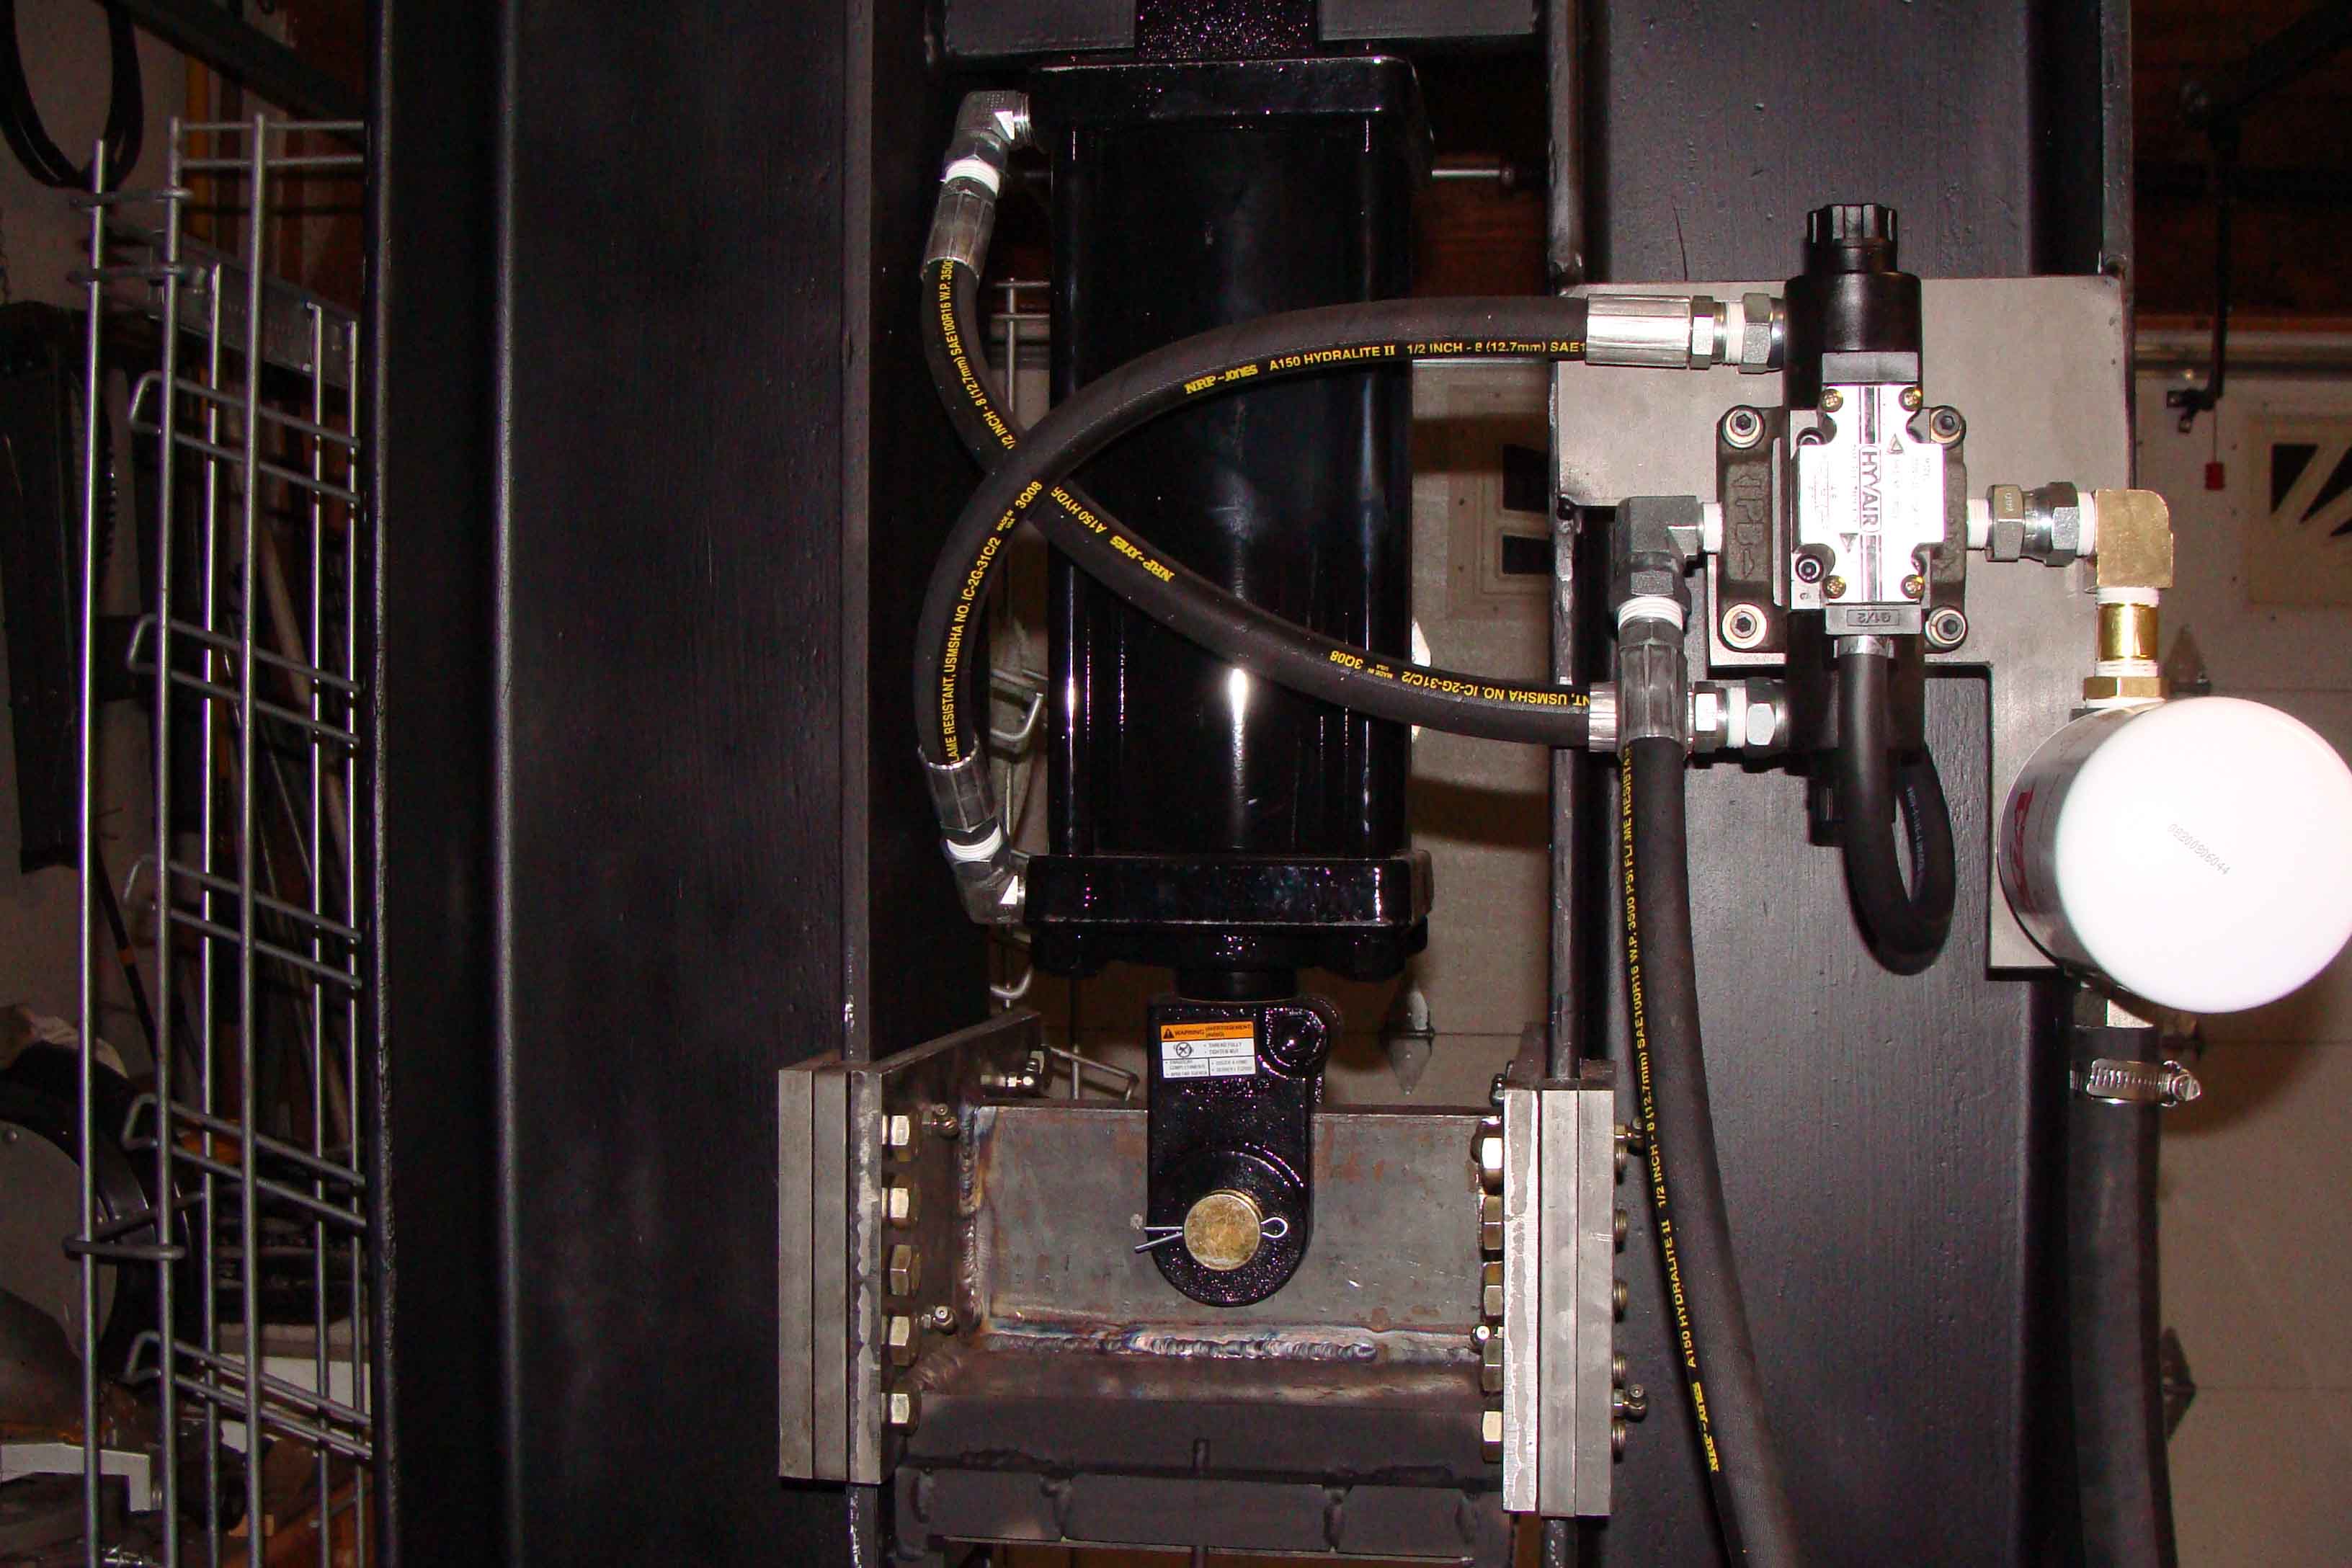
Hydraulic solenoid all hooked up. Just need to get the controller finished.
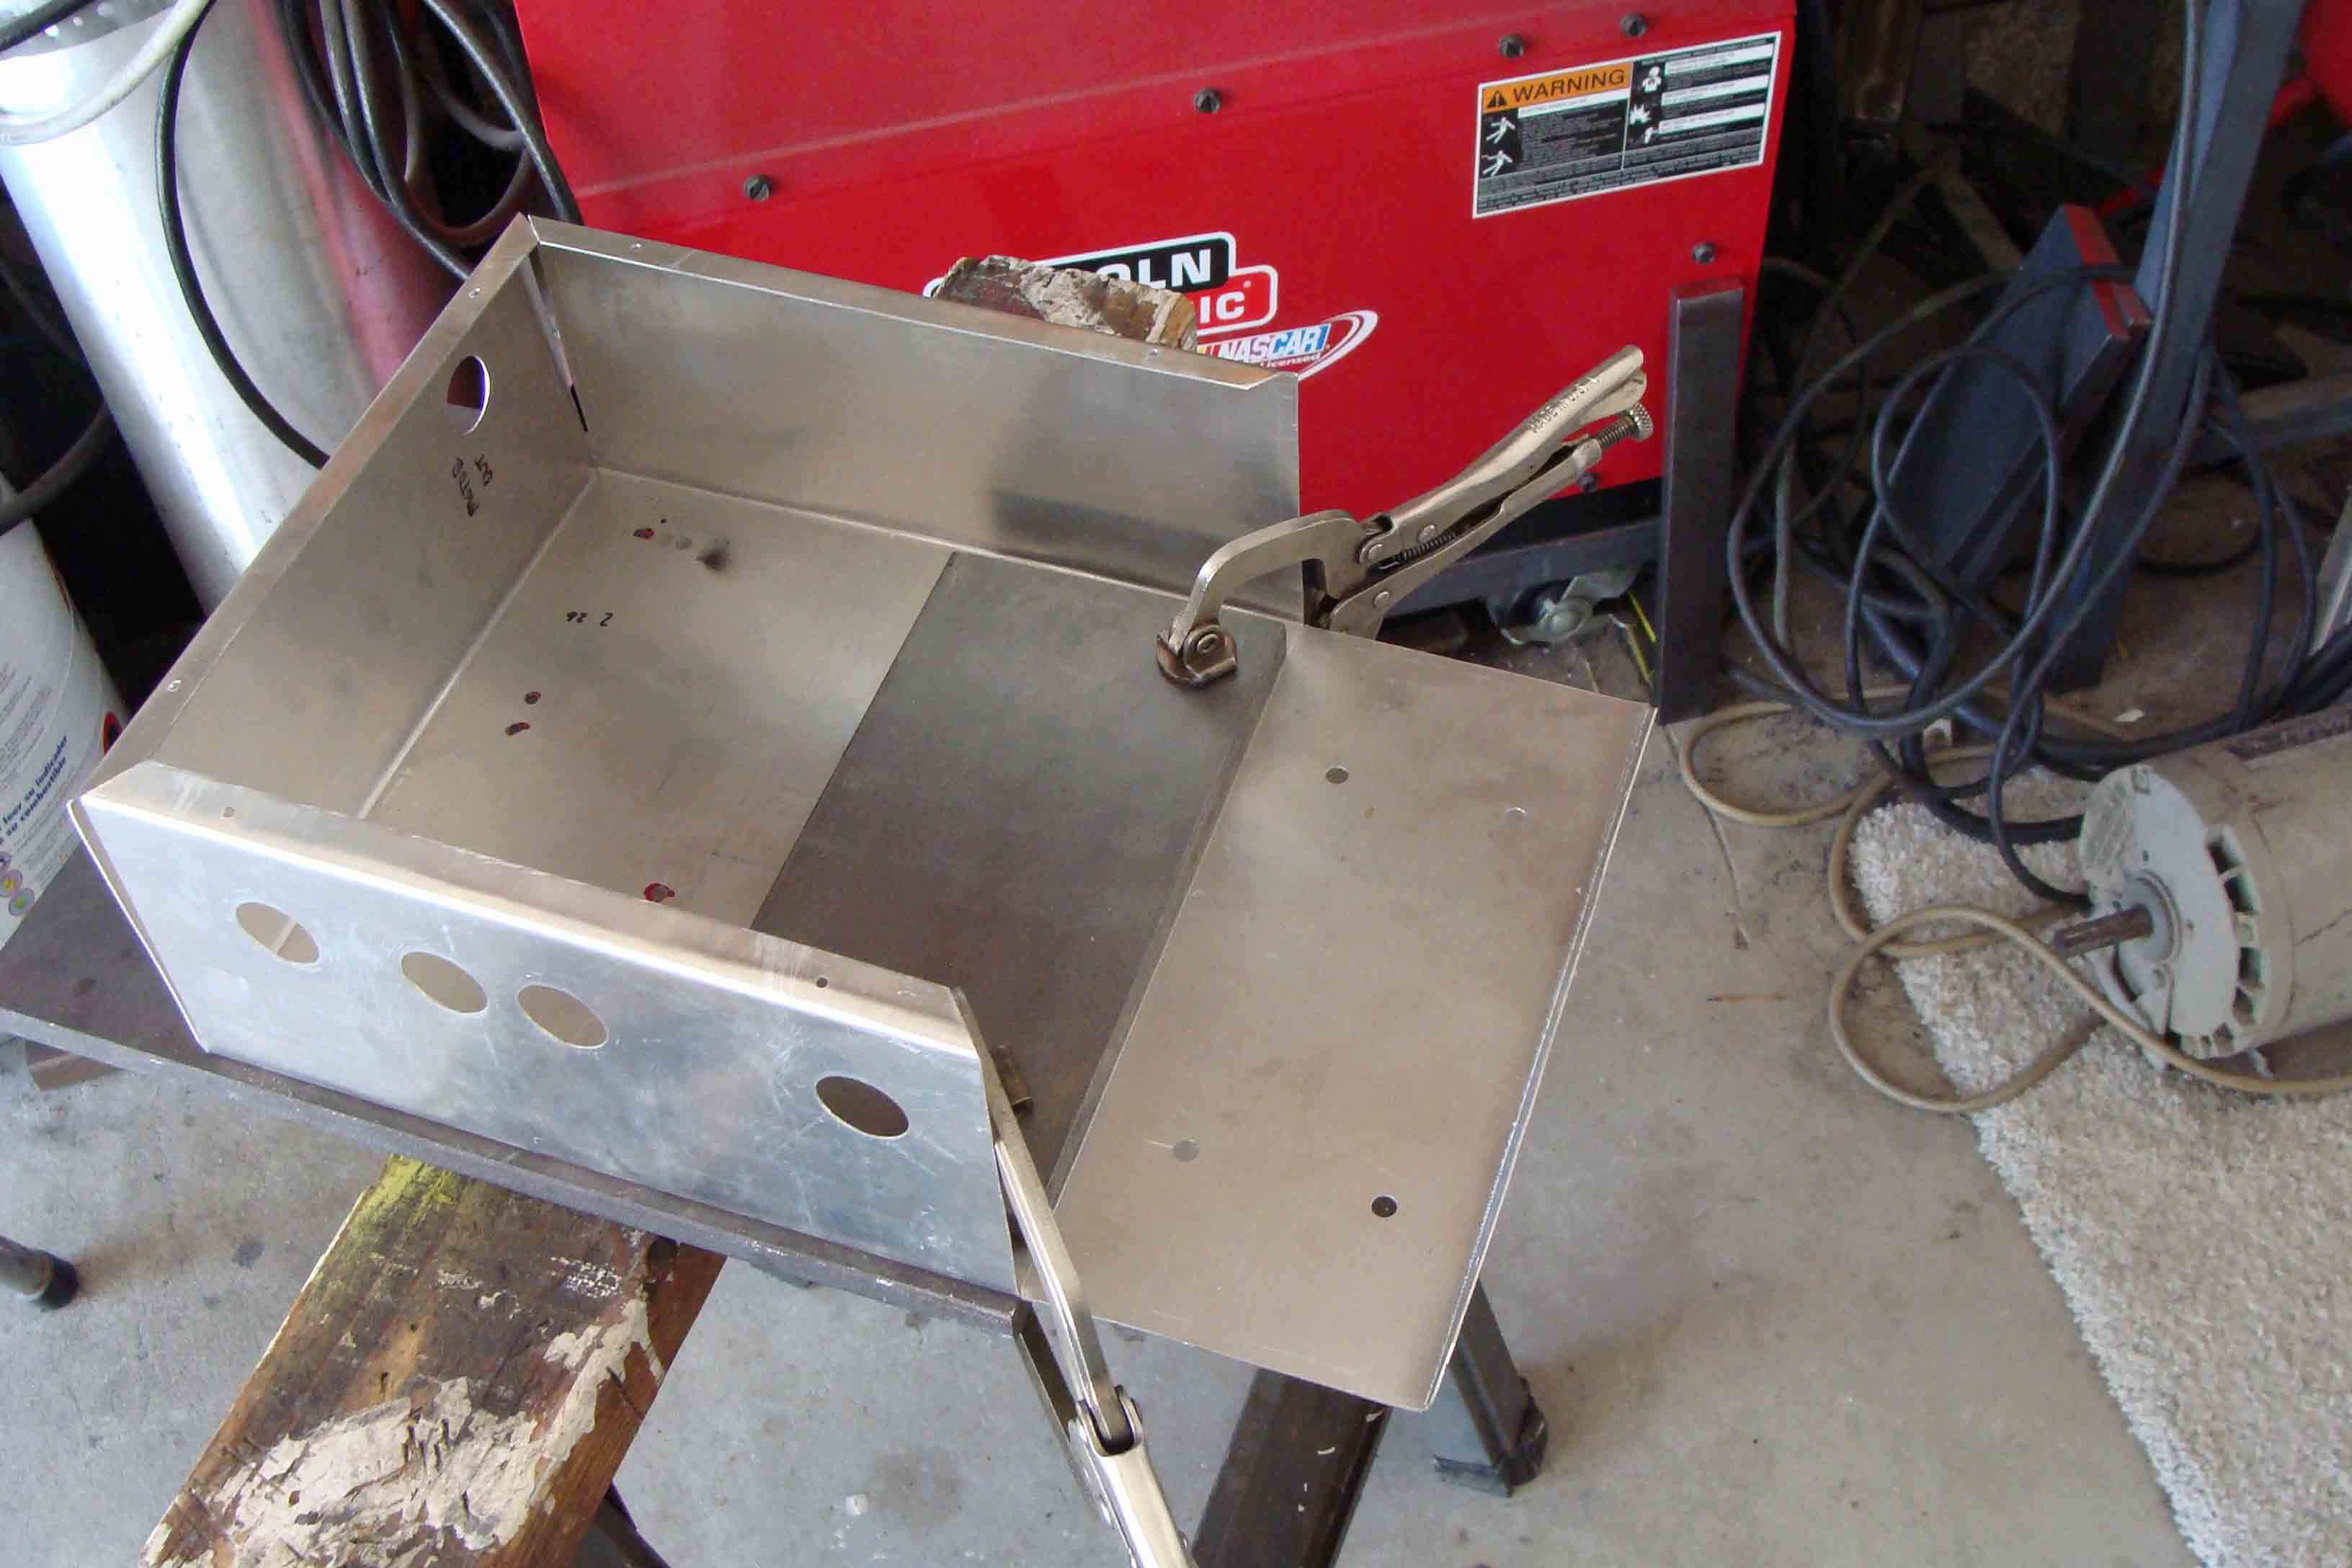
Laid out controller box on piece of sheet metal. Drilled all holes and now folding to shape.
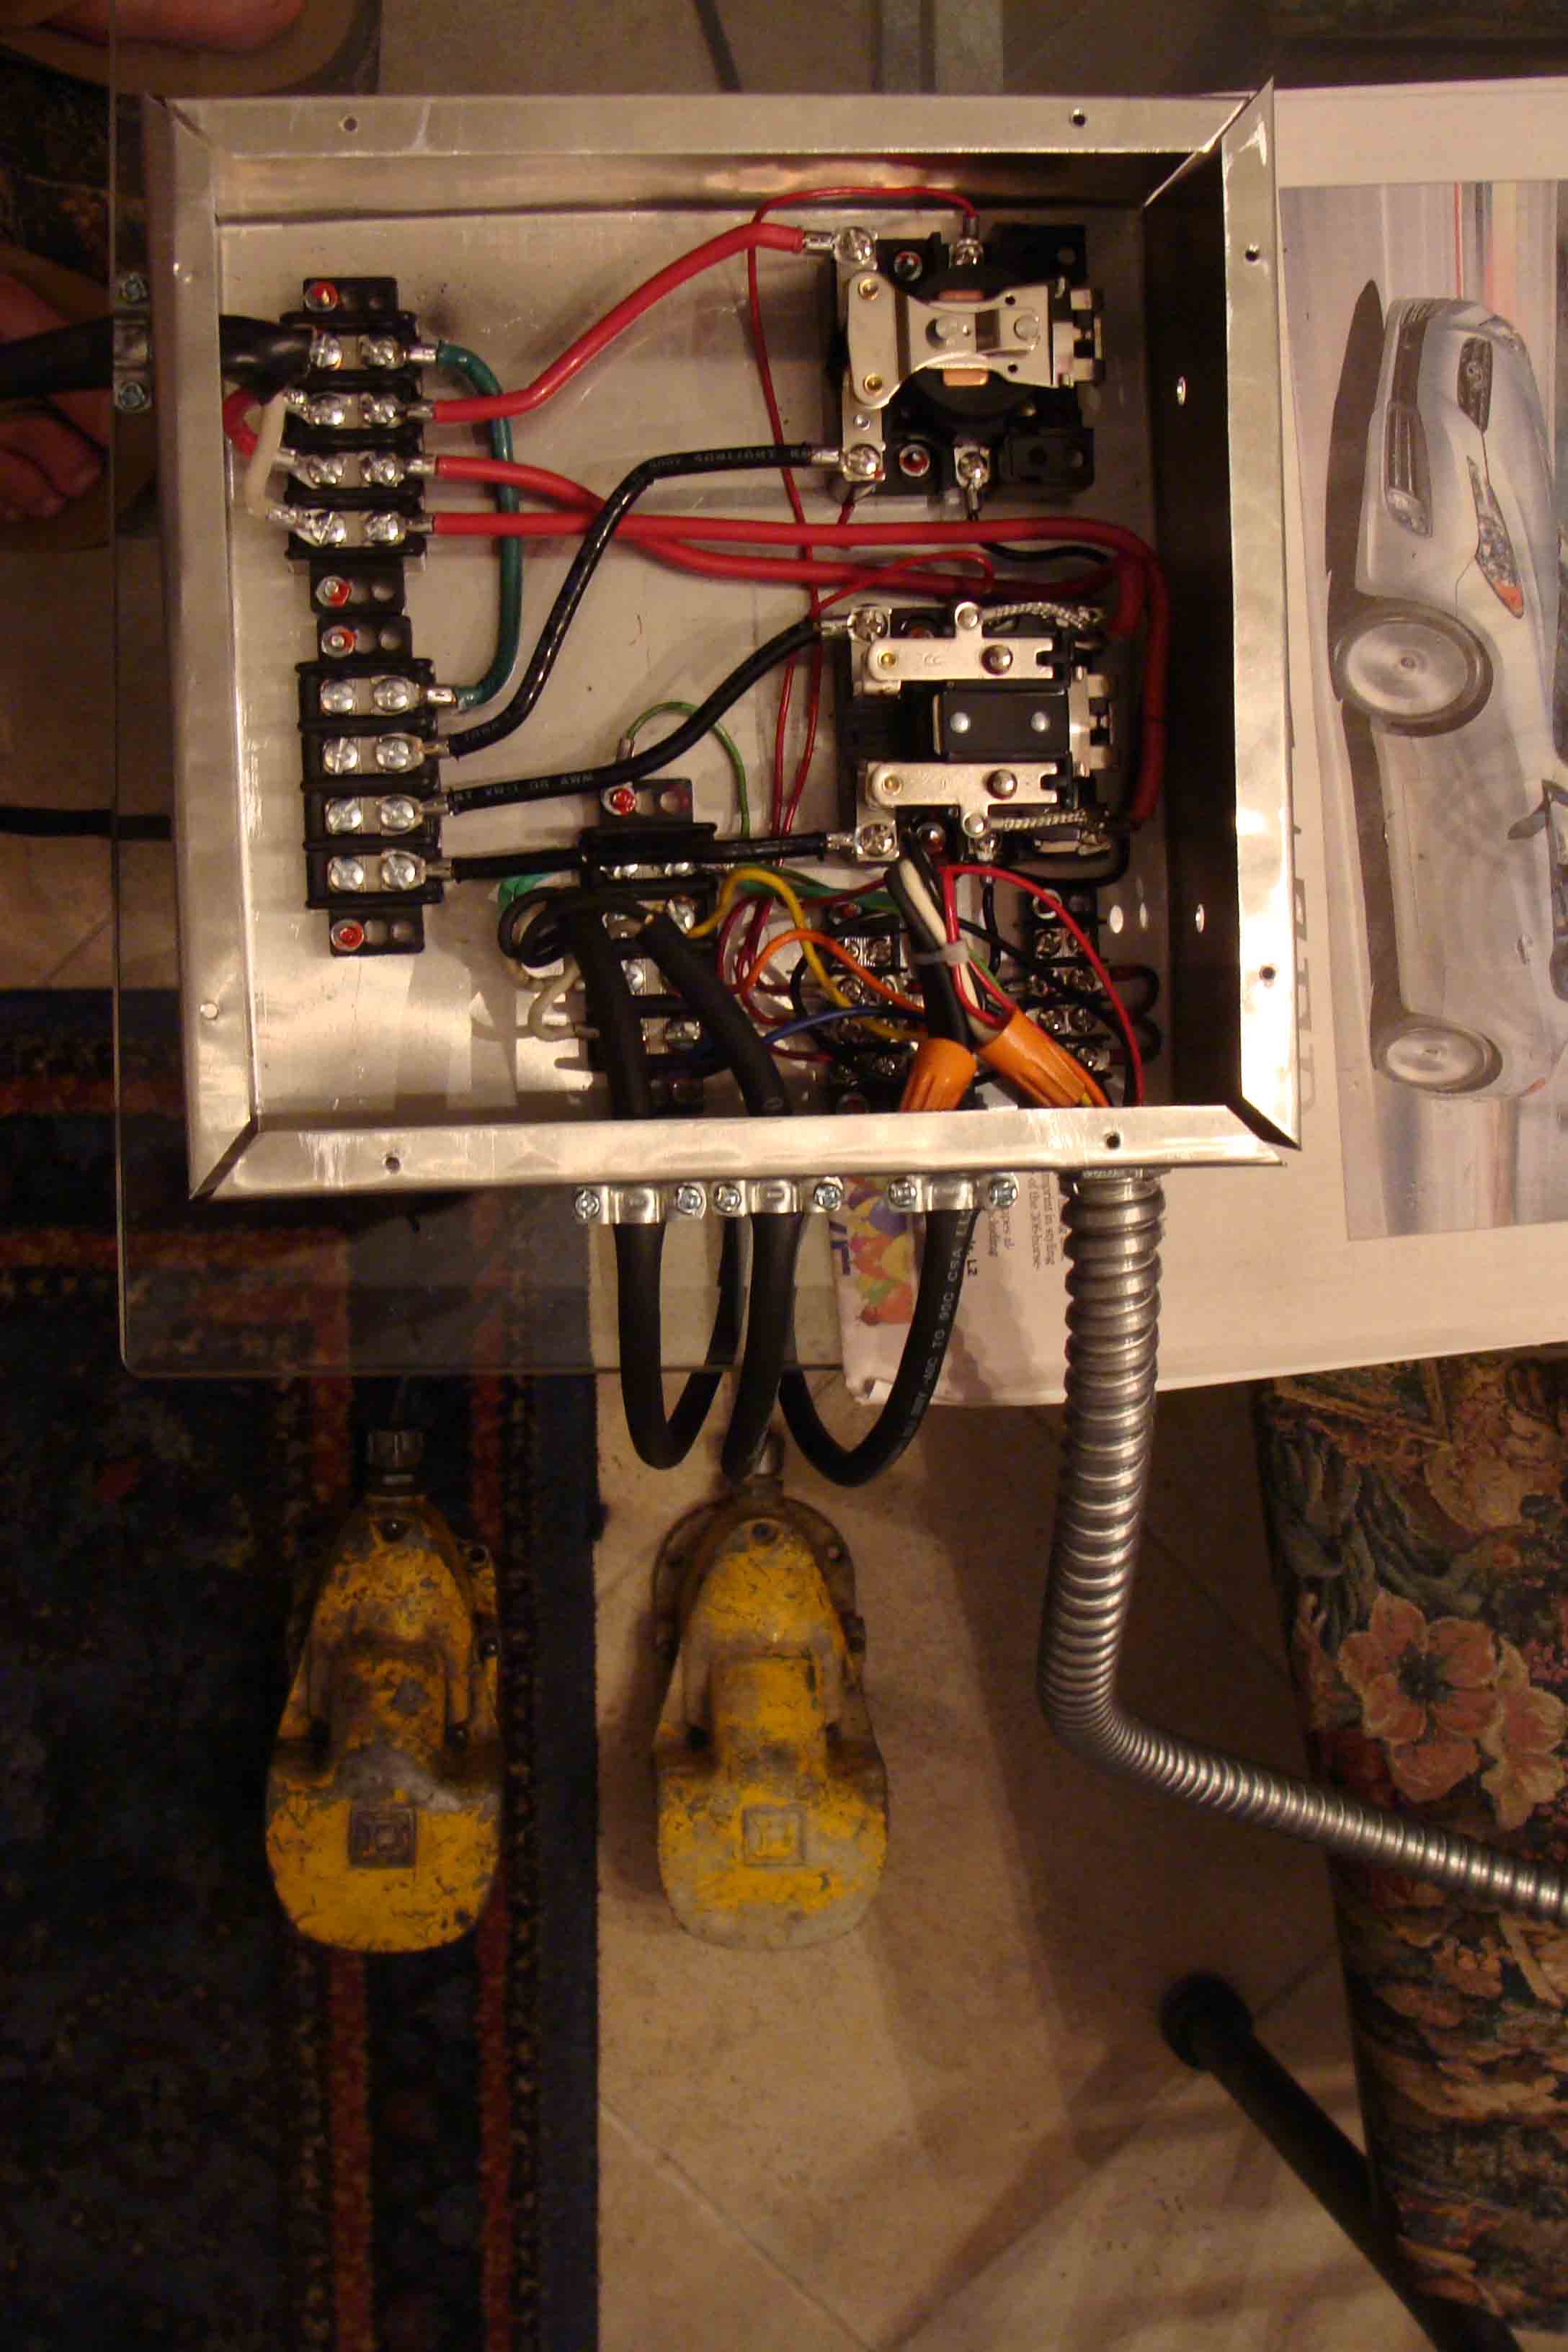
Relays to control switching for 3 phase power all mounted. Foot pedals connected and working.
Control box mounted under press frame.
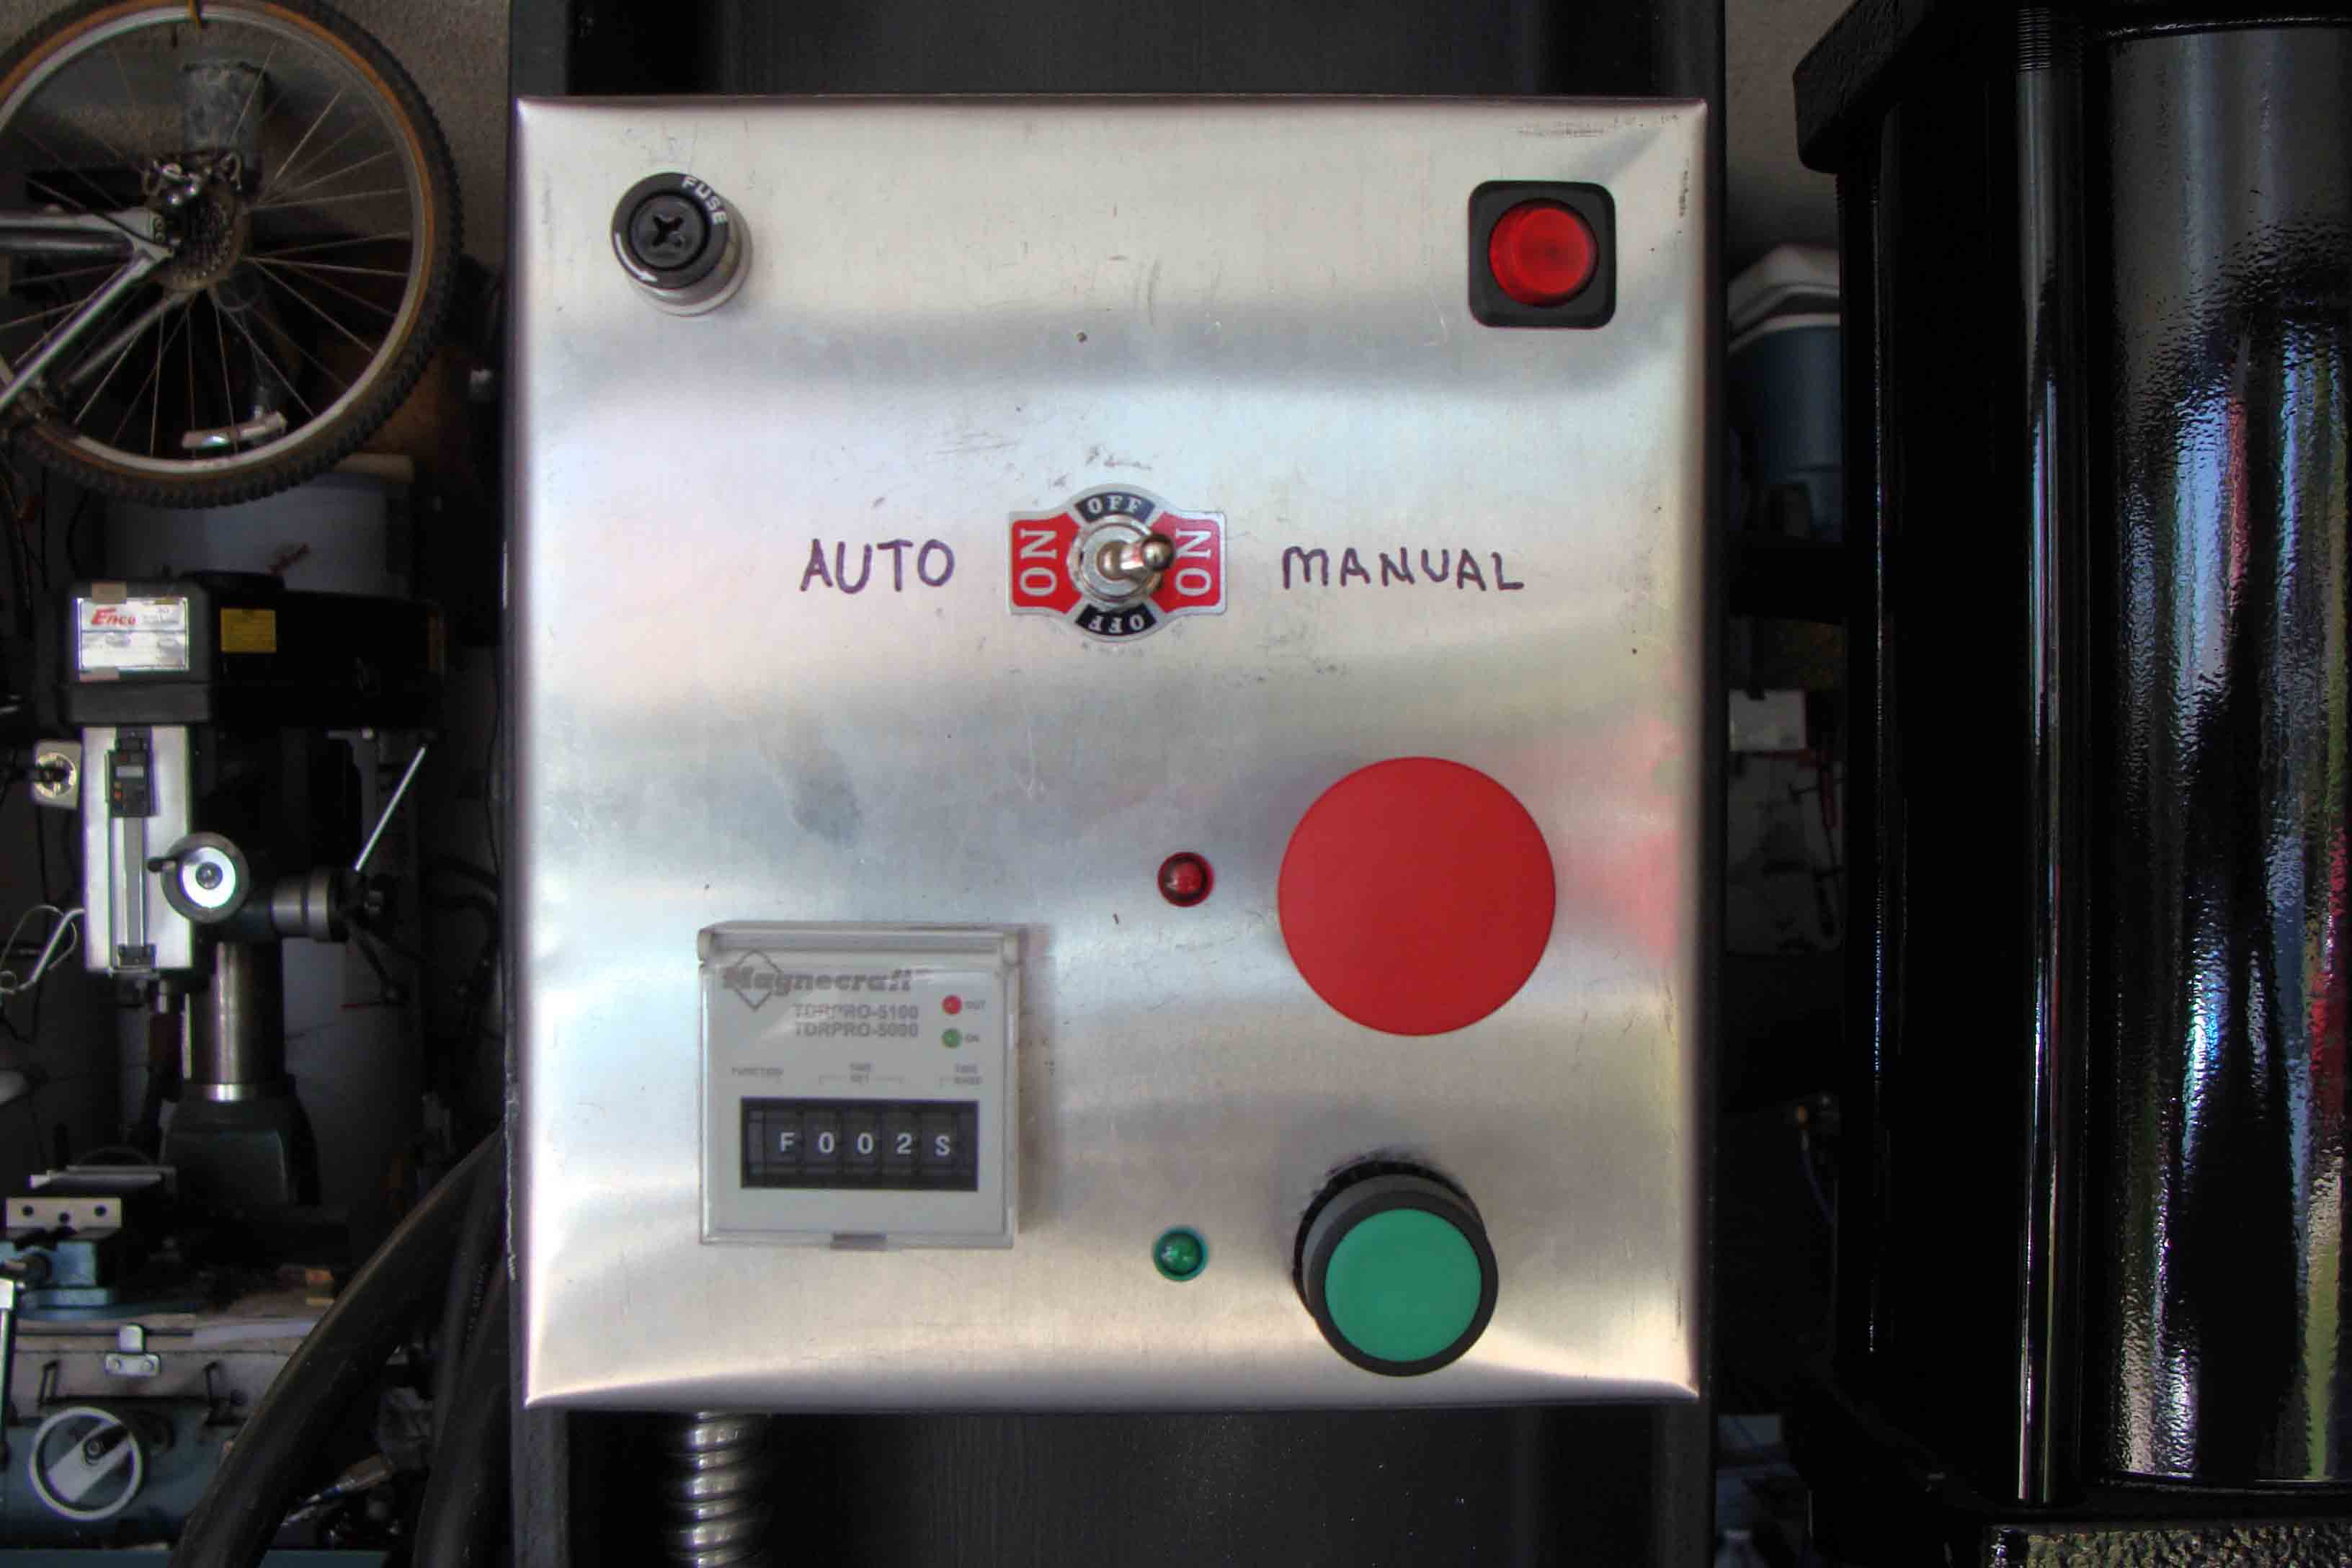
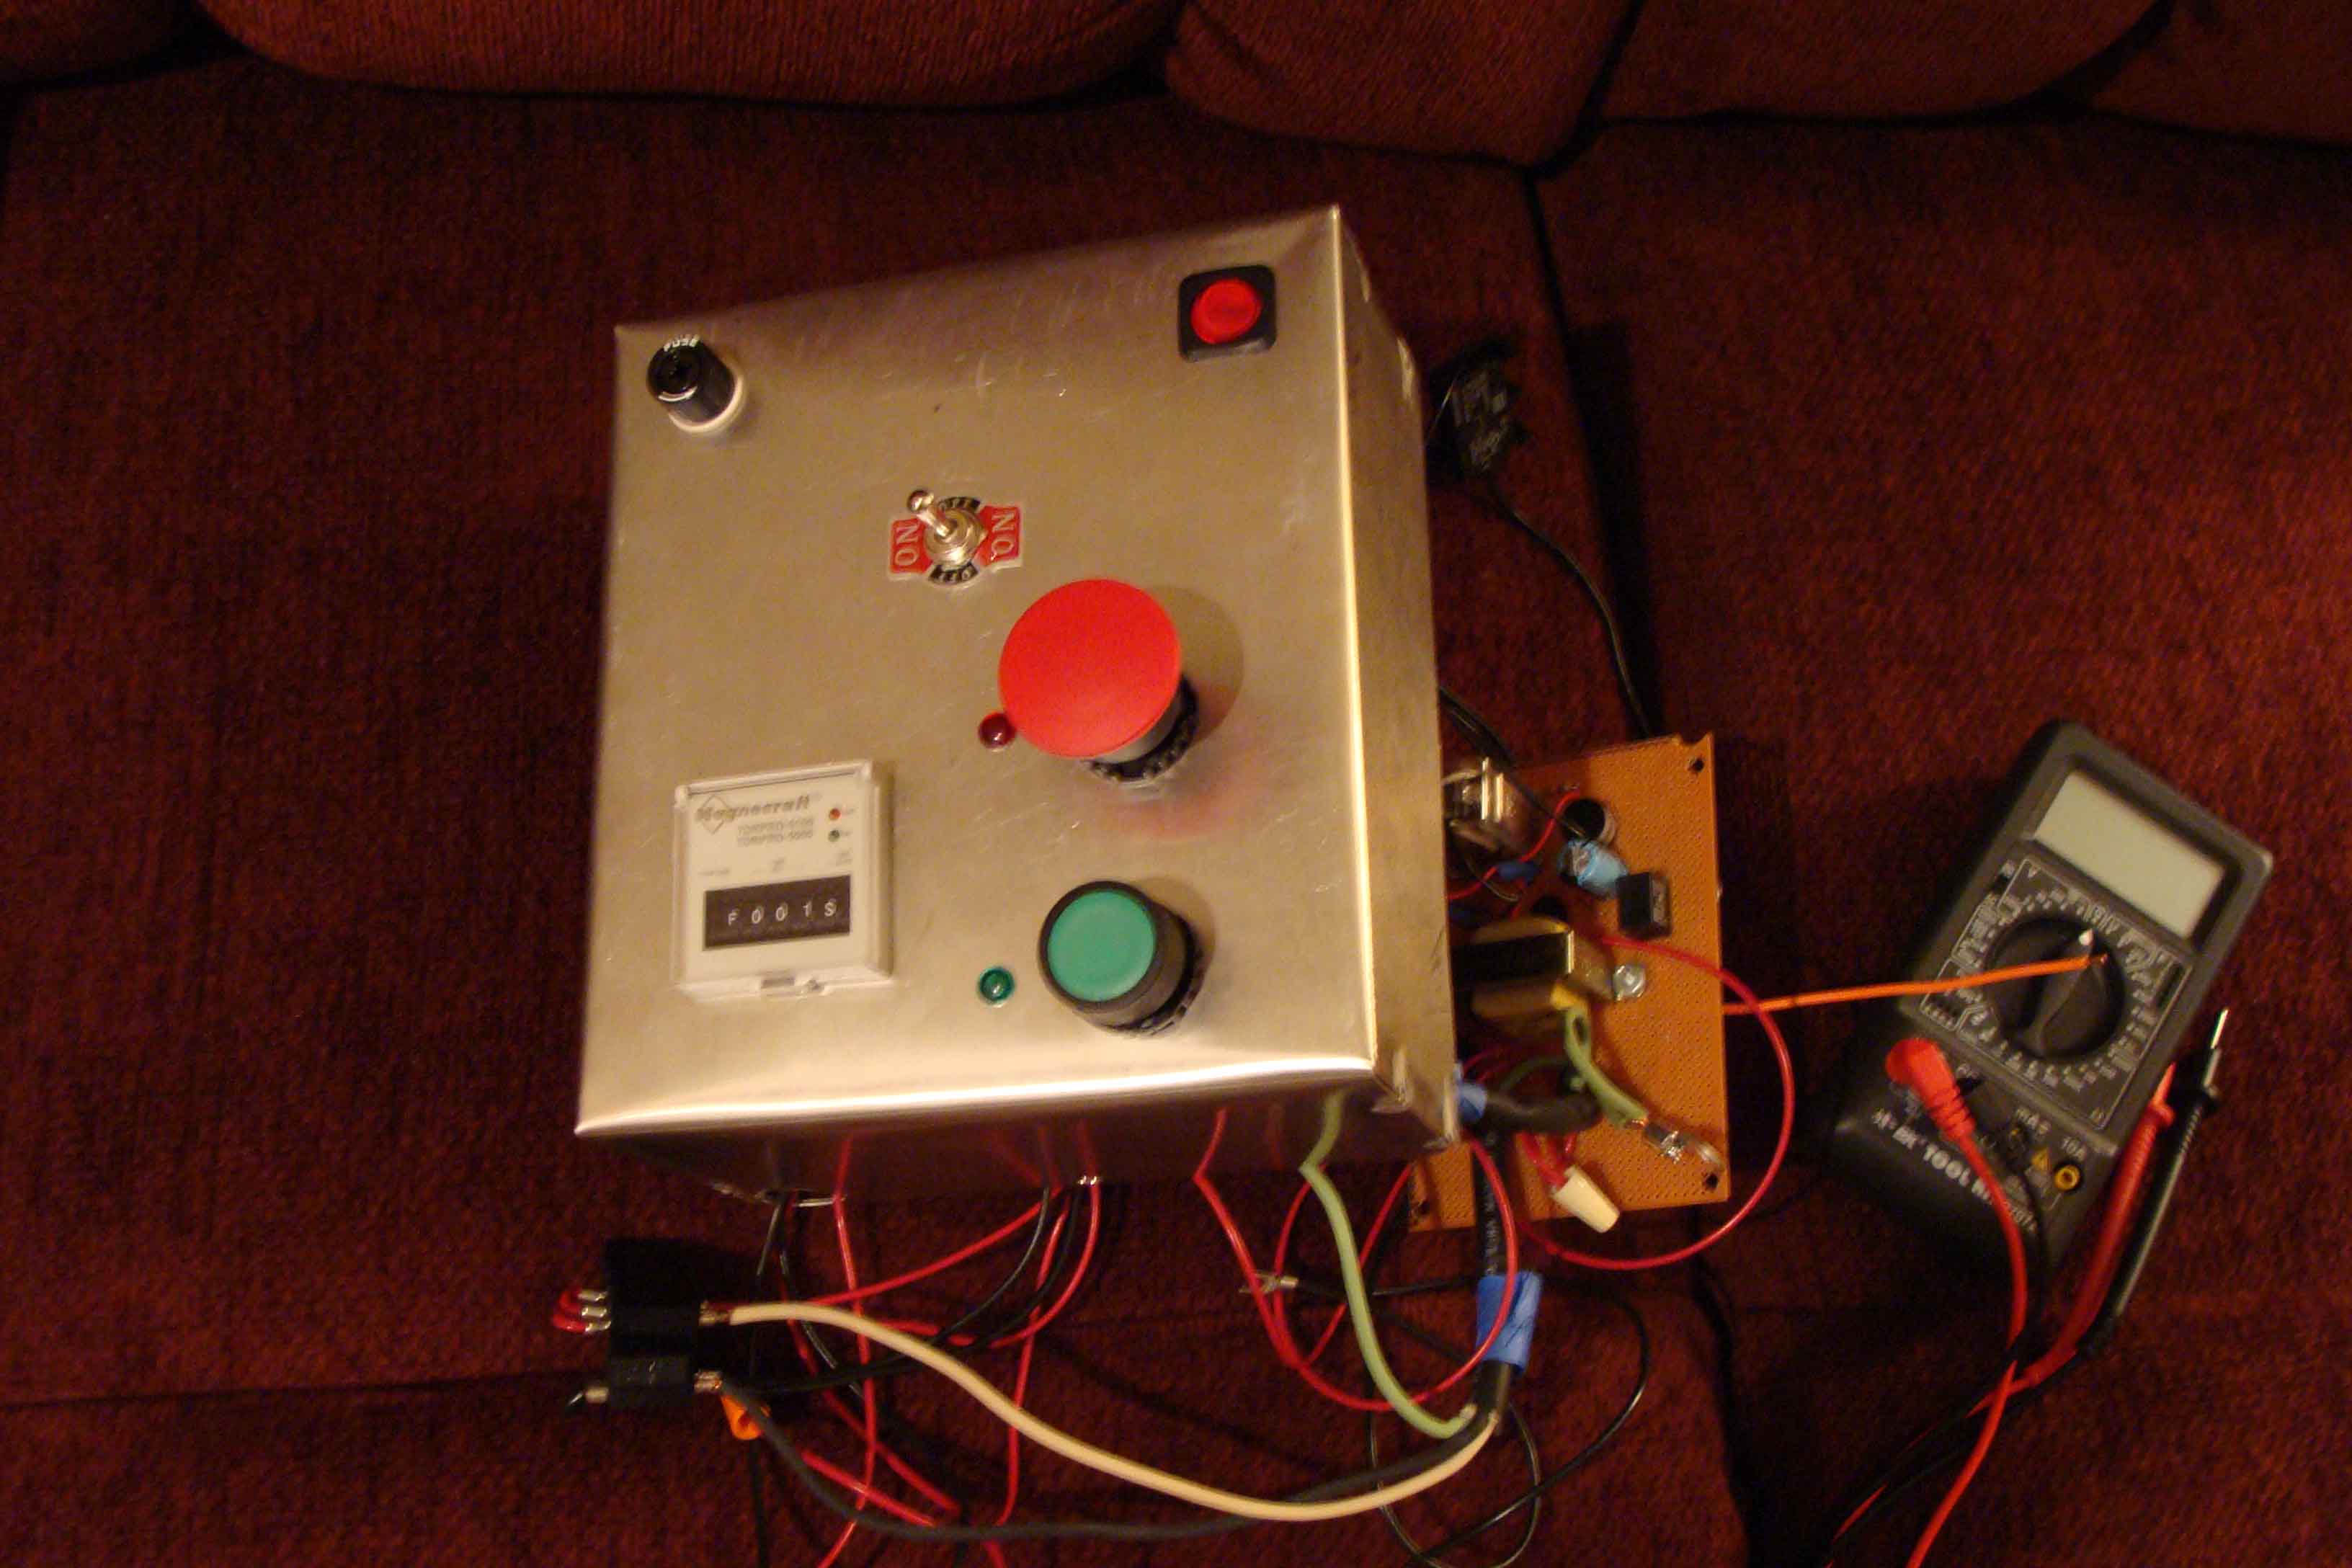
Close up of main control box.
All electronics hooked up and working. Just need to add hydraulic fluid and test operation.
Digital Read Out (DRO)+ limit switch added to control metal thickness when in auto mode.
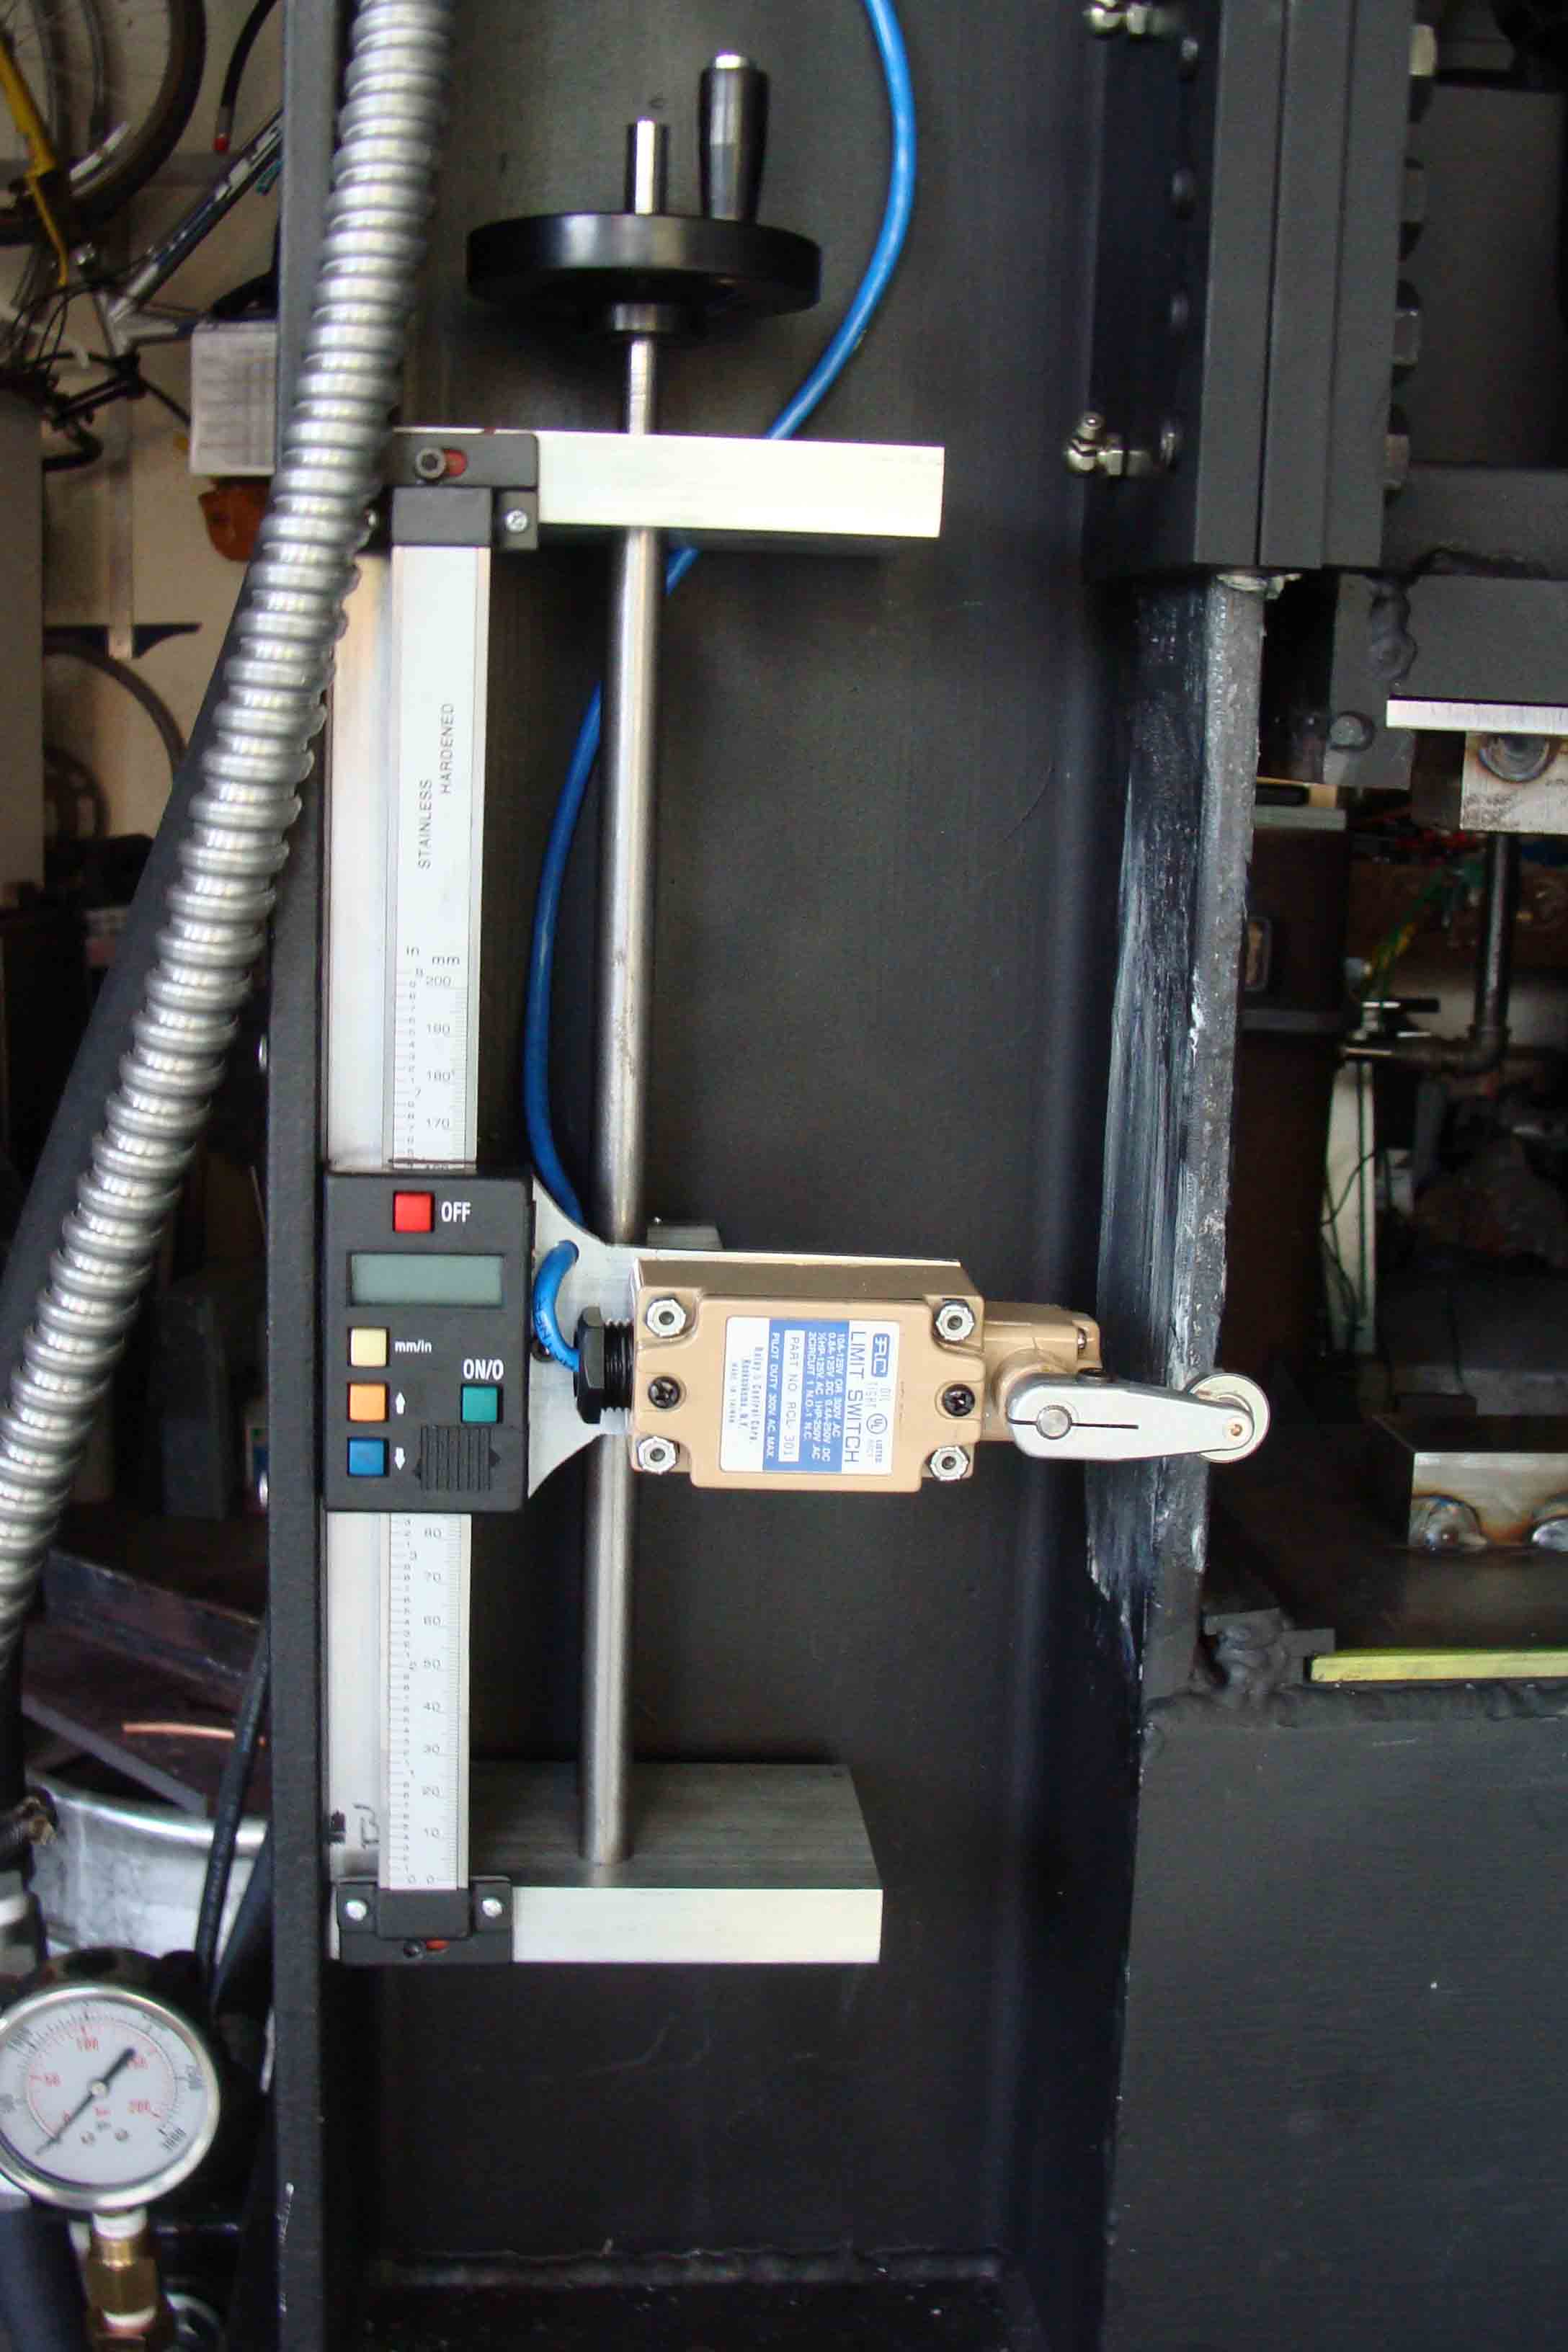
Close up of DRO and limit switch used in auto mode.
It's working! Click here to see a video of the press working in manual mode.
Click here to see a video of the press working in automatic mode.
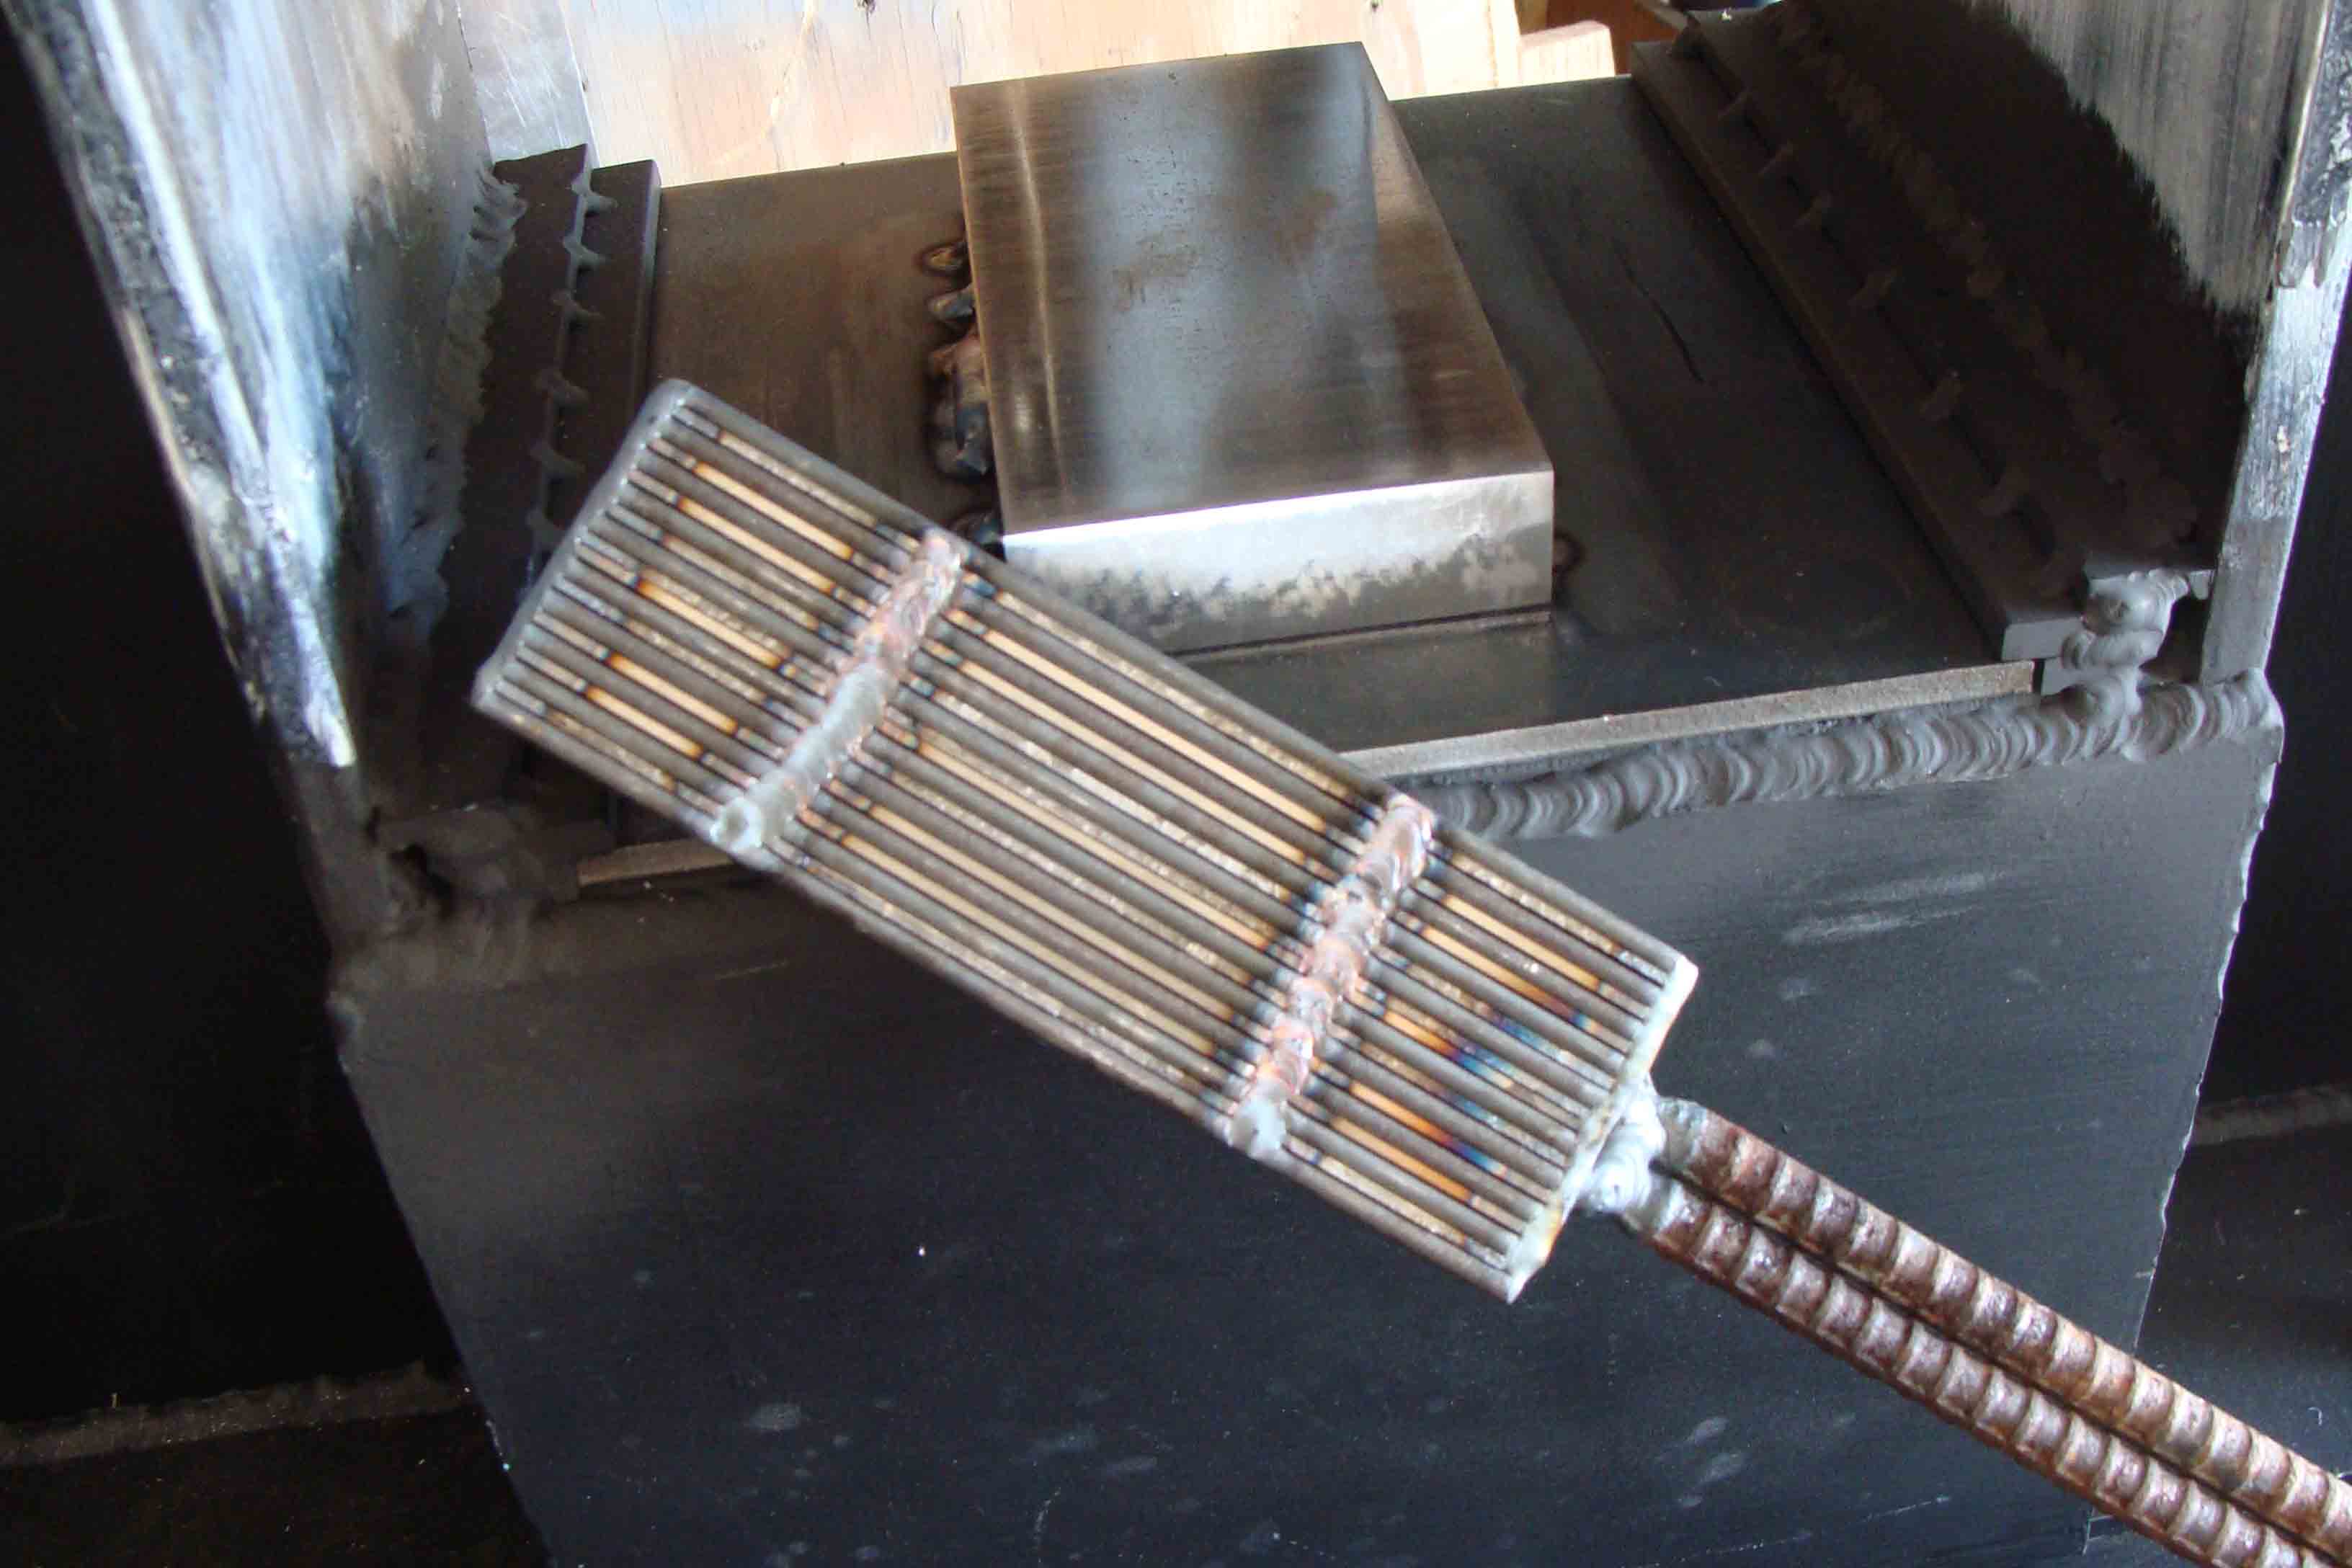
Billet of 1080 and 15N20 all welded up, ready for heat.
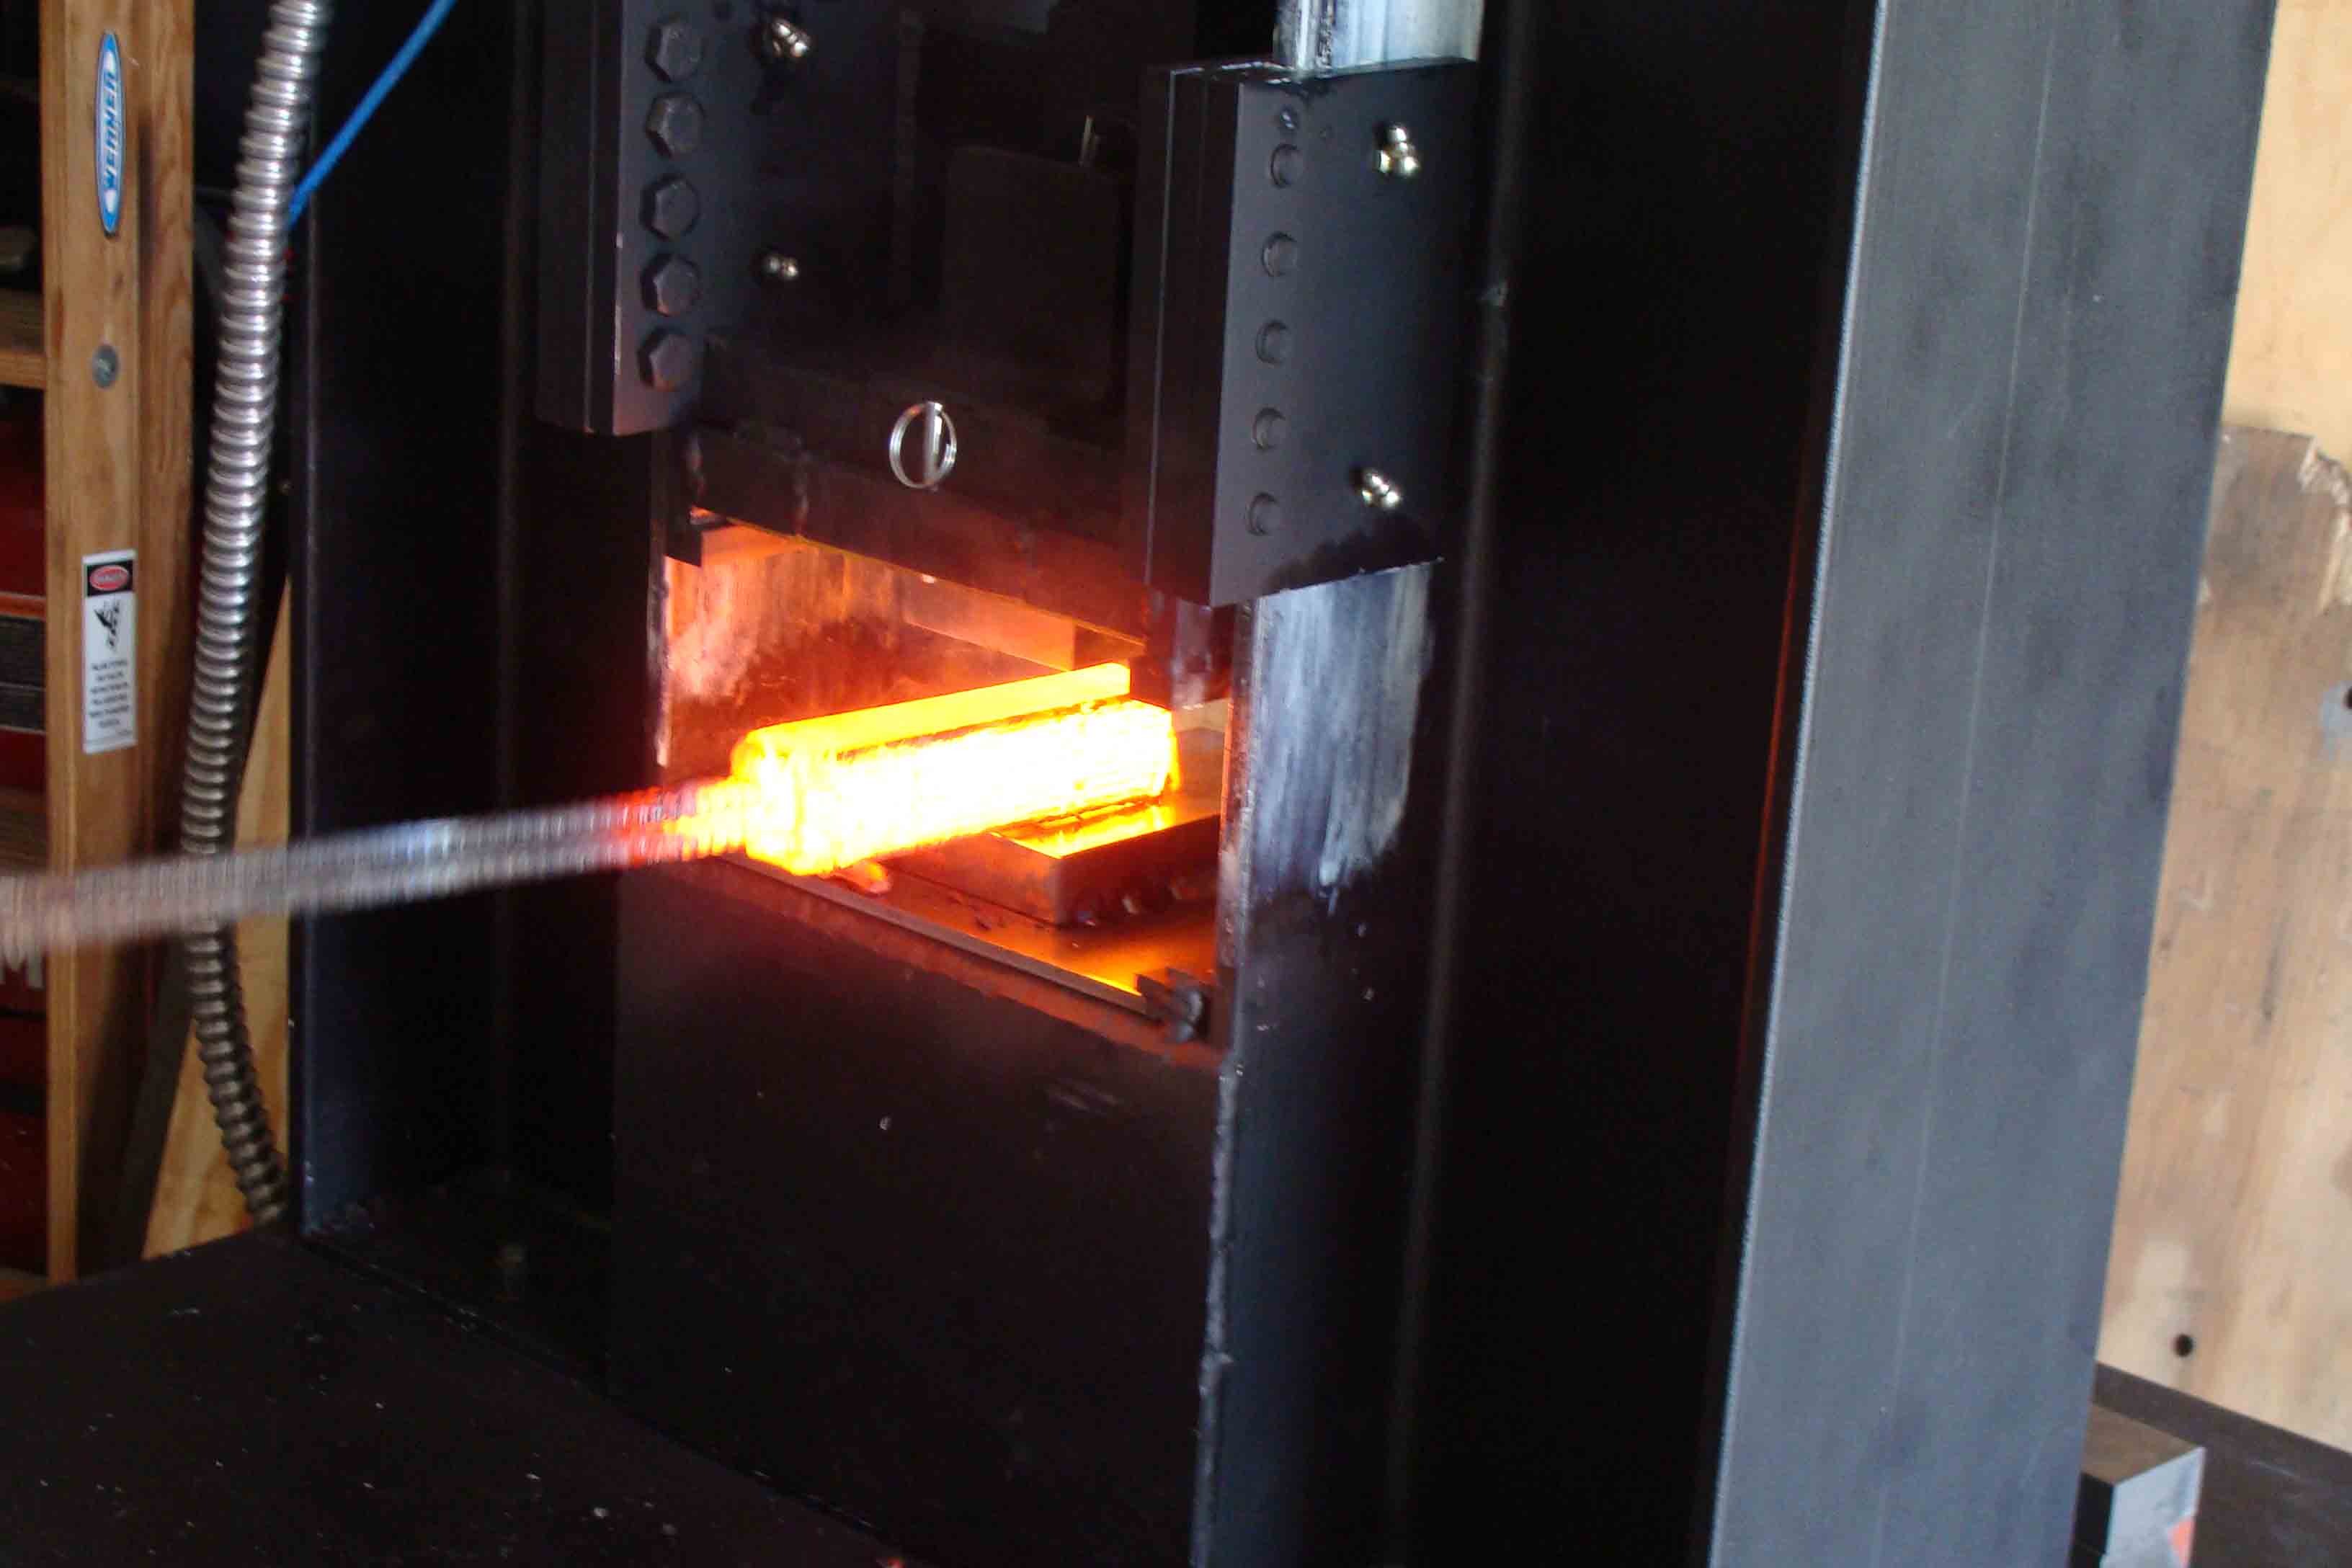
Coming out of the forge at 2300F.
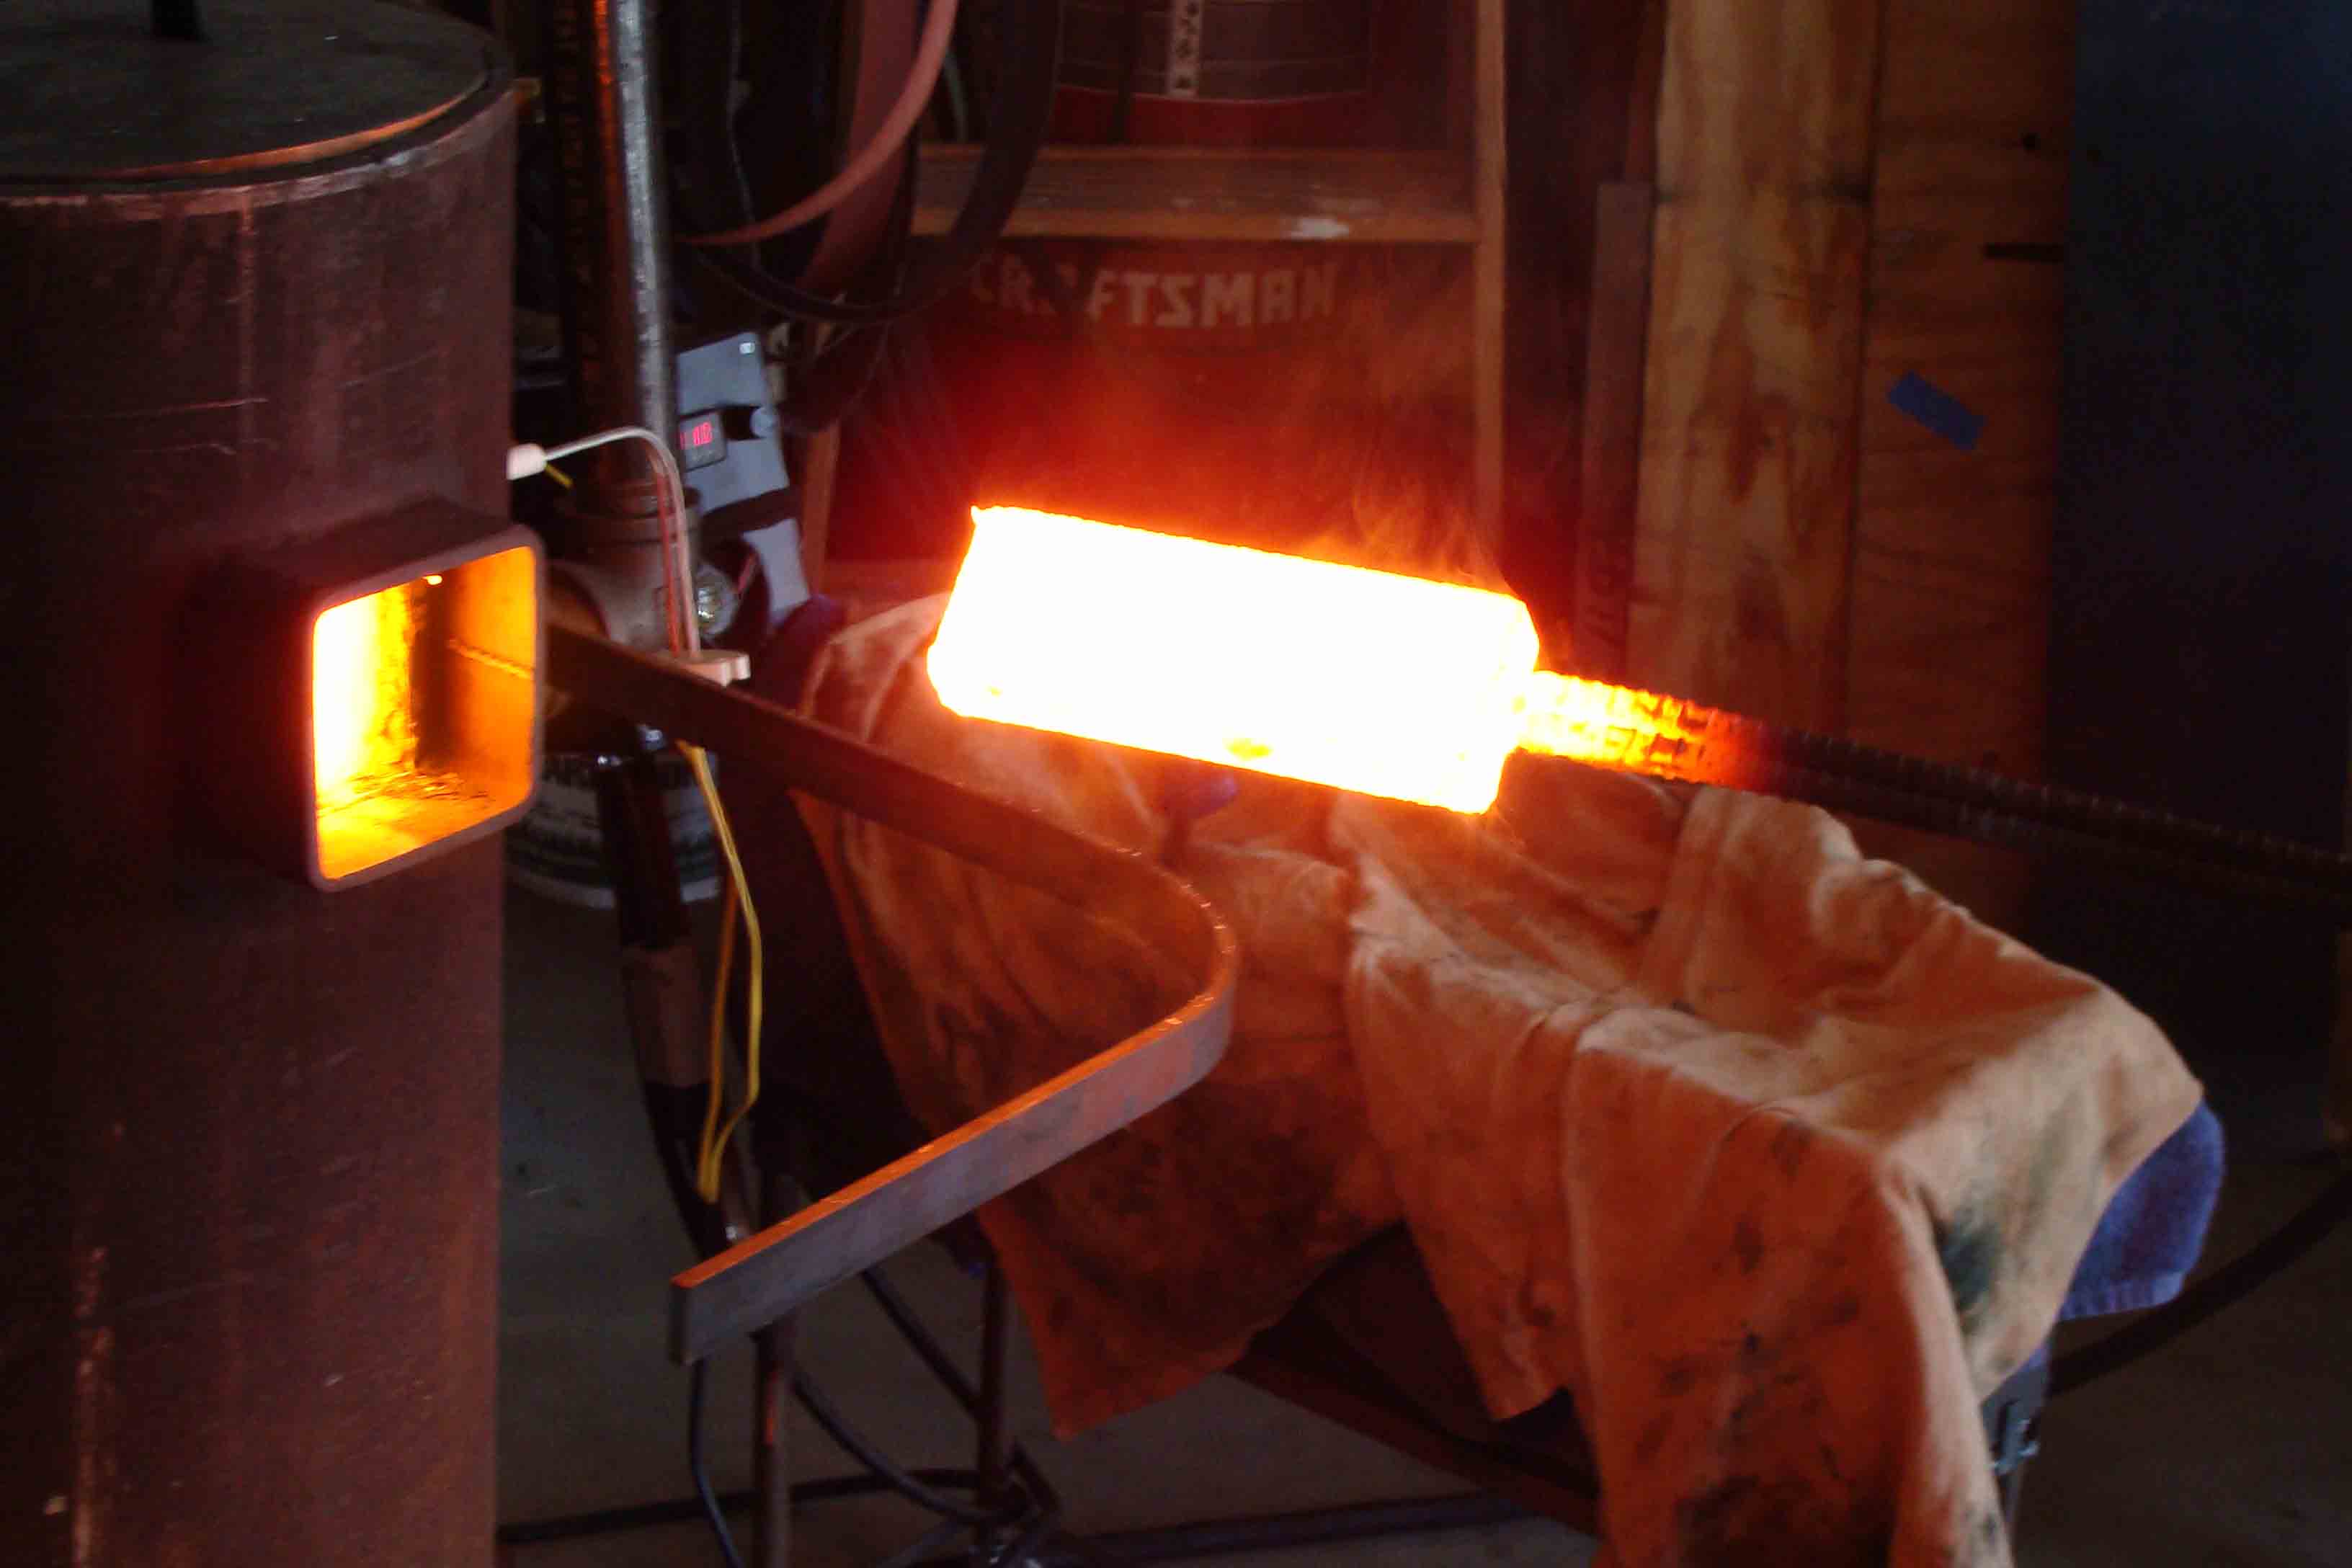
Heading to the press.
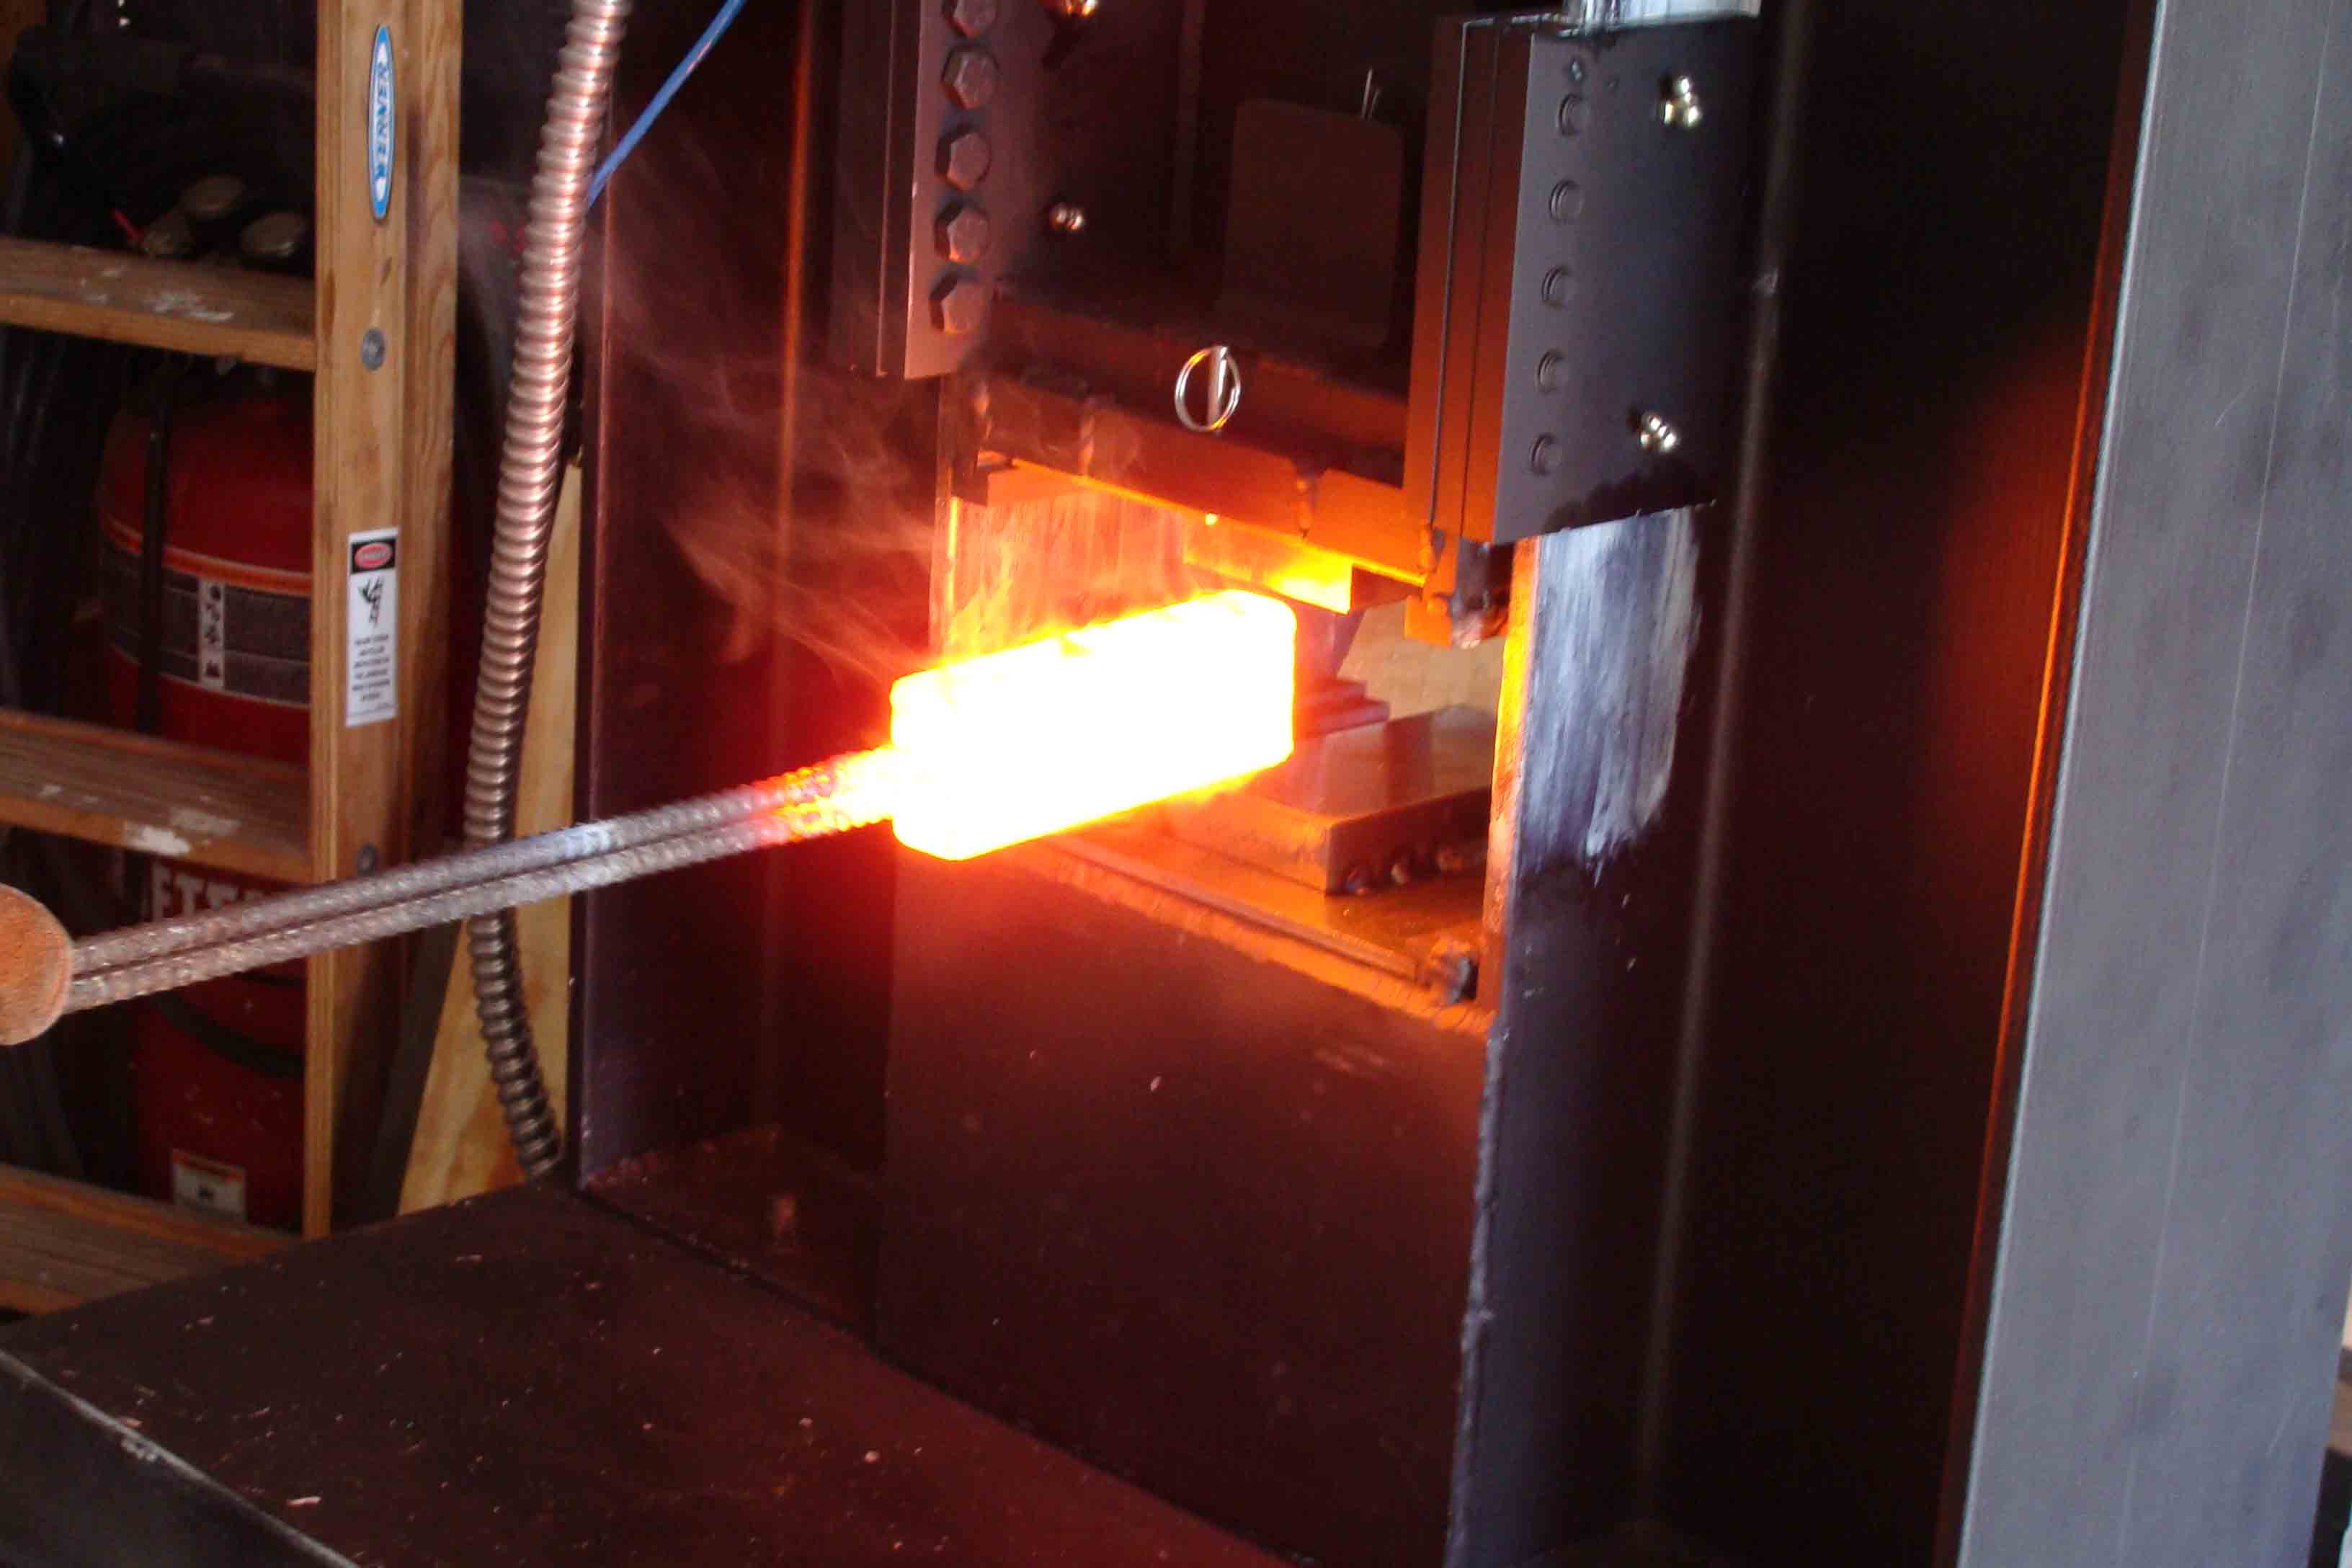
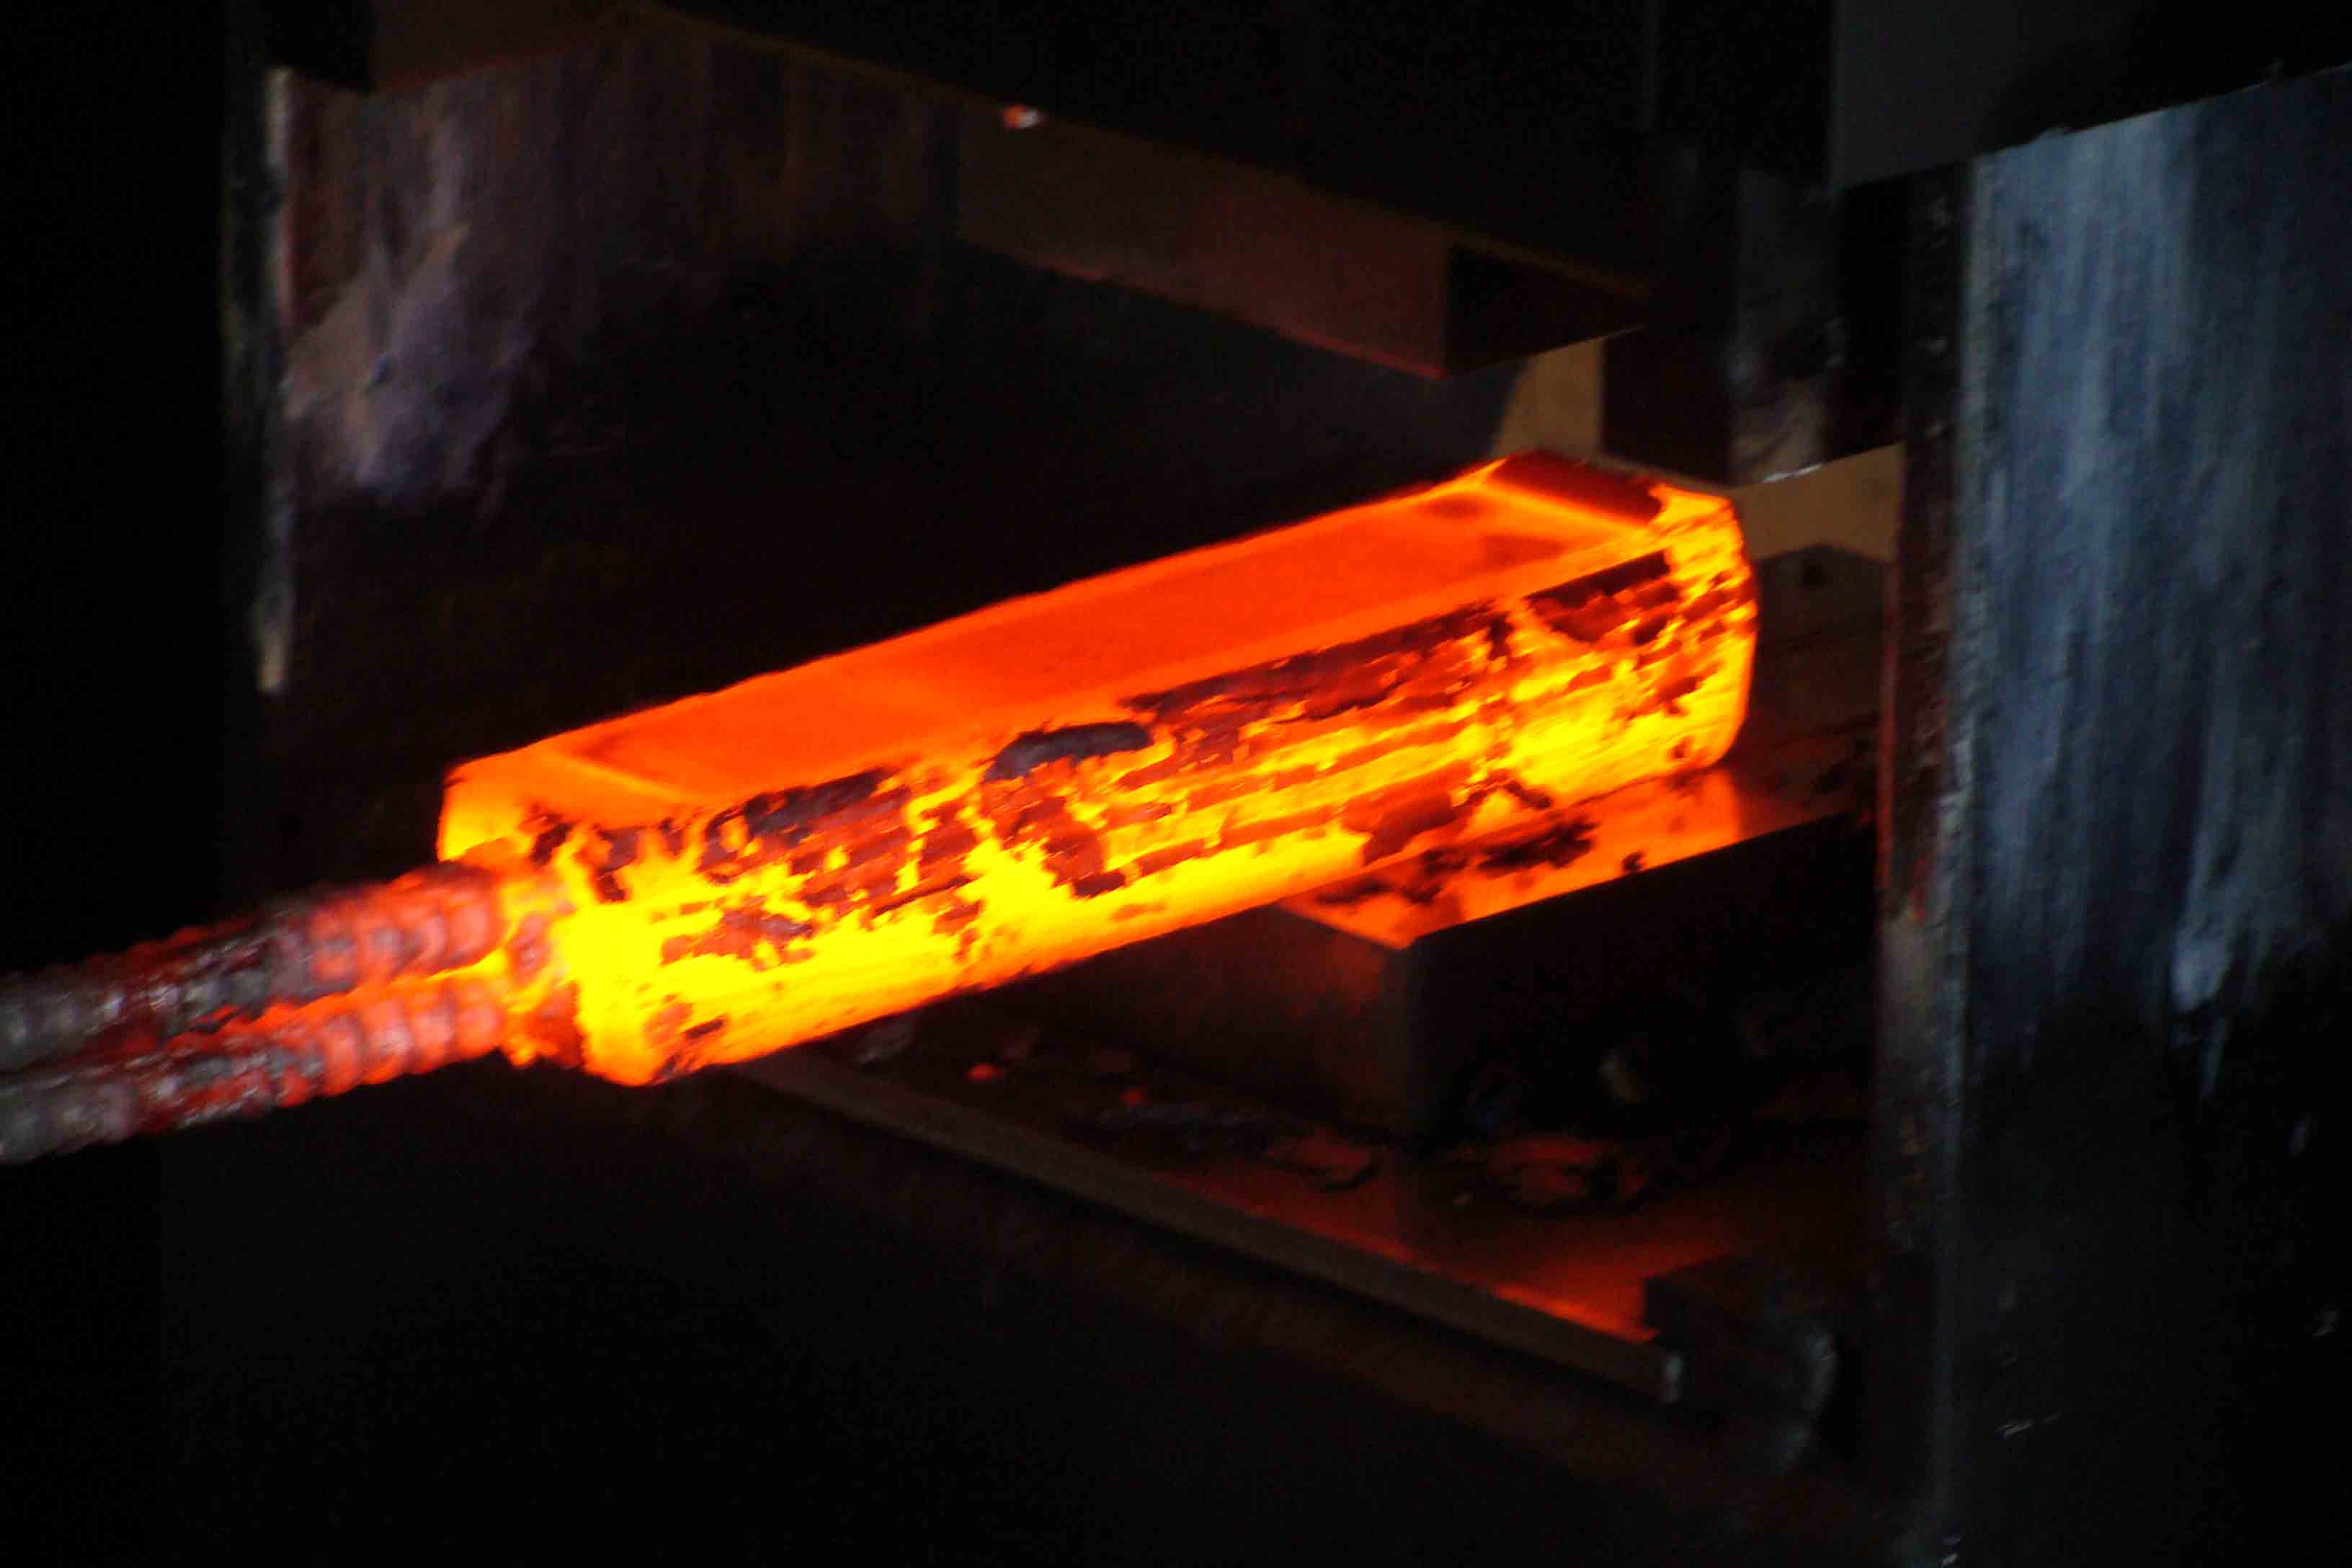
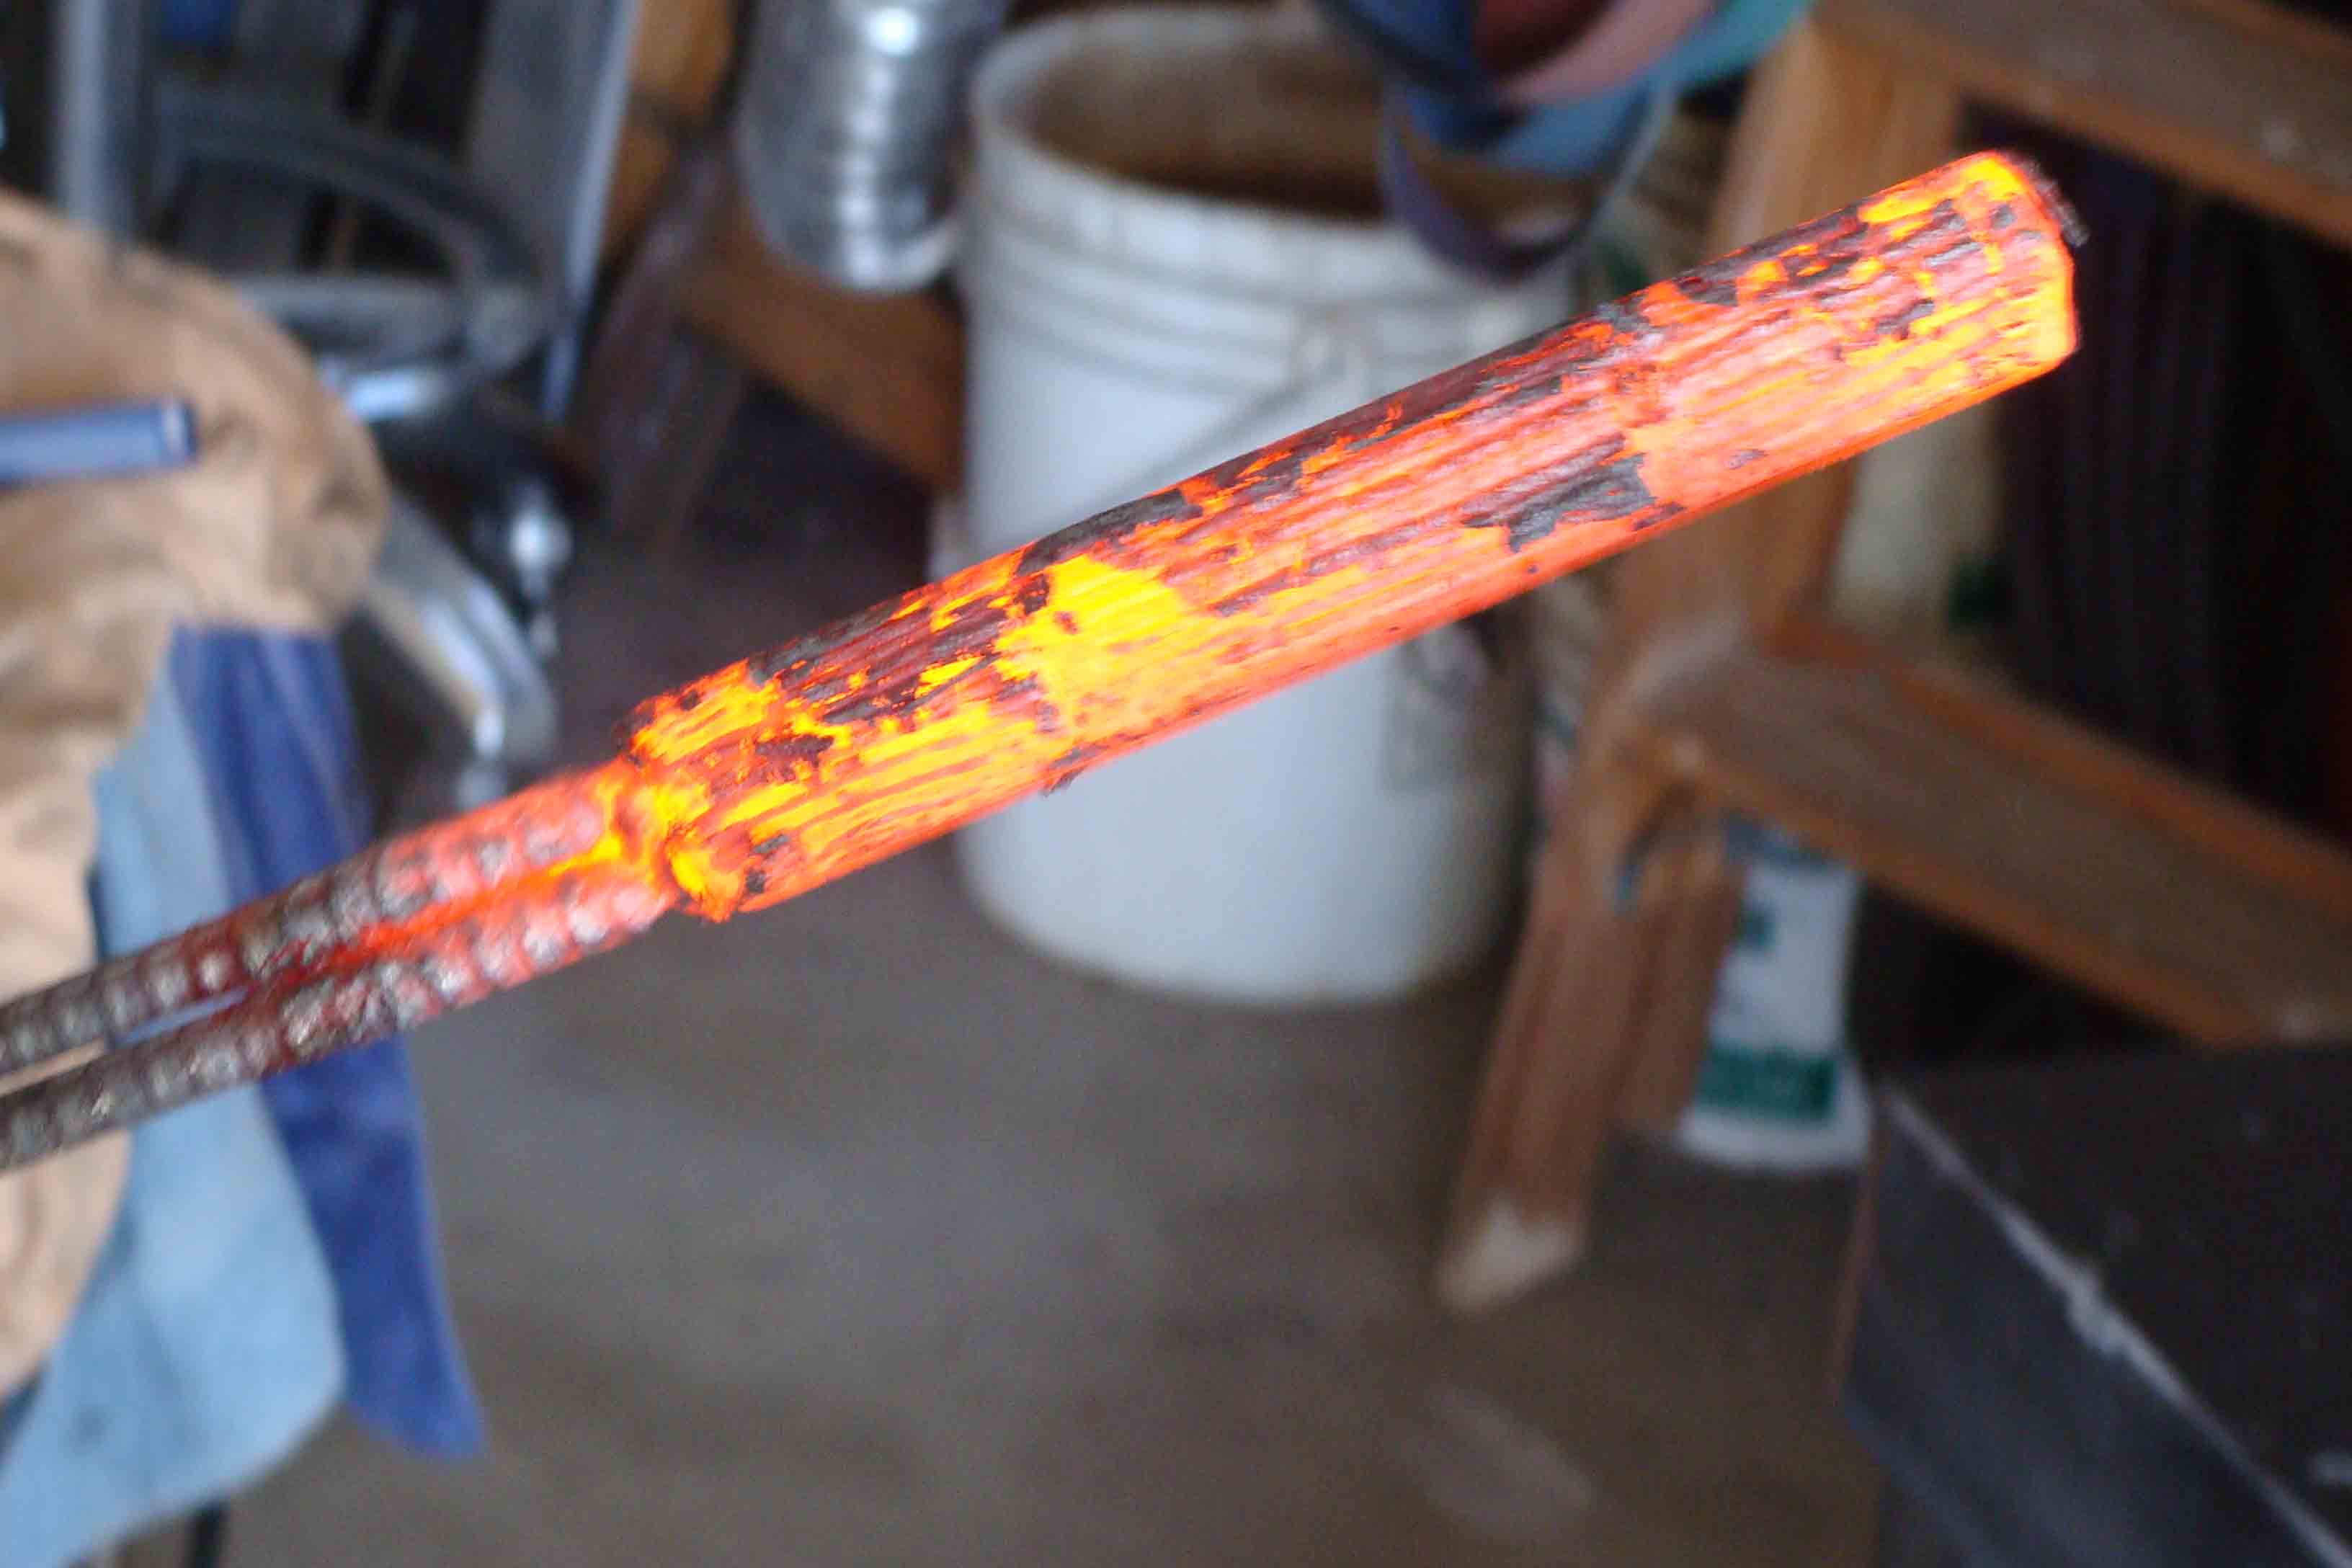
First press. Man was that sweet!
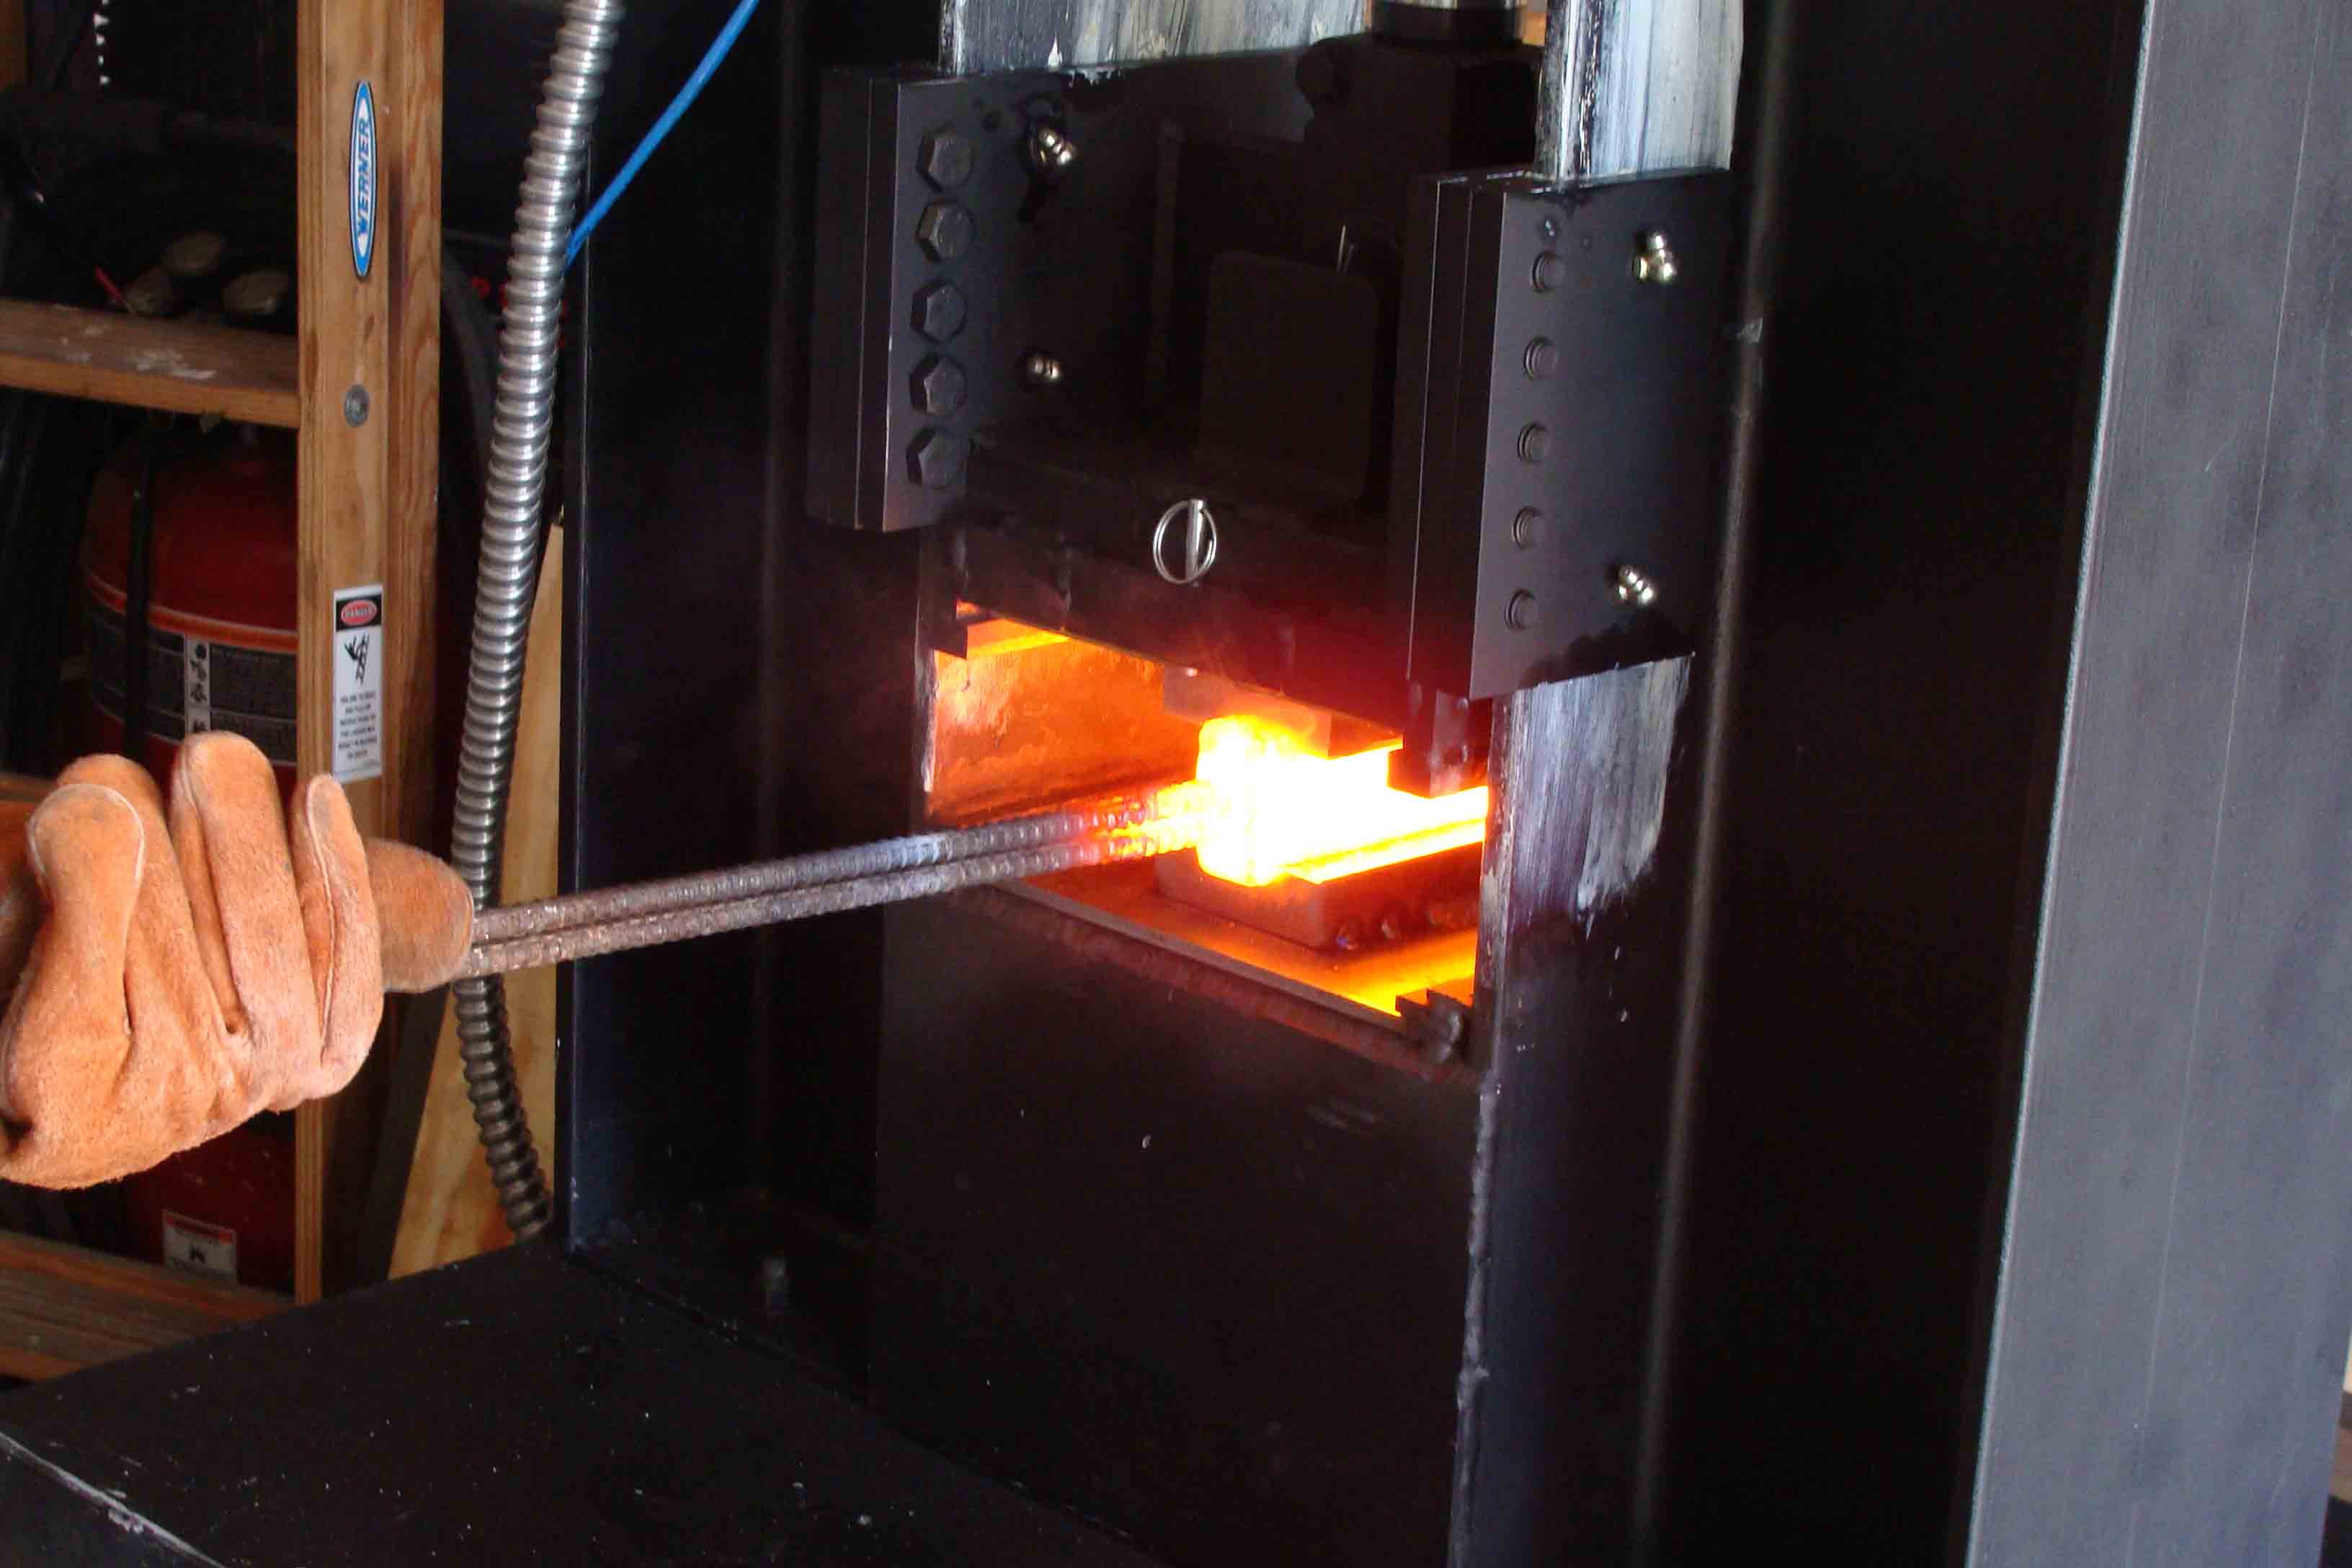
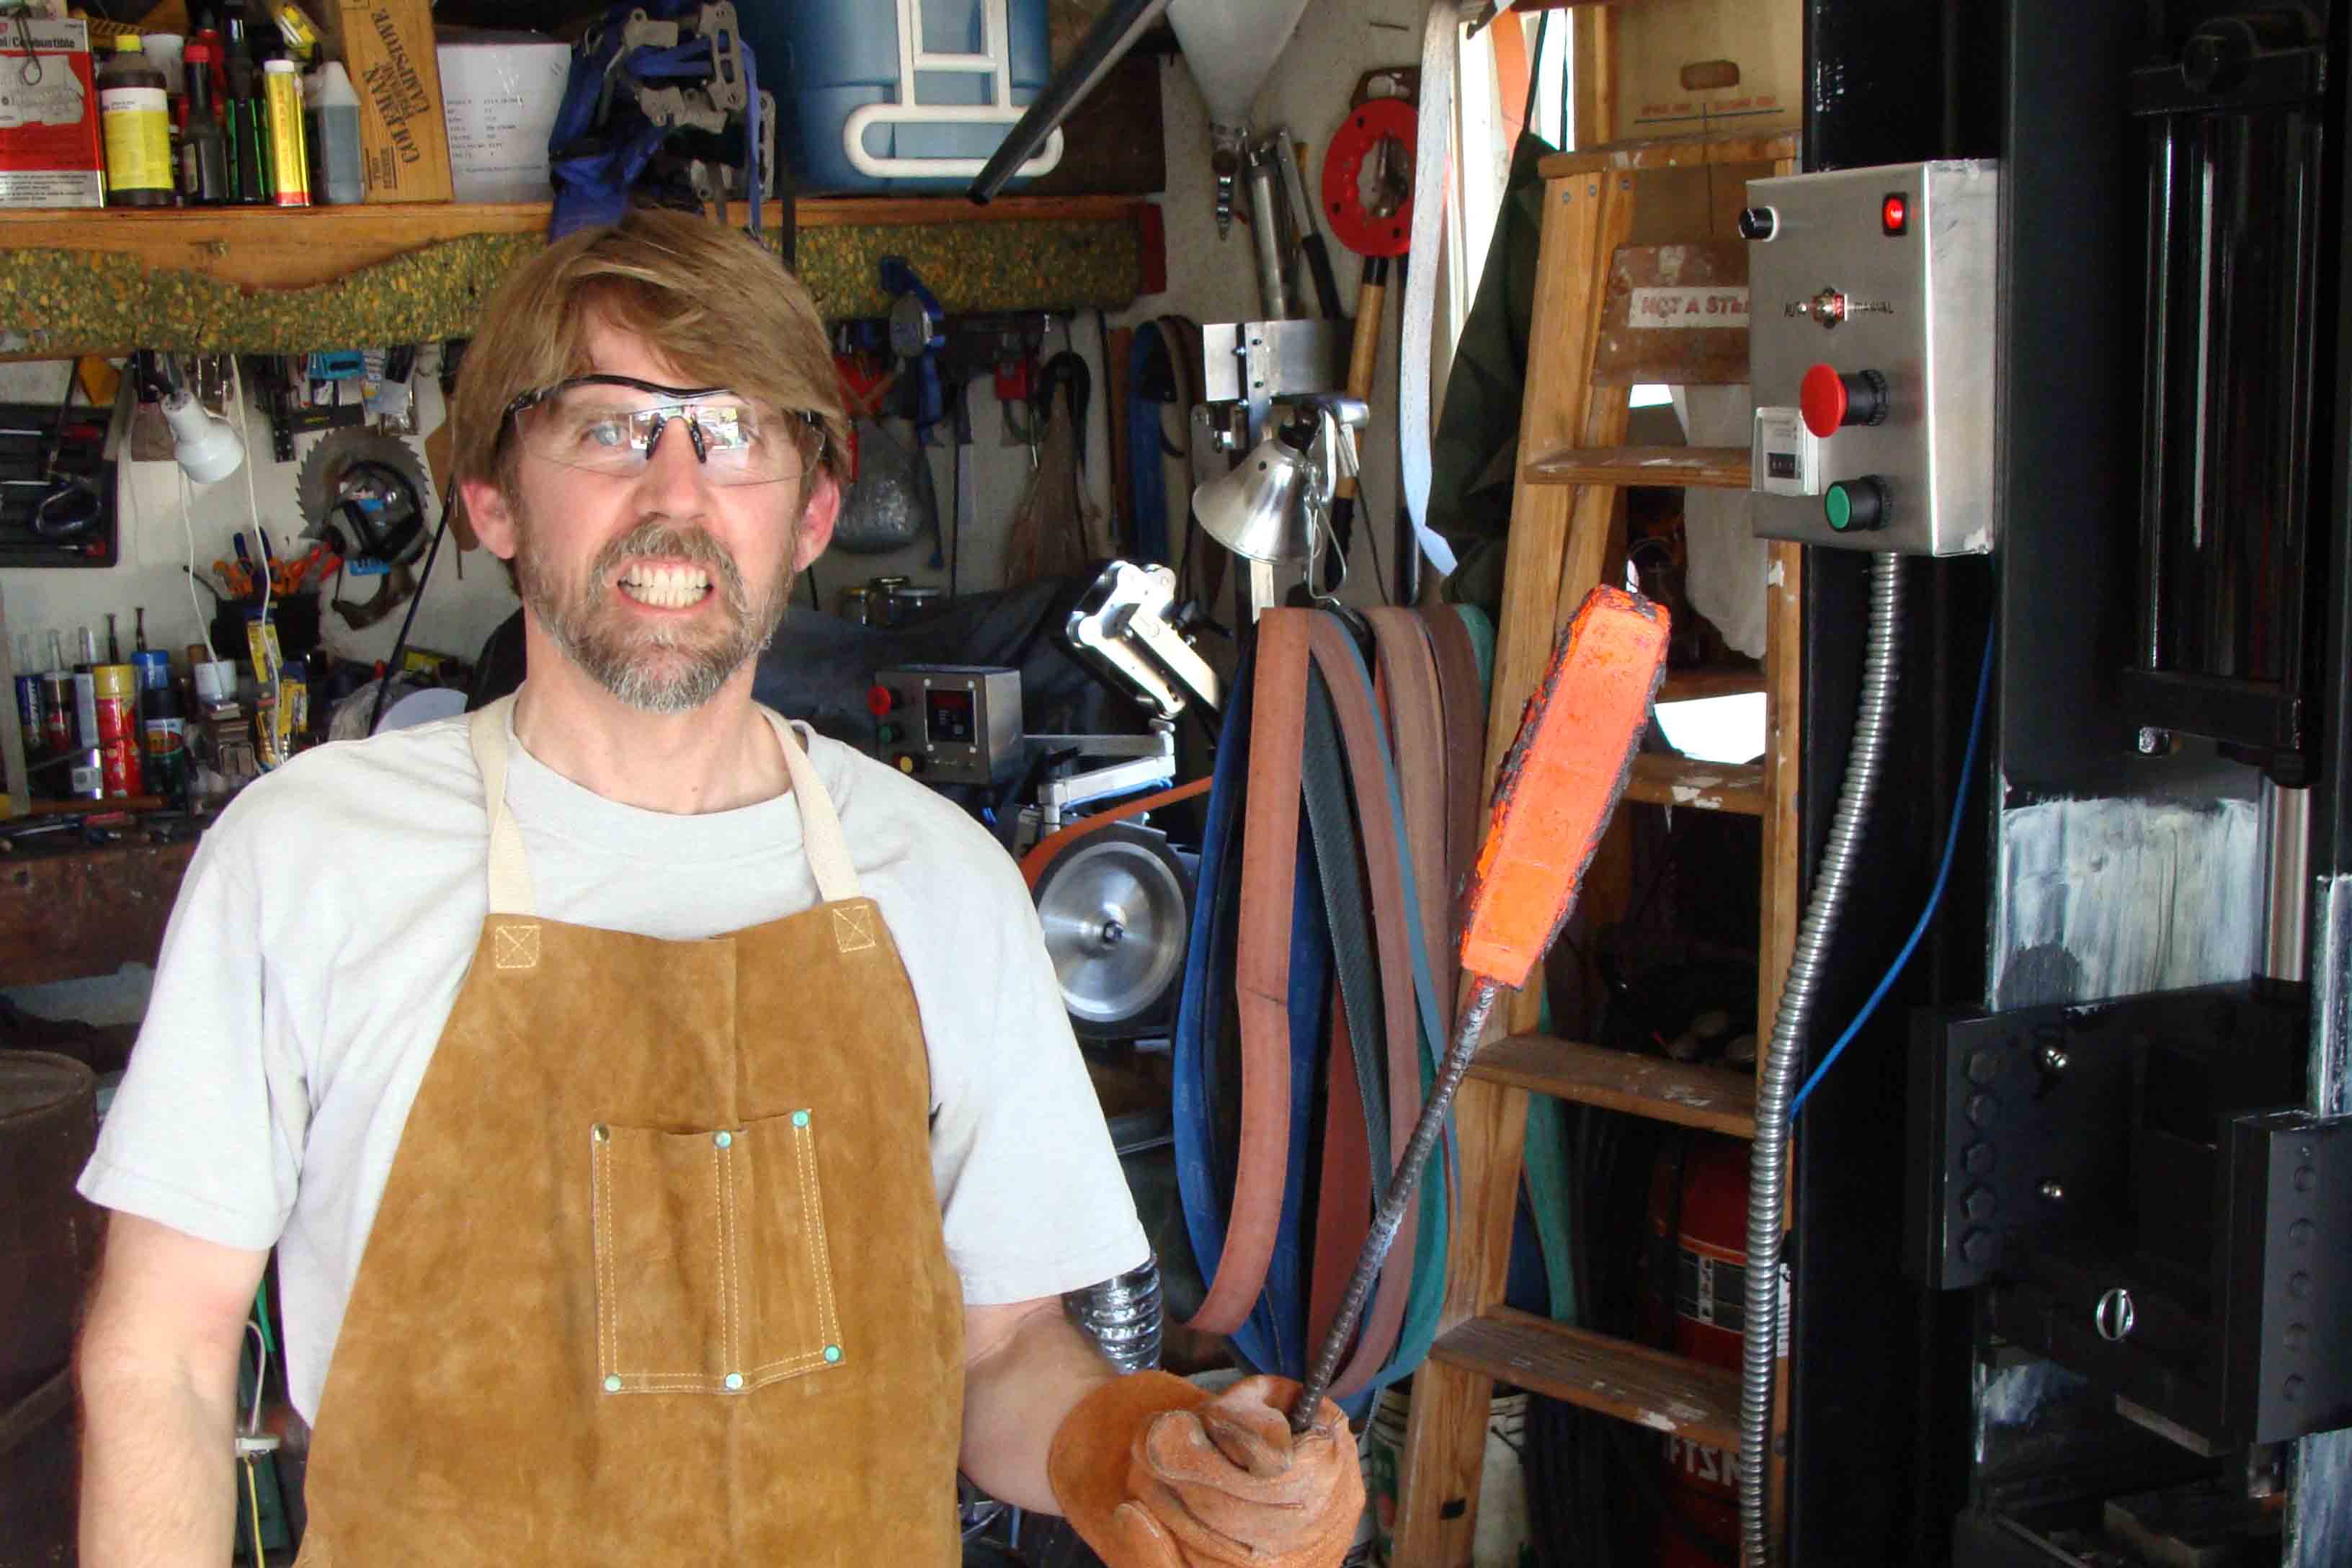
This last pic came out funny as my son had a hard time finding the button on the camera and my hand started really feeling the heat of the rod through the glove. I think I was just starting to say a choice word before switching to the other hand... .
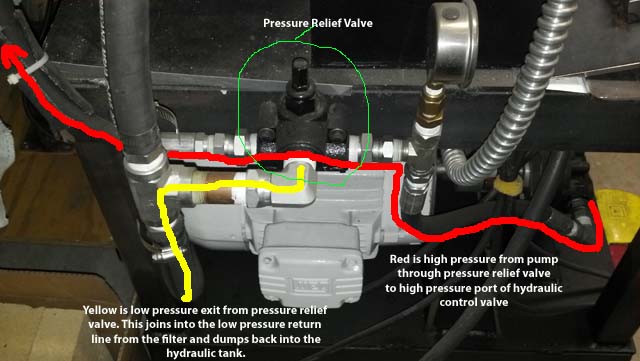
Added a pressure relief valve after the first usage as I found pressure to be hitting 4000 psi! Adjusted valve to have a max pressure of 3000 psi.
Details of how the relief valve is plumbed. The valve is adjusted to let any amount of fluid over a certain pressure to exit via a low pressure port and allow it to return back to the hydraulic tank.
Copyright (C) 2012 Eric Fleming. All rights reserved.